Pour Painting–Easier and More Successful than Expected!
I have seen photos and videos of pour painting projects, and I always thought that the final products looked so beautiful and interesting. Pour painting is a method where acrylic paint is poured onto a surface, and the design is created by the flow of the paint. The videos make it look easy. I decided to see if the process was as easy as it looked. (You never really know until you try.)
To start, the video that I finally used to learn and teach my family is this one.
Although my kids were not thrilled with the idea of doing an art project with me (they were forced into it–I “claimed” my family for one day during the winter break when they were home and I had a day off of work). They actually got excited about the project after watching the video! (I am getting into the habit of “strongly encouraging” my family to work on a project with me over winter break. I am still enjoying last year’s project (reverse tie-dye sweat pants).)
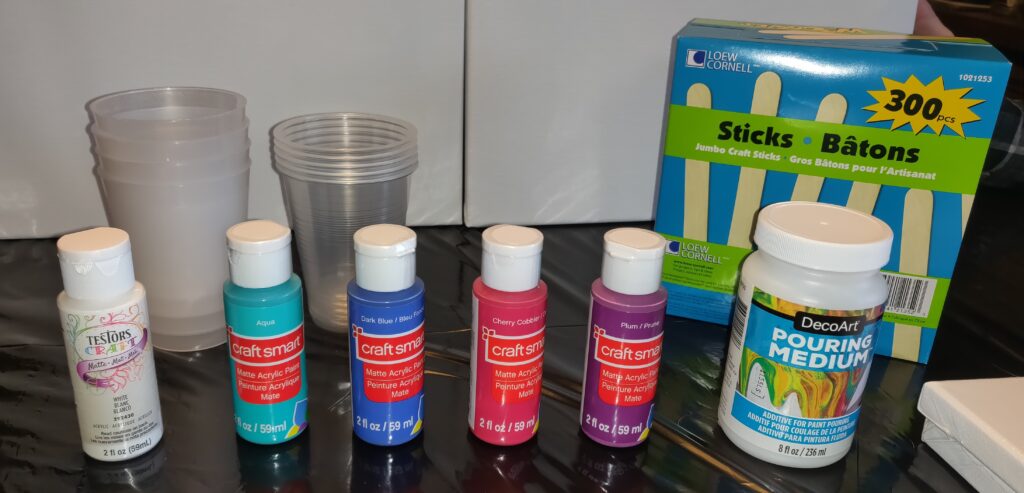
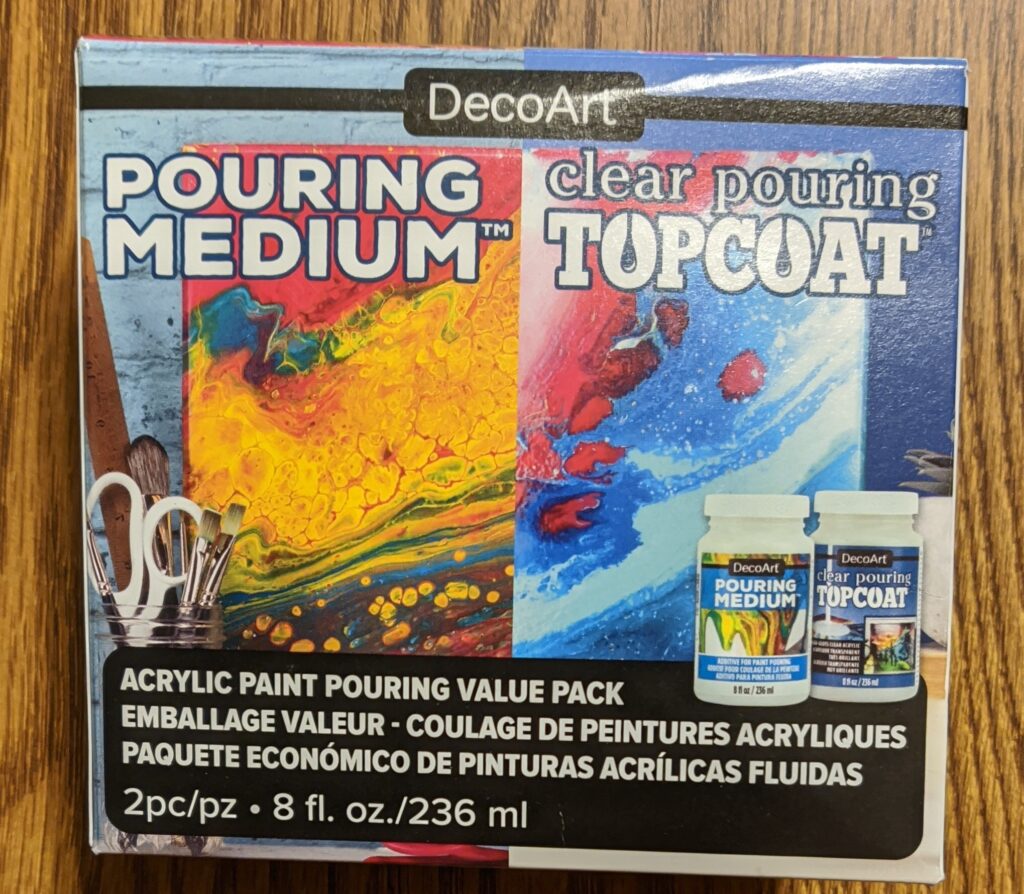
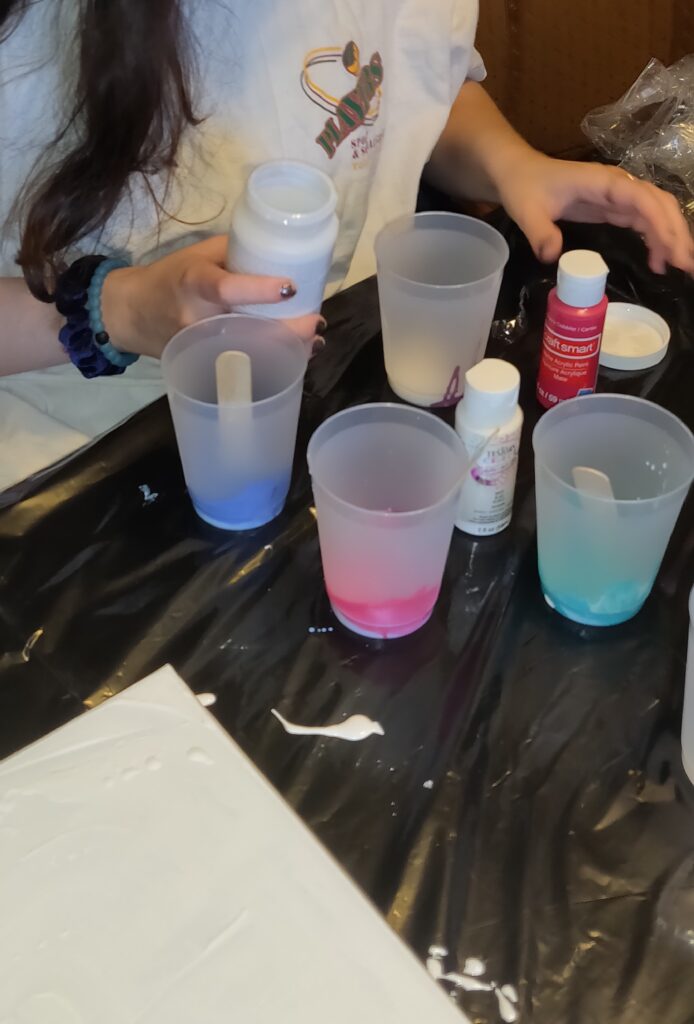
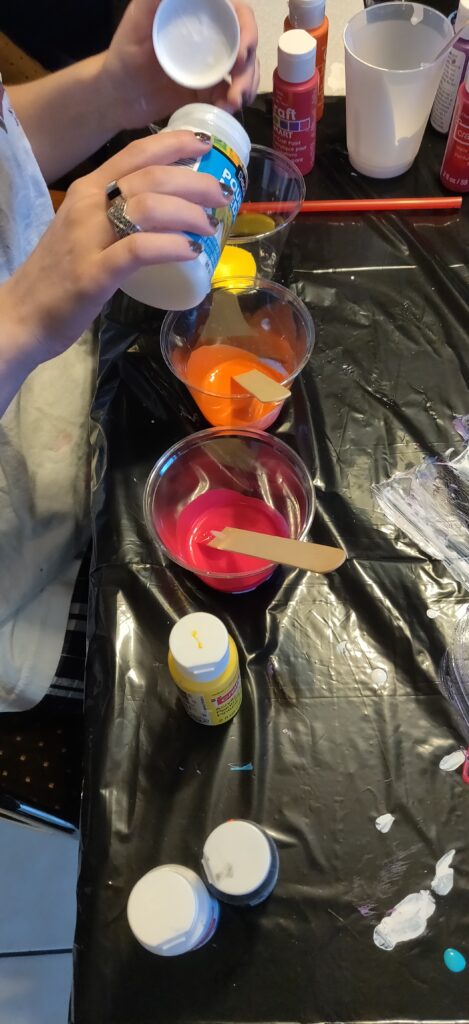
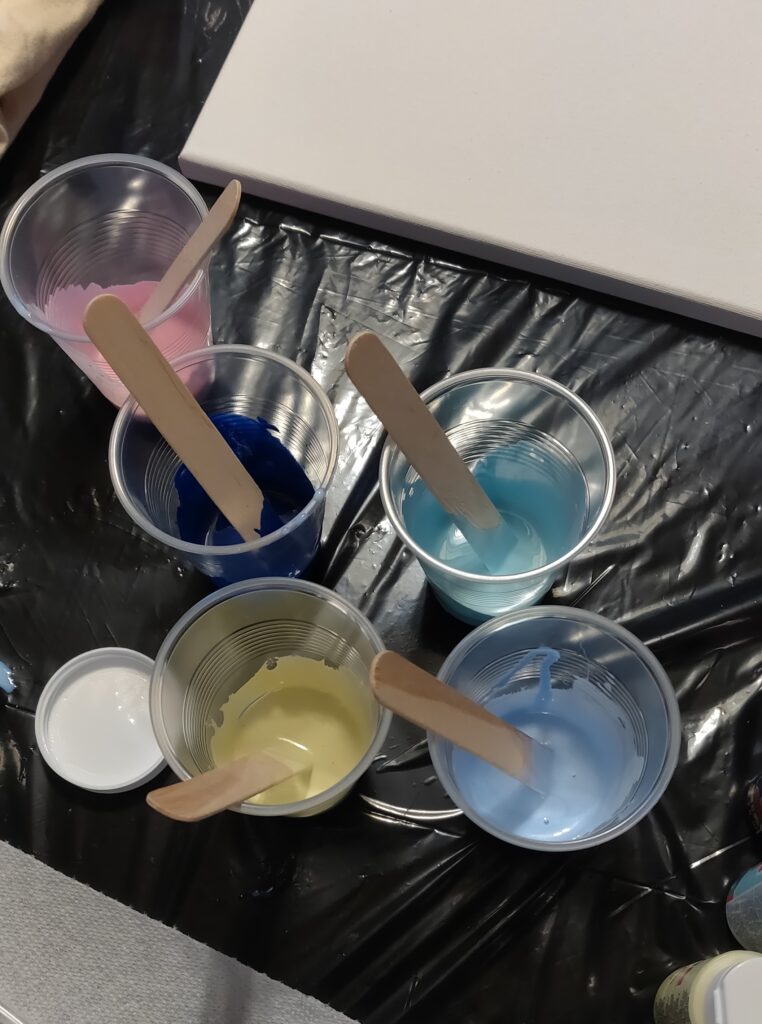
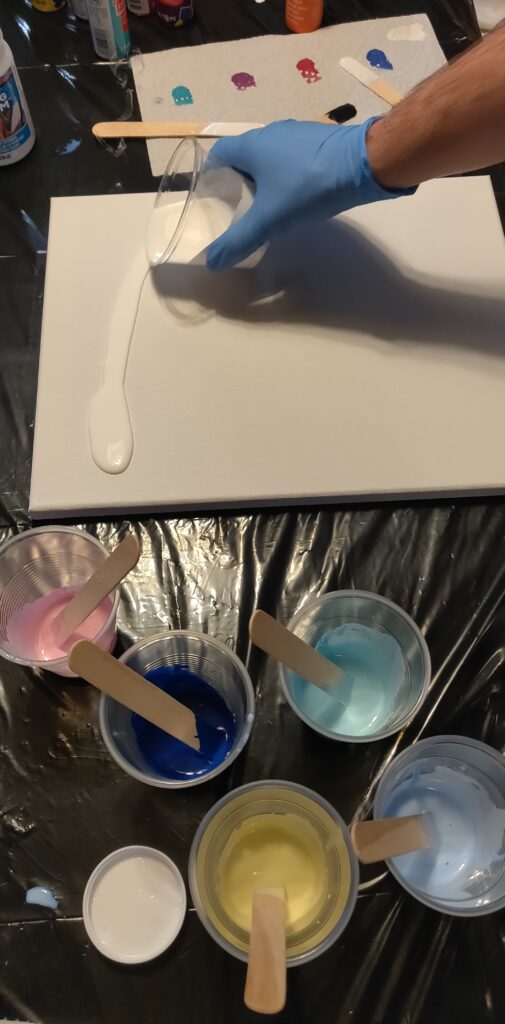
I already had some 11in x 14in canvases and an 8in x 10in canvas at home, and, since it was our first attempt, I figured those were fine sizes for our first try at pour painting. I bought some more acrylic paints thinking that we would all use the same color scheme, but my kids ended up choosing to use other colors which I had on hand from previous painting projects. At least my old purchases were put into action! I also bought pouring medium rather than buying the “pour ready” paints which are available. Other supplies which I already had at home were plastic cups (I had a random assortment of plastic cups from various hotel stays–I knew that I brought them home for a reason). We also used some craft sticks and gloves.
With the assumption that we would make a mess, we covered the entire kitchen table and wore smocks (aka random old t-shirts). To cover the table, we cut open and then taped down some thick plastic yard bags. This worked well and made clean-up quite easy. I also had saved some empty peanut butter jars; these worked well as supports for the canvases as they were drying.
The video mentions several pour painting techniques–splatter, blowing, stacking, striping, rippling, strainer, swiping, and combination. My family used a combination of splatter, blowing, stacking, and (kind of) striping for our paintings.
We did not get many photos of the first painting since we were in a “all hands on deck” mode.
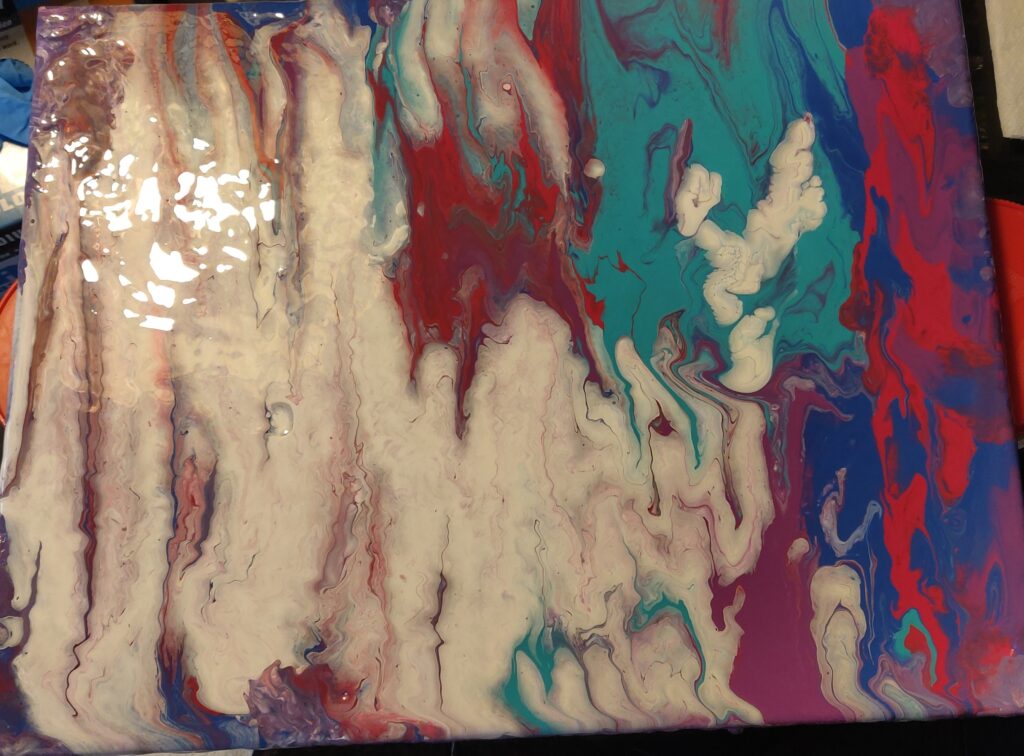
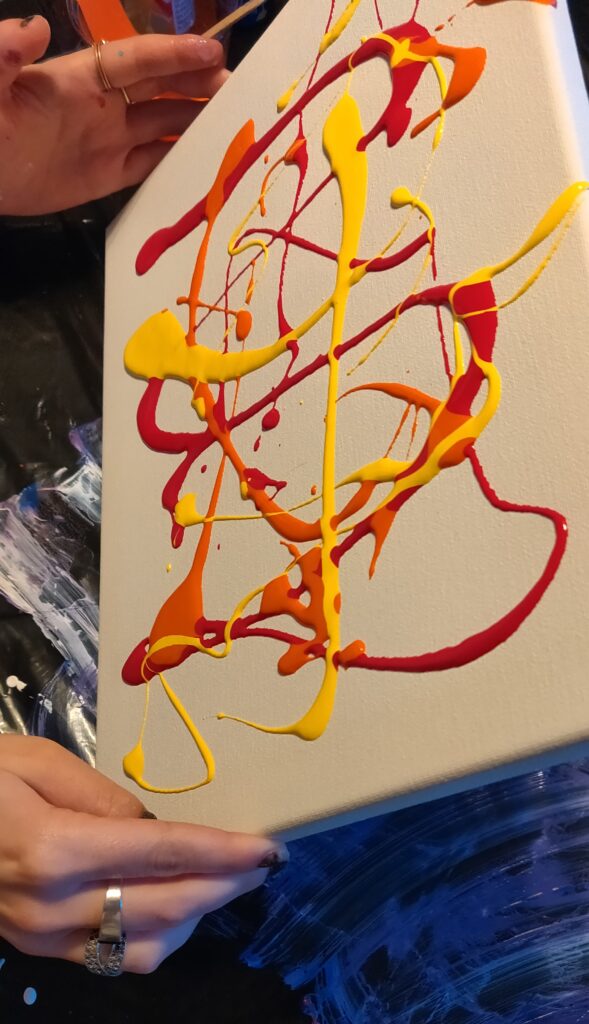
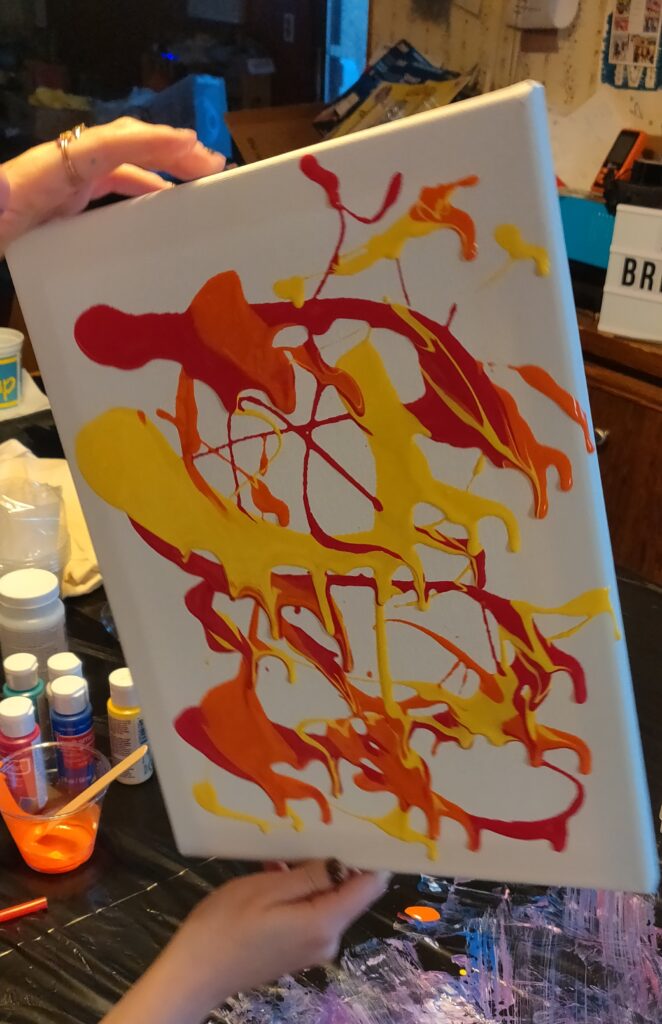
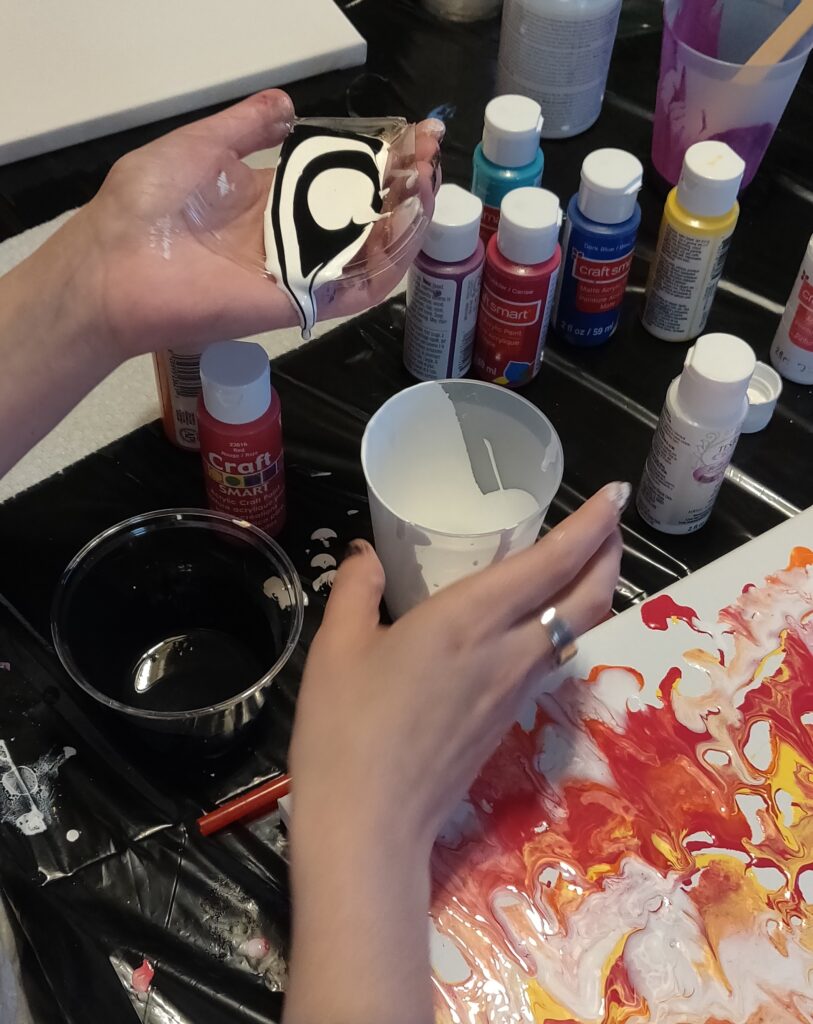
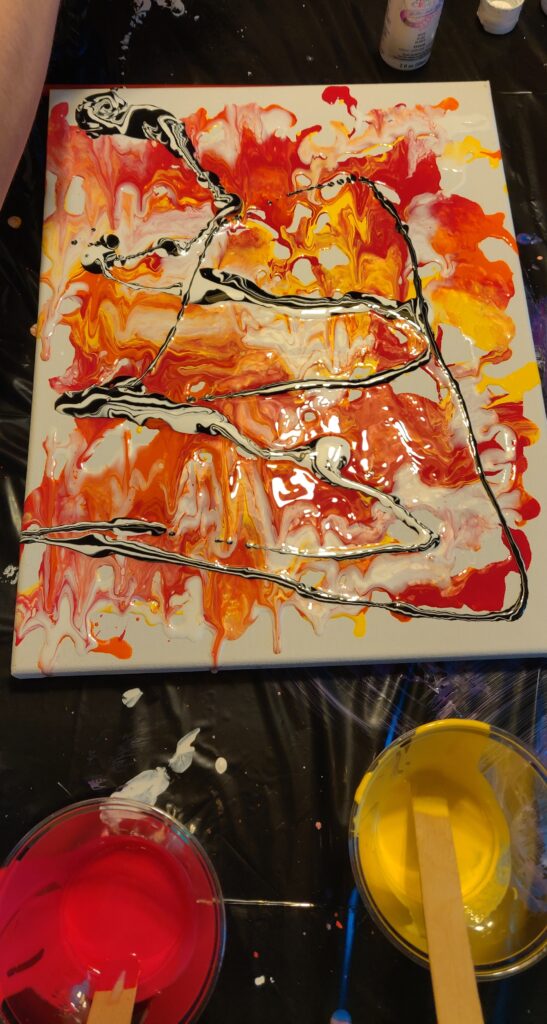
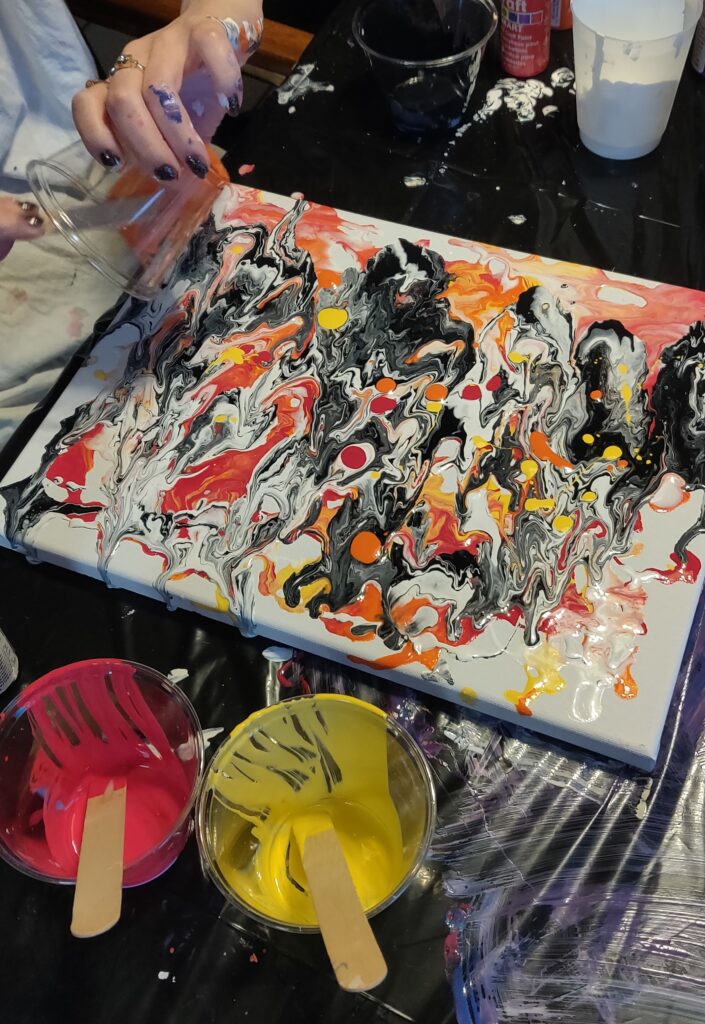
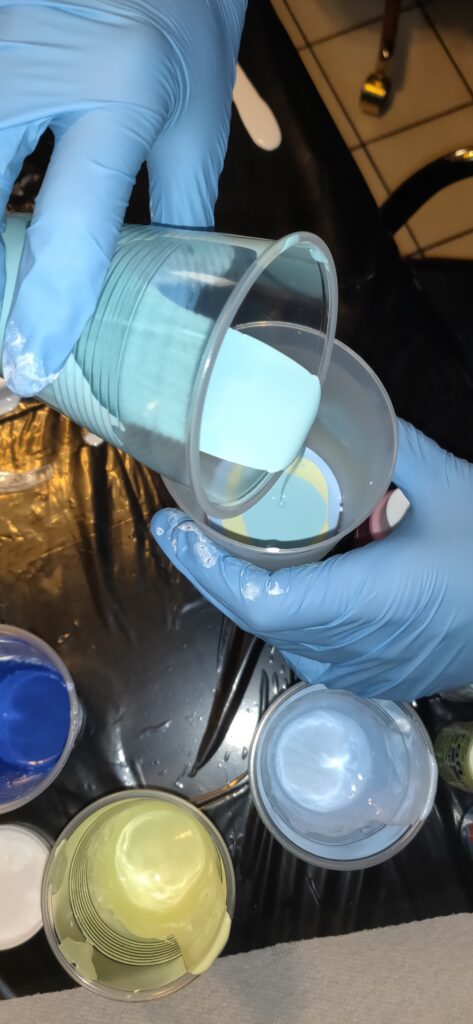
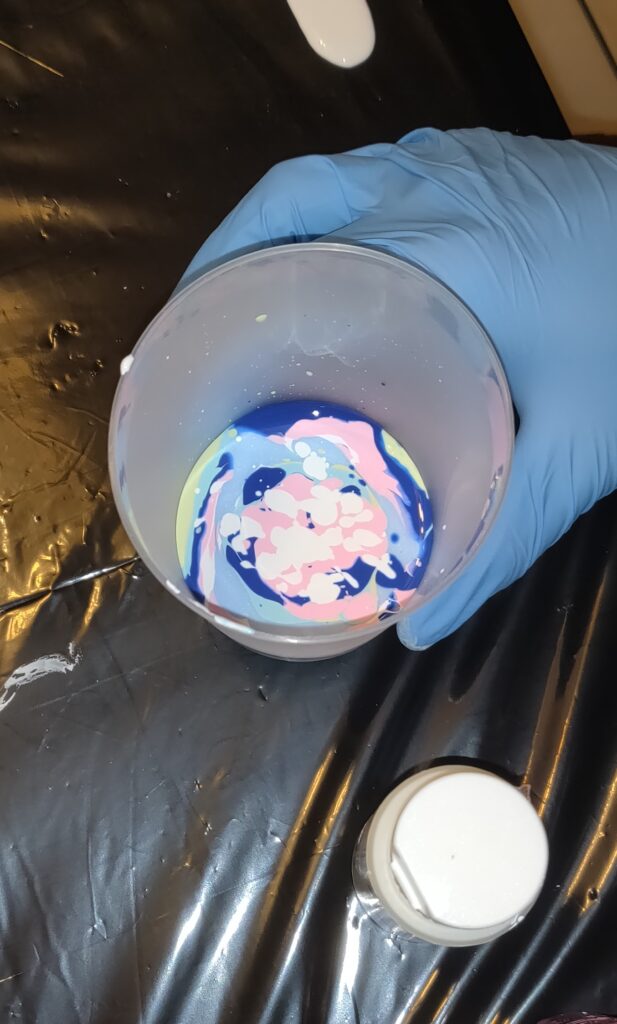
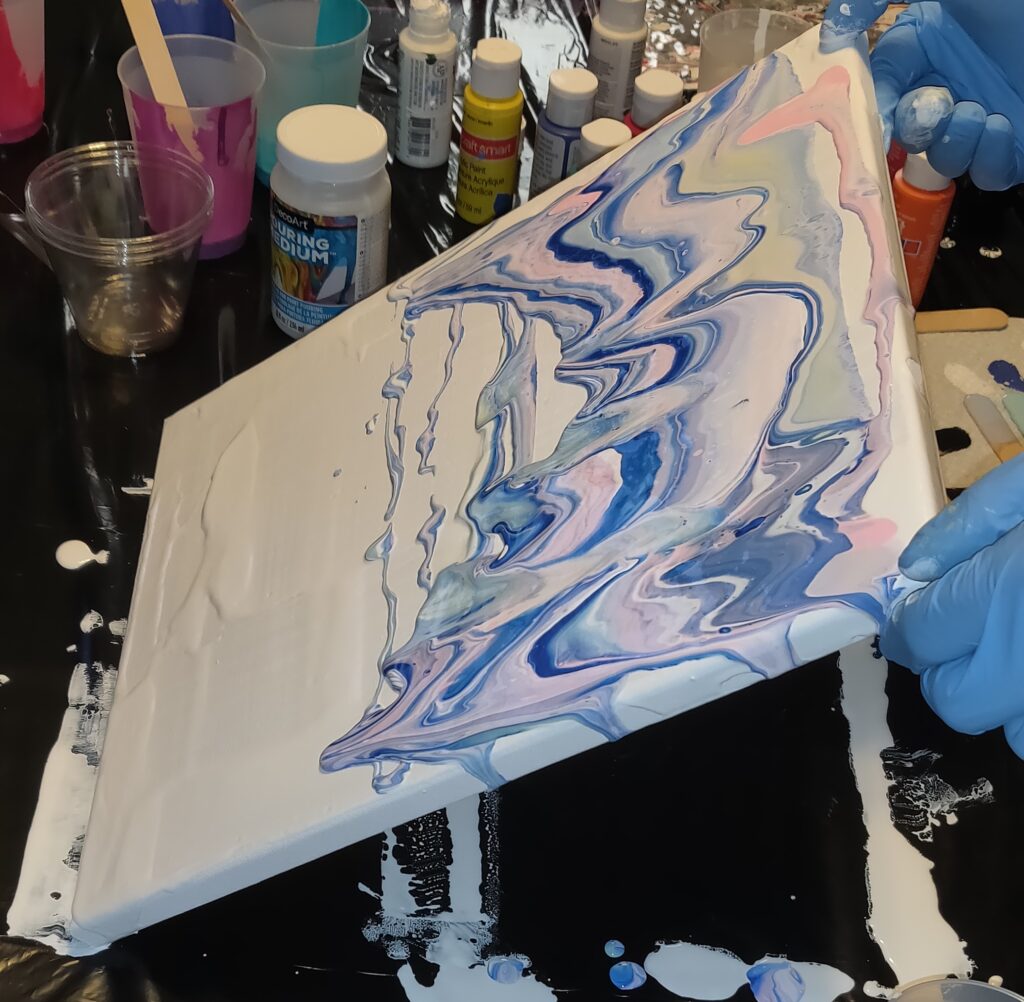
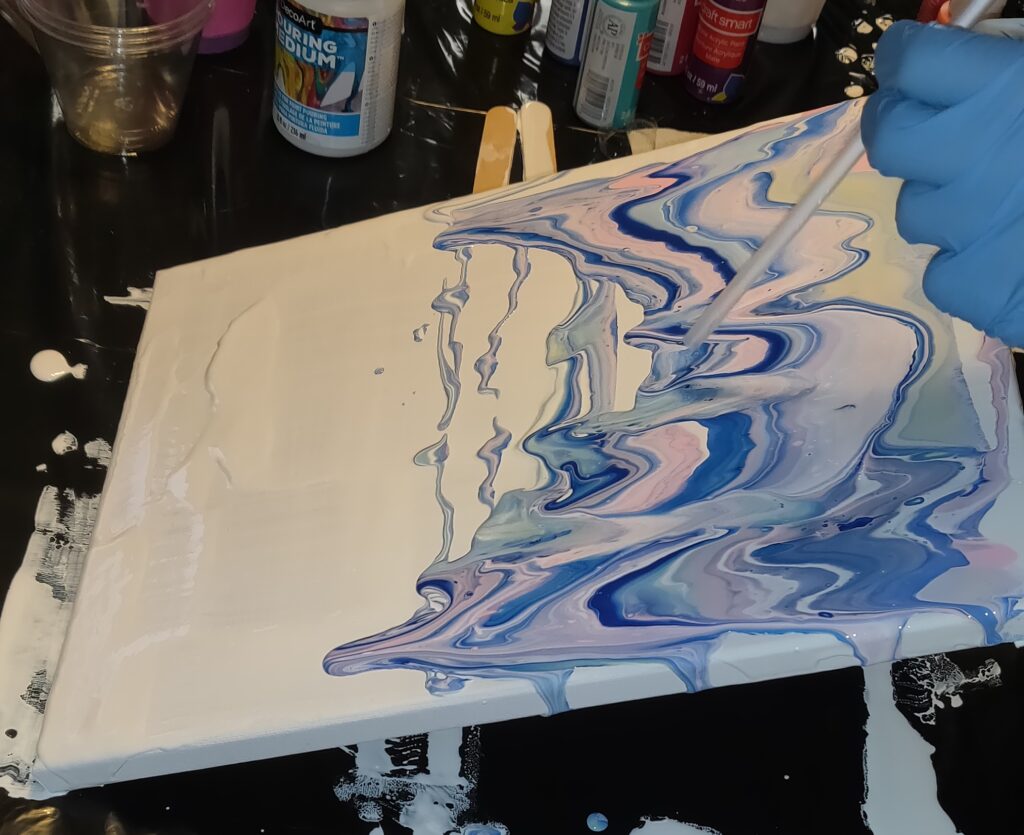
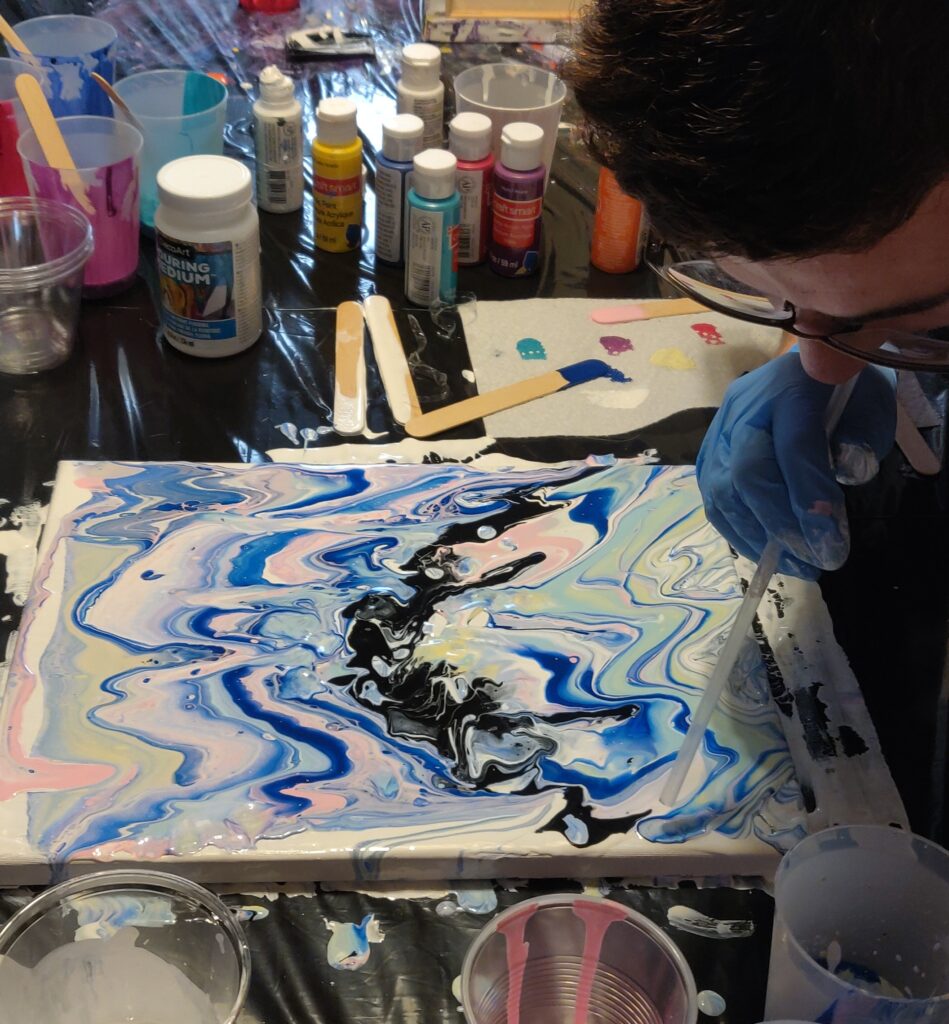
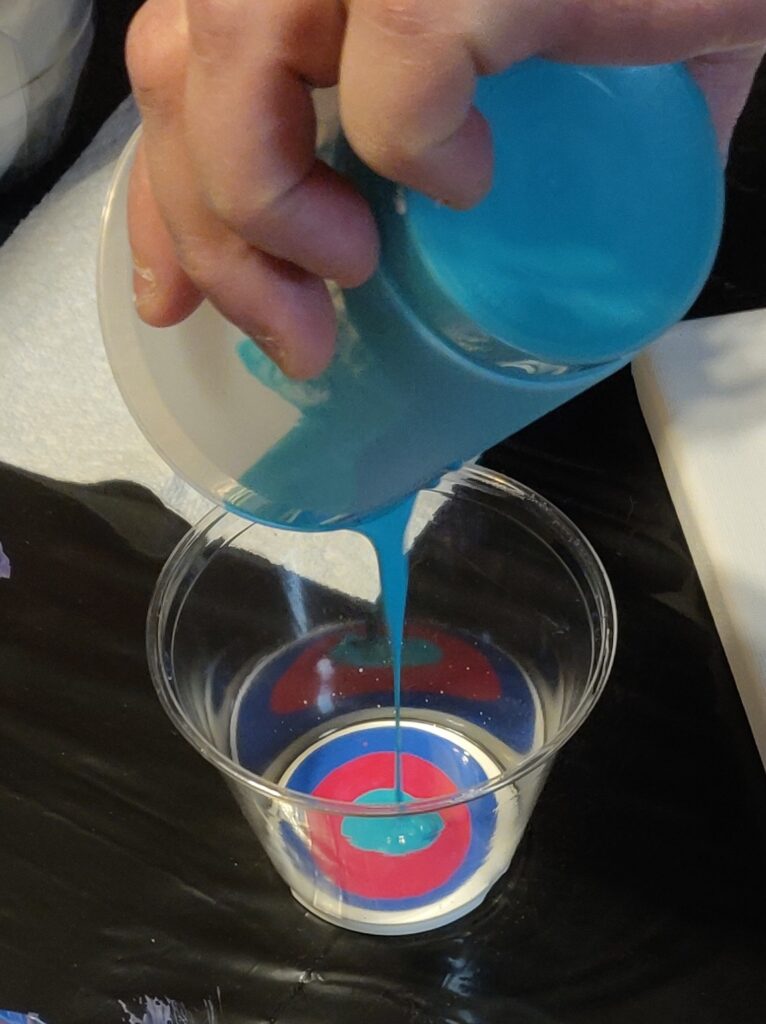
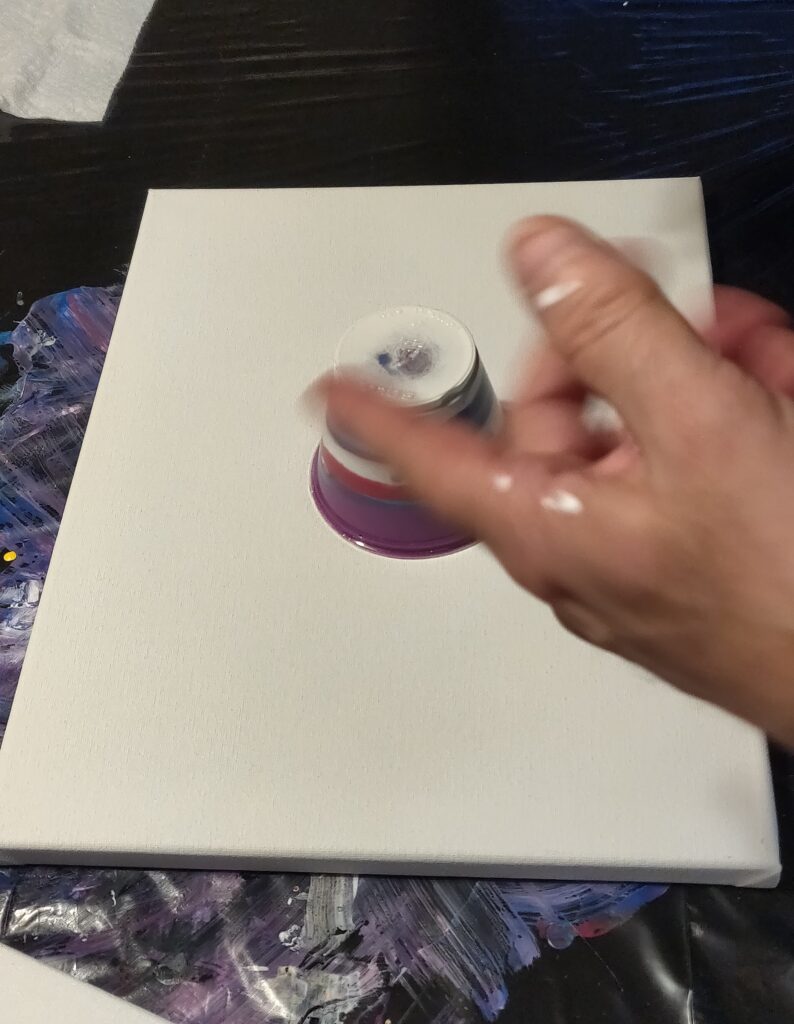
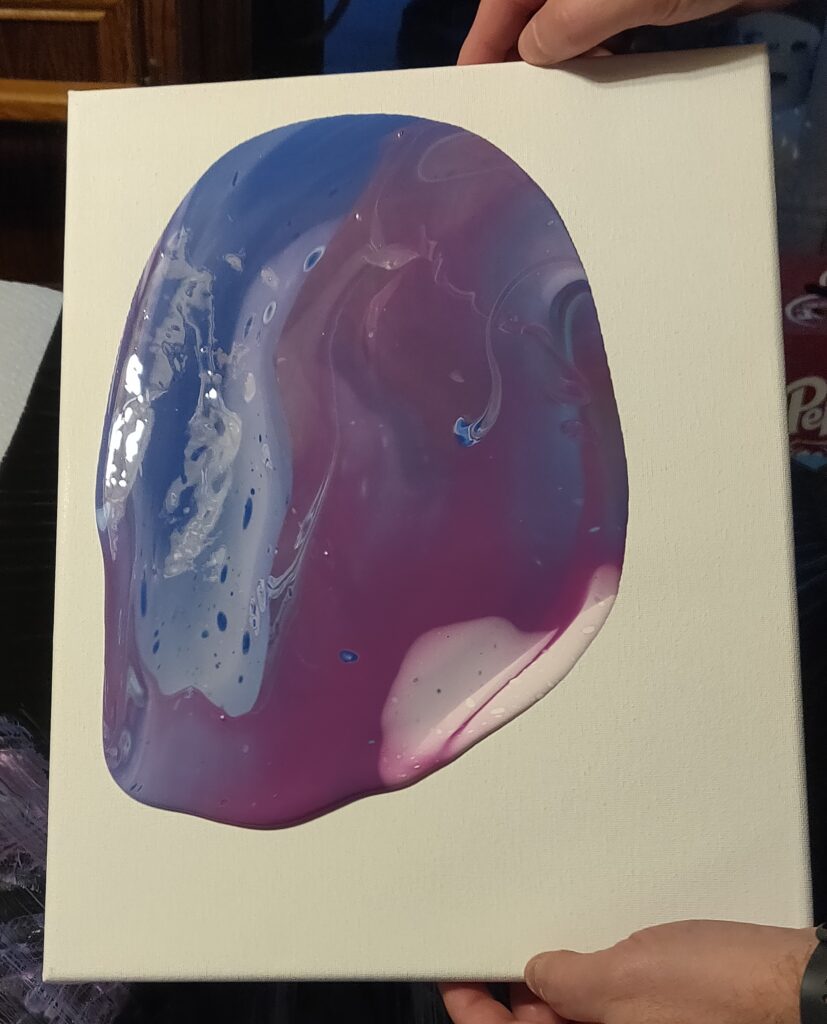
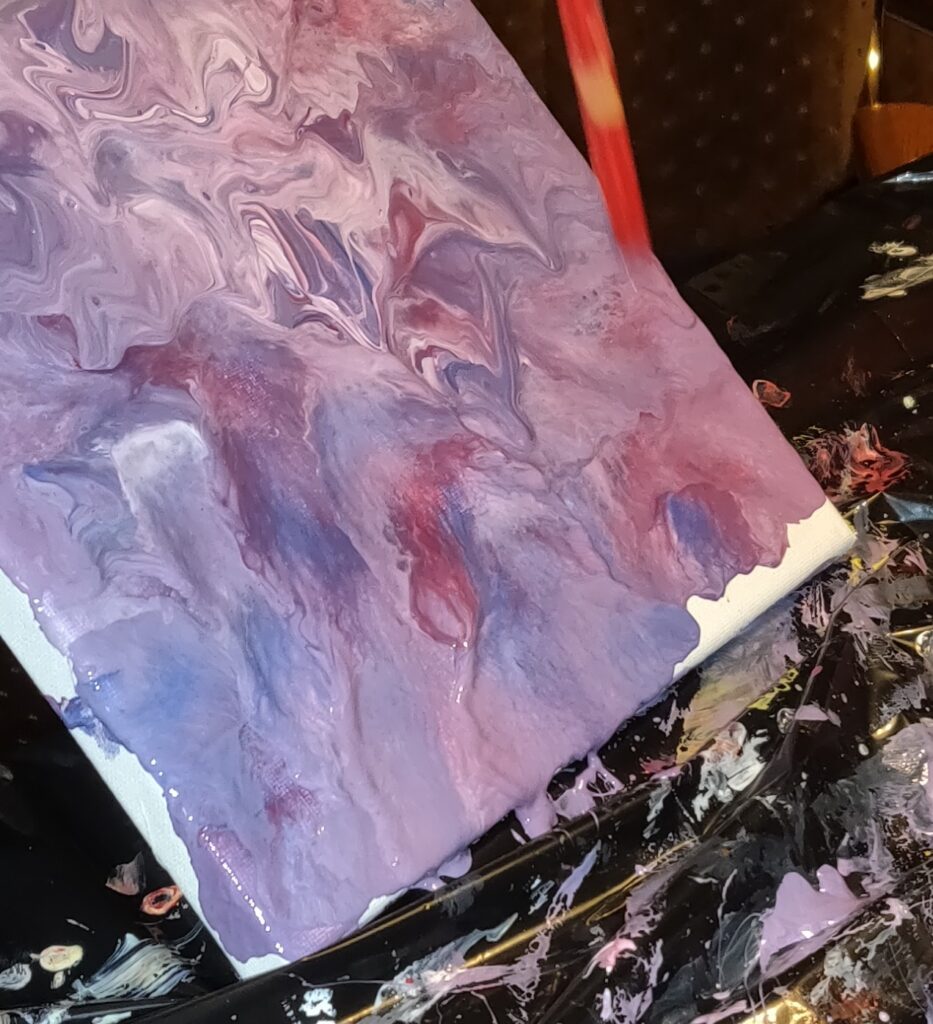
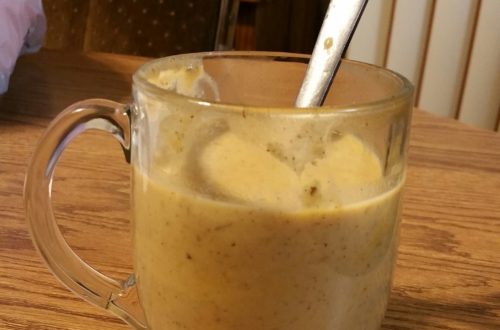
For our first painting, we mixed the paints with the pouring medium into the plastic cups. One color at a time, we “splattered” the paints onto the canvas by pouring them onto the canvas in a haphazard pattern and then moving the canvas around to allow for movement of the paint. We did apply some more paint after moving the canvases around a bit. Below you see the start and then the wet finish. (As mentioned, we were all so focused on the process that no one took photos of the actual painting process! This was our first pour painting EVER!)
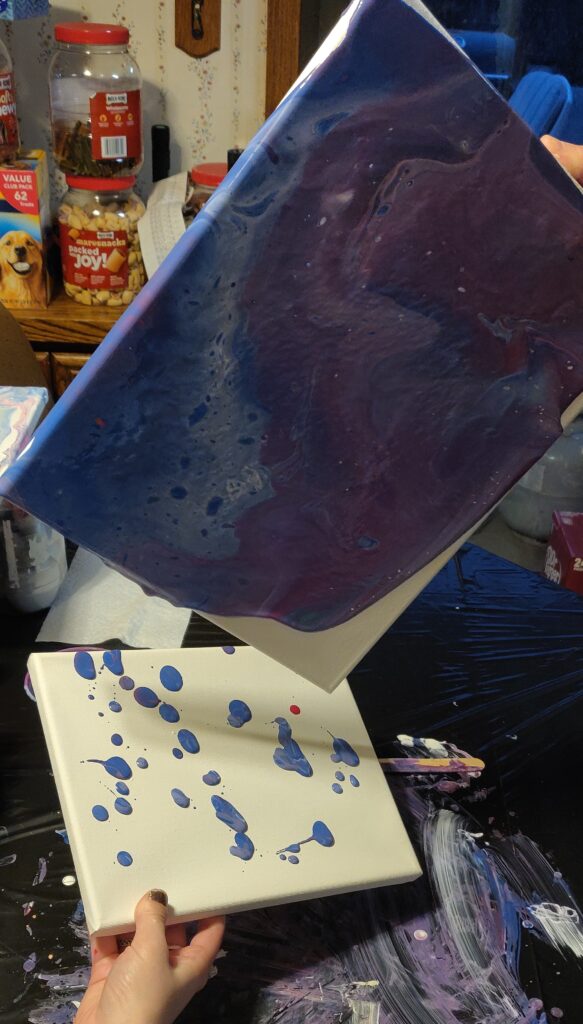
My kids then each worked on their own canvas and chose different colors.
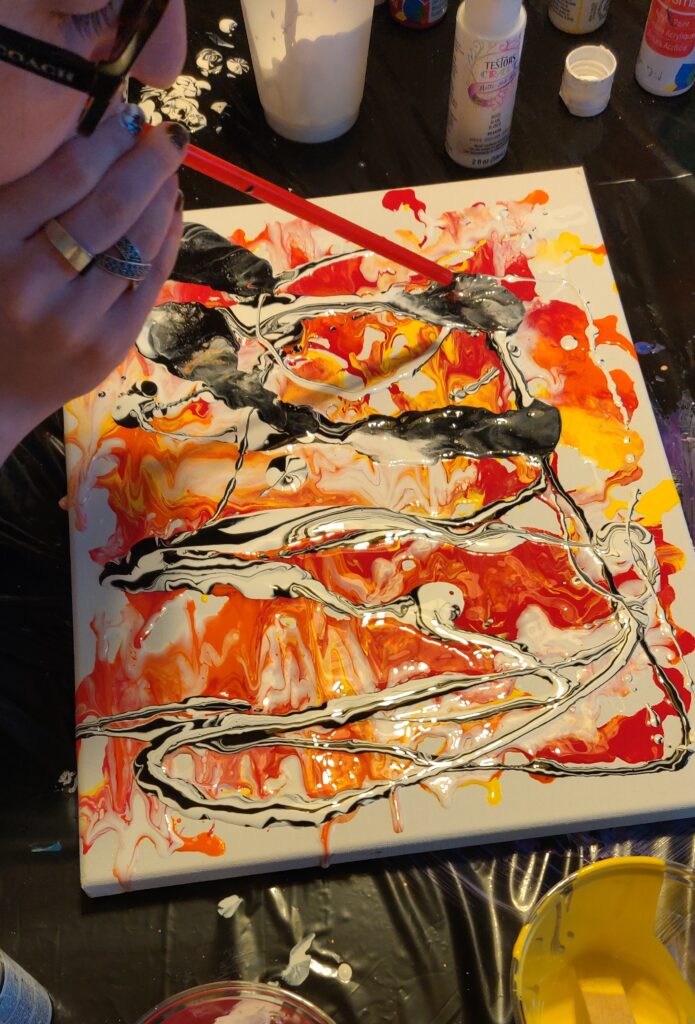
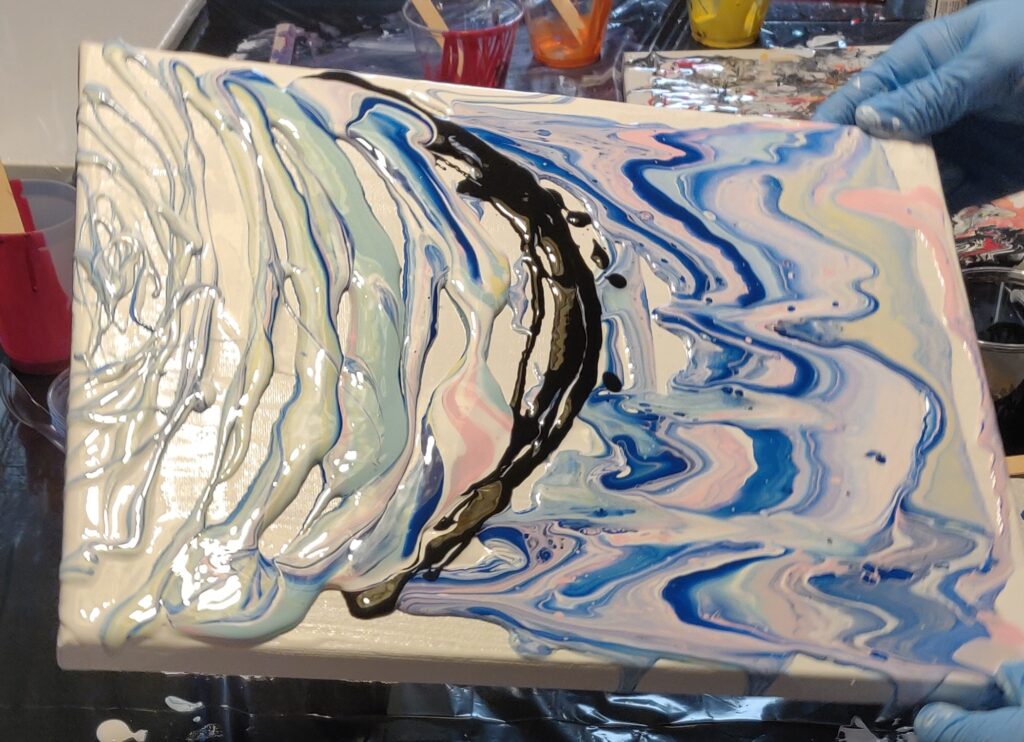
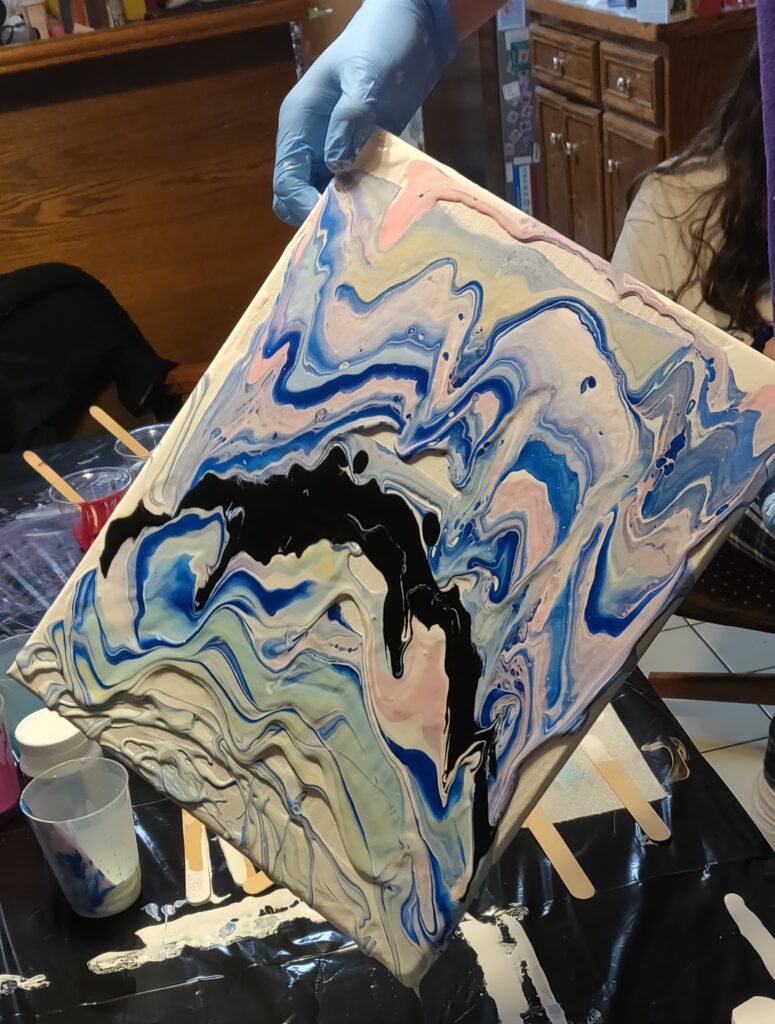
My son chose to design his painting a little differently.
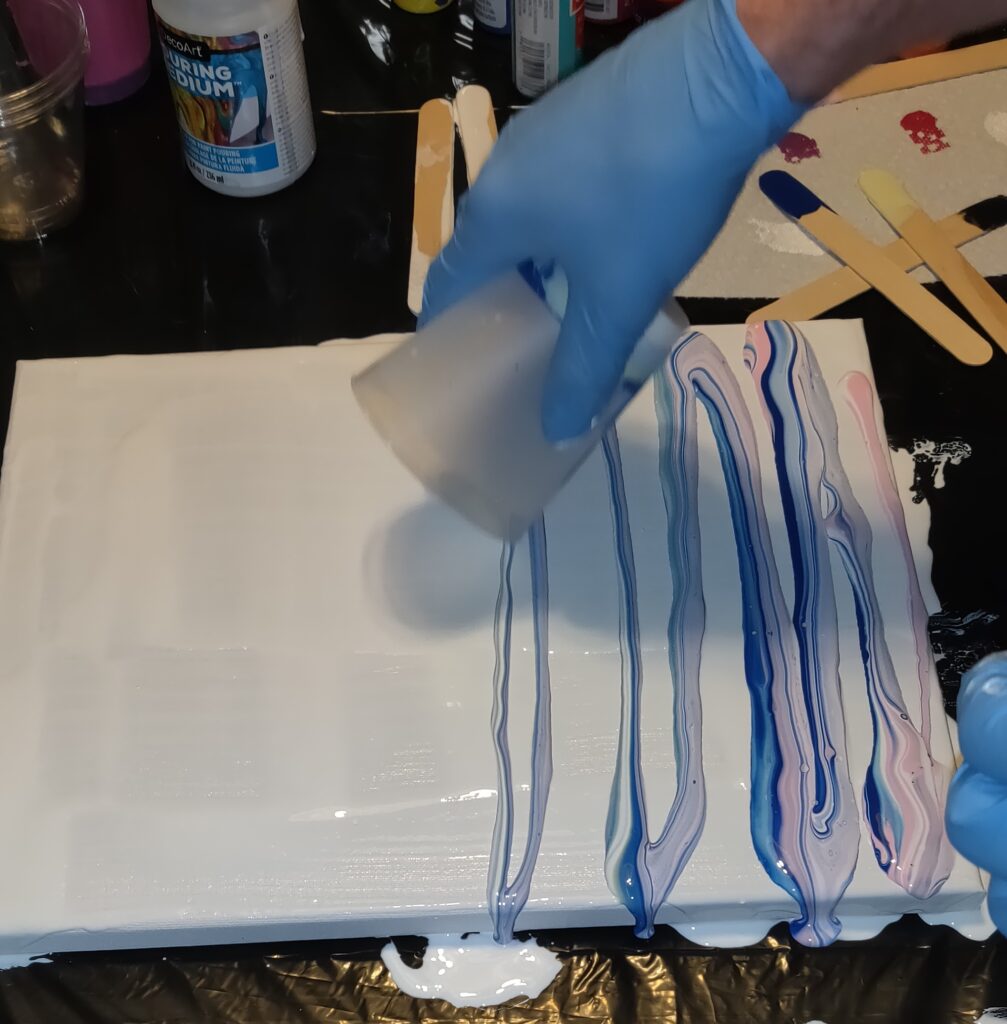

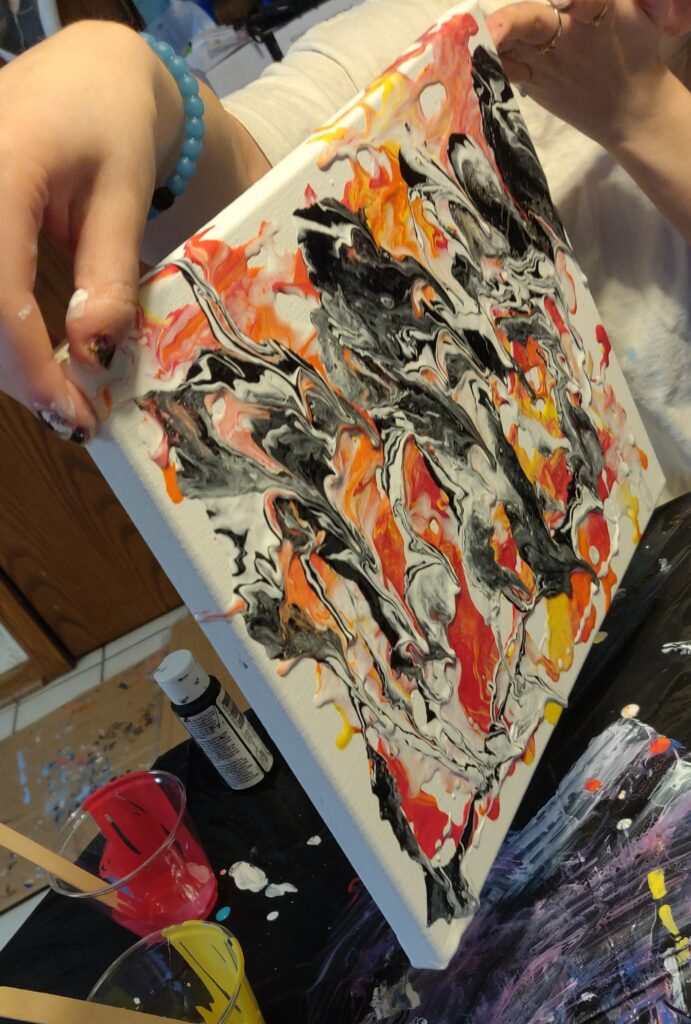
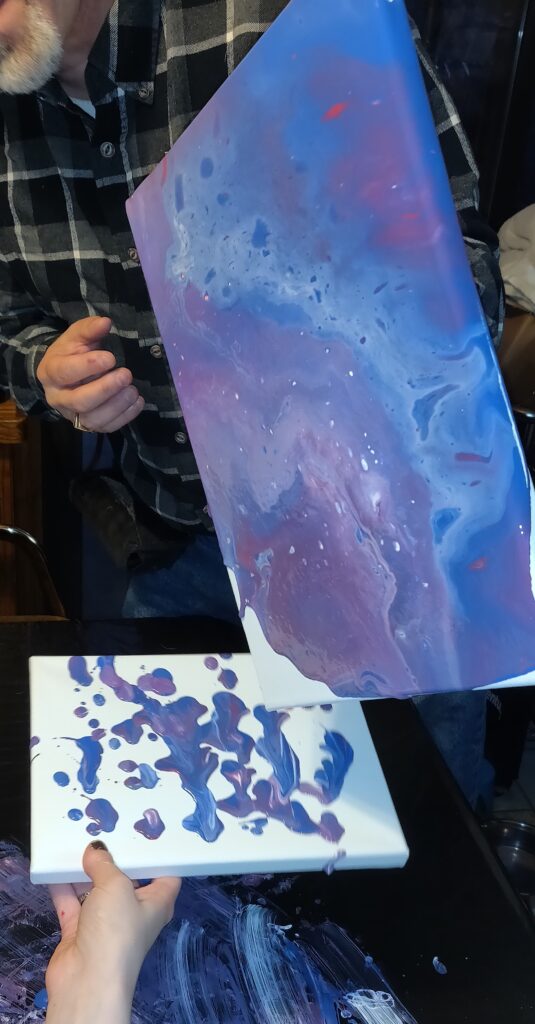
My husband wanted to use the stacking method of painting but in a different way than my son. He went back to our original colors.


There was more “blowing” that I think we originally intended. This was often done for the sake of spreading the paint over a wider surface. The next time we try pour painting, we will probably use a larger volume of paint. The amount we used did not cover all of the surfaces as easily as it appears in the video or any other videos I have seen.
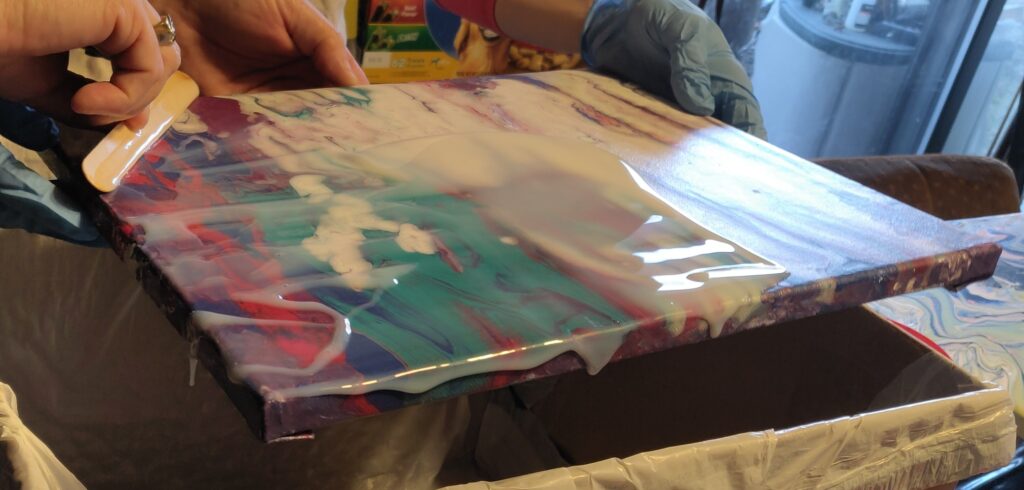
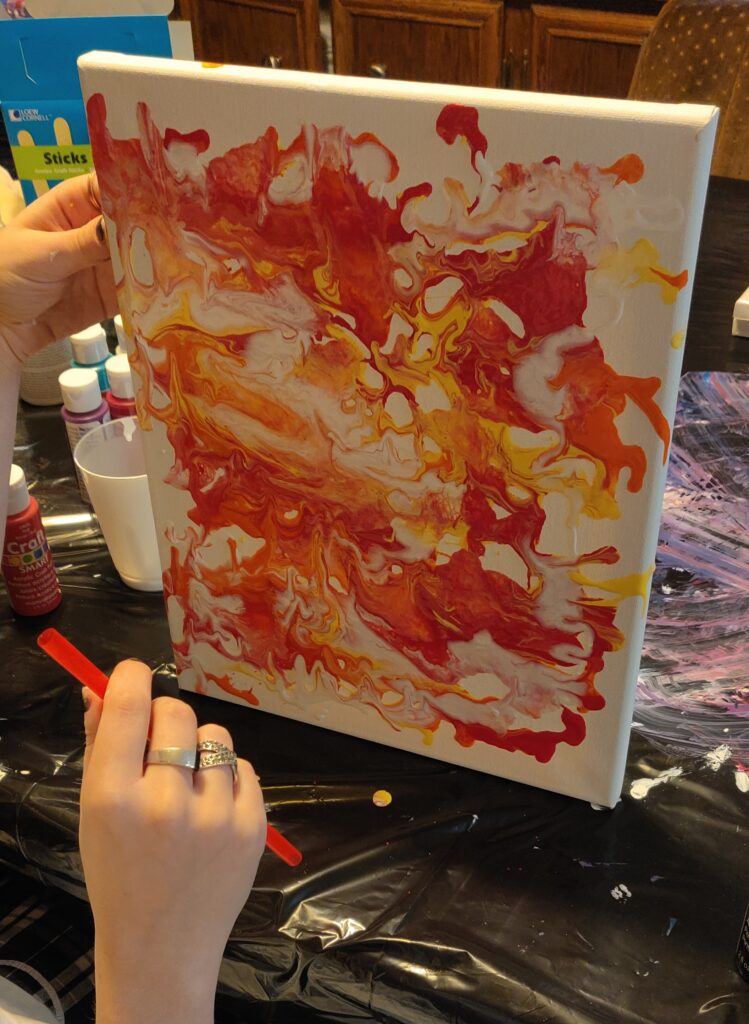
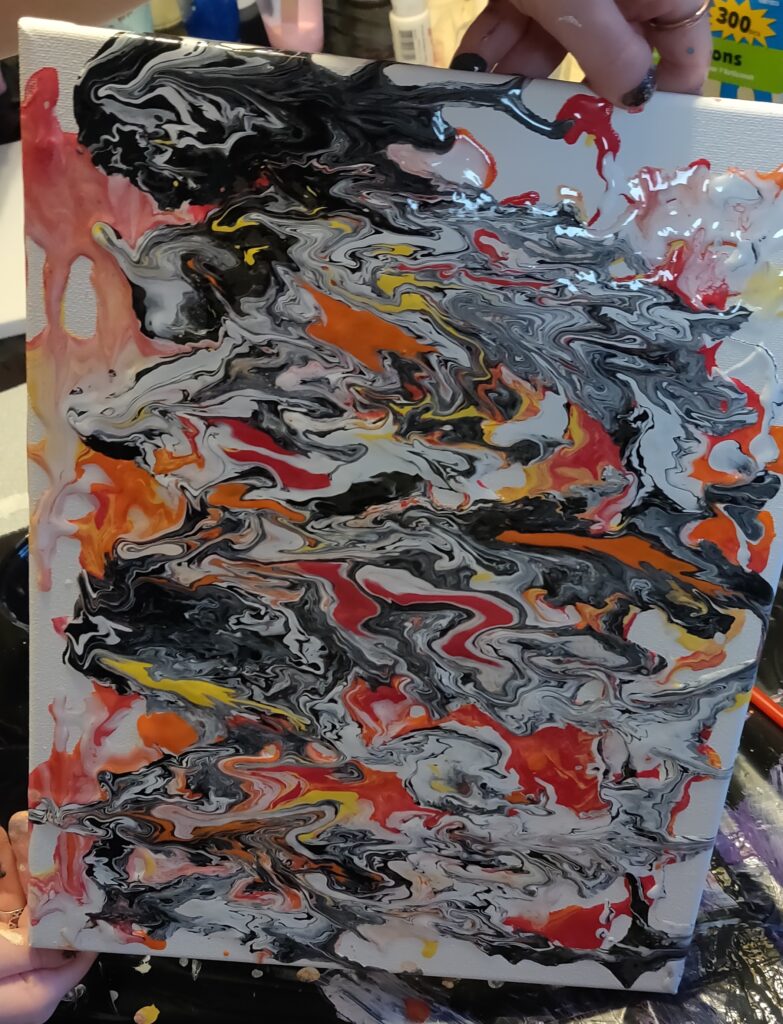
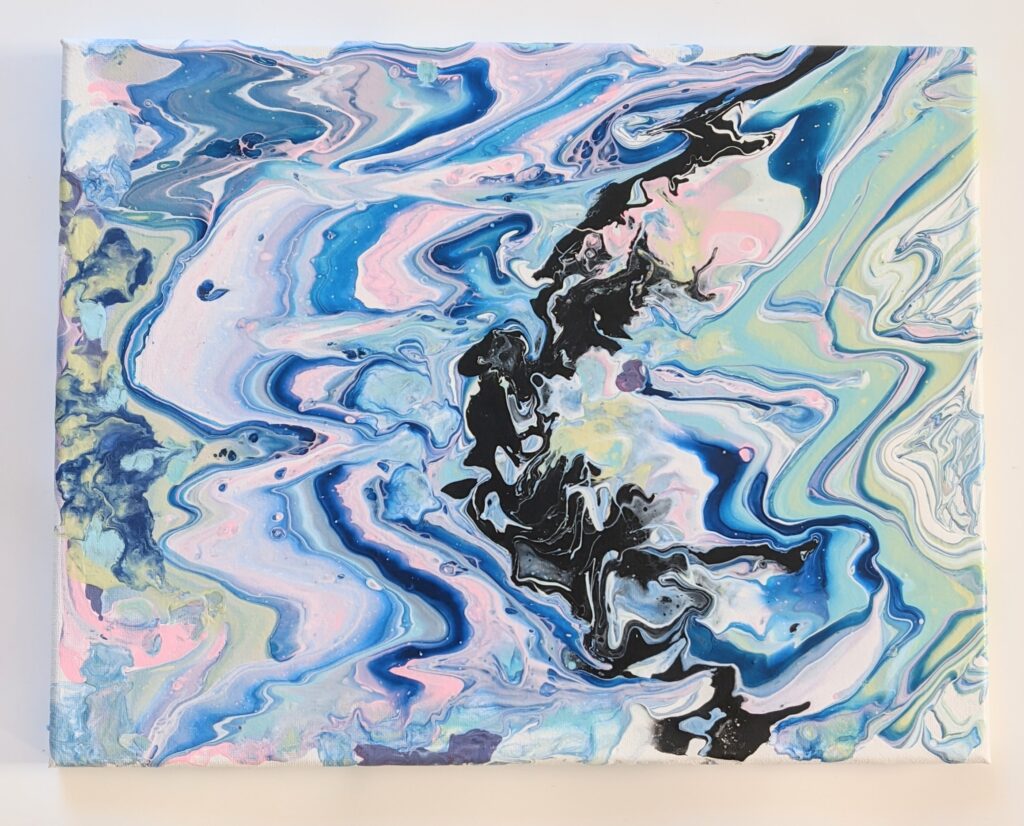
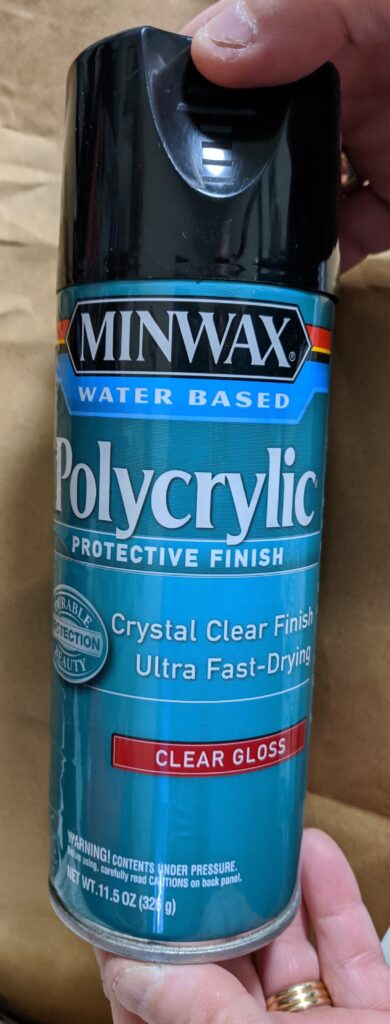
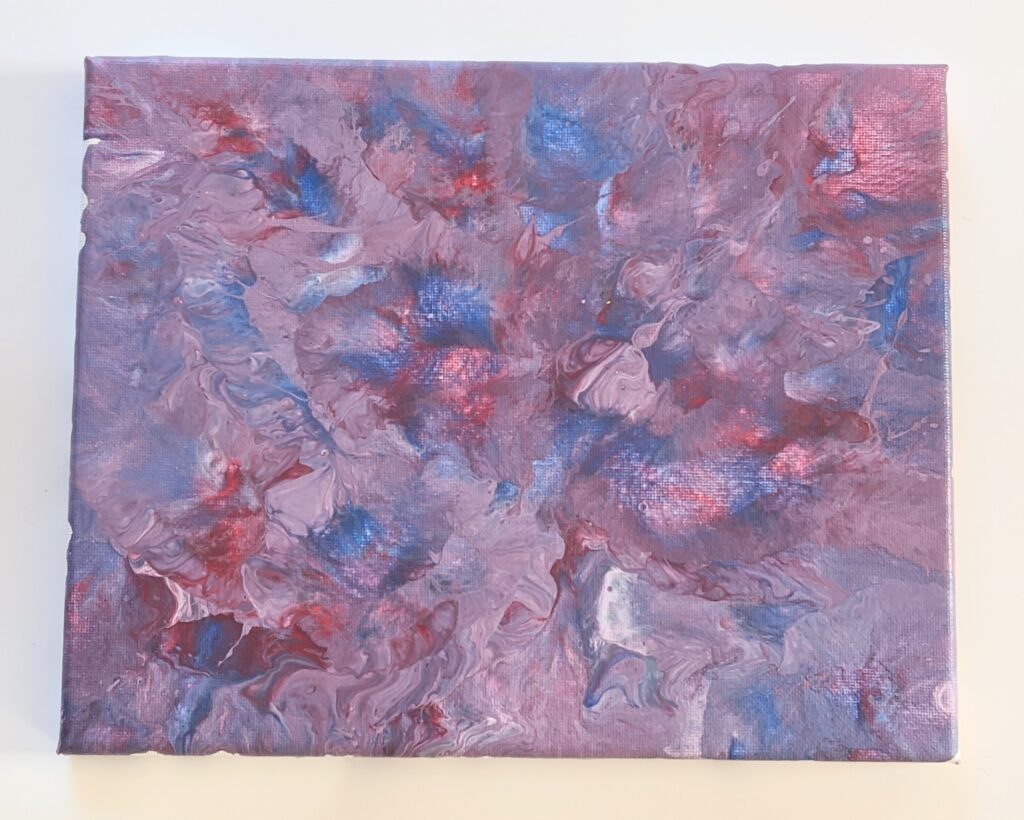
As mentioned, we applied a clear pouring top coat to our first painting. We probably should have used more. After pouring some on, we tried to spread it a bit with a craft stick before tilting it with the hope that it would spread more before drying. In the end, the top coat did not fully cover the surface. Nevertheless, I still love the outcome! As also mentioned above, a polycrylic protective finish was applied to one of the other paintings.
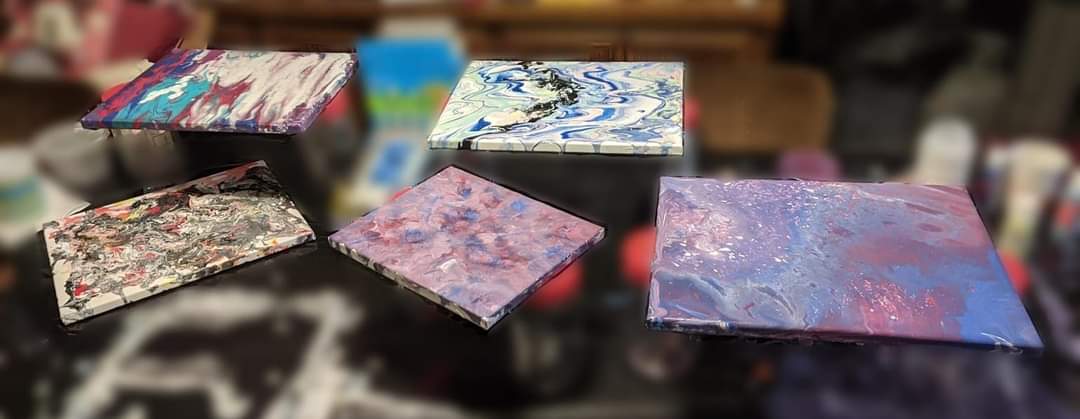
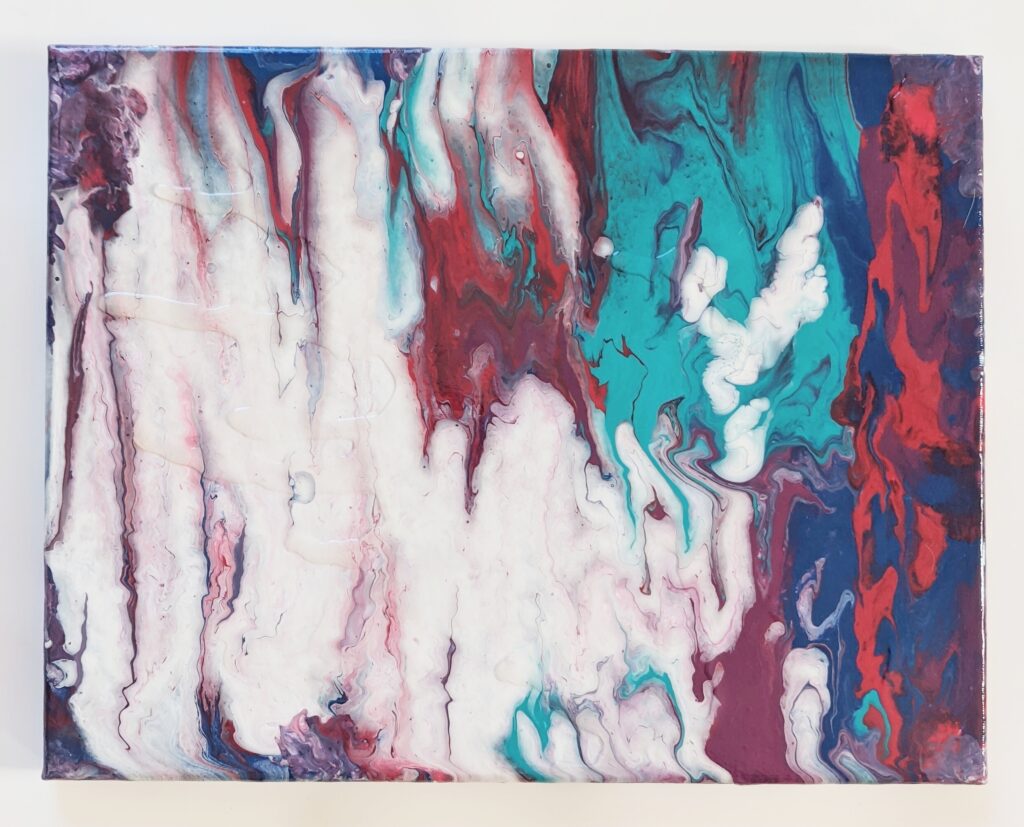
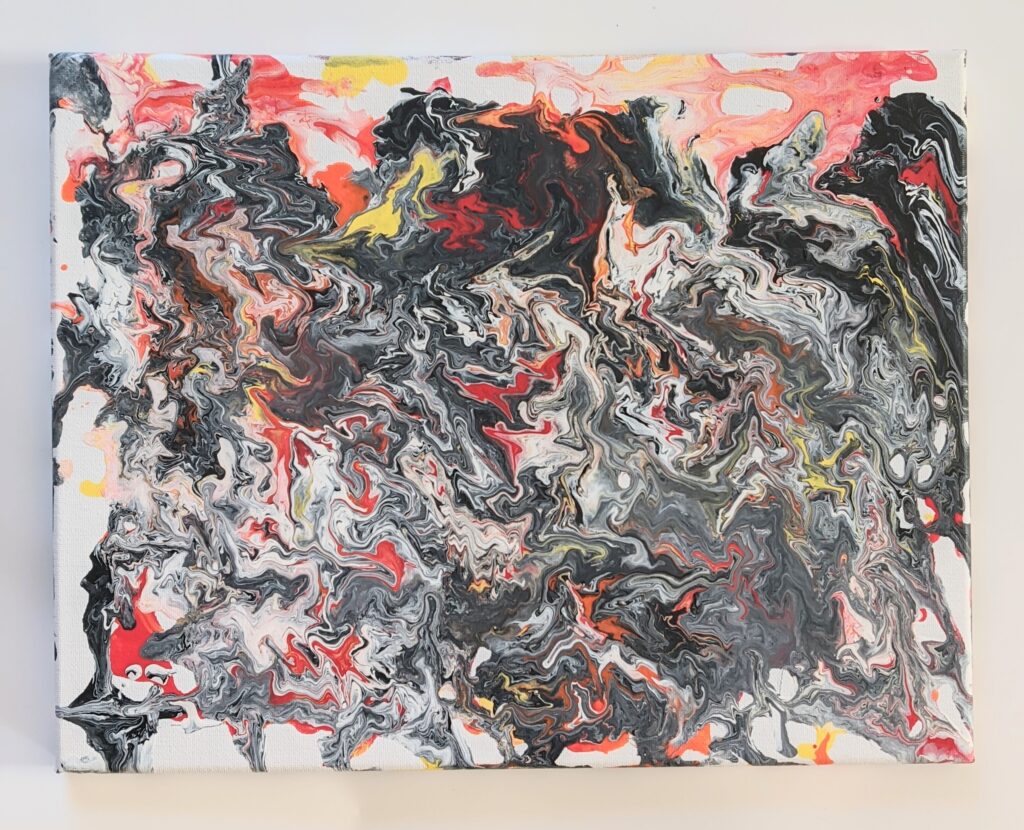
I am thrilled with the final results of our paintings! This was our first time trying this, and, although we may tweak things a little the next time, we enjoyed ourselves and really like the final outcomes! Now we just have to find just the right wall space to display our creations! My next plan with the pour painting is to create a grouping of paintings with the same color palette. I picked up some 12in x 12in canvases with this in mind.
I highly suggest that you give this a try! If you do, send me pictures of your art work!


2 Comments
The Husband
This was lots of fun – I highly recommend it as a family activity! If you set it all up, right, you can make a big mess while having fun, but have an easy cleanup, afterward. 😉😎
Beckie
We will have to do it again, with or without the kids!