Enjoy Your Wine; Then Upcycle the Wine Bottle!
Last month I attended a local craft show at my area community arts center. Several of the vendors represented larger brands, but there were some individual crafters and artists as well. One of the tables really caught my eye–it was covered with beautifully decorated bottles. I had seen similar items on-line, but you get a different reaction seeing such artwork in person. I chatted with the artist for a bit and took one of her flyers. Later that day, at risk of freaking this woman out, I sent her an e-mail telling her a little about my blog “project” and asking if she would be interested in showing me how she decorates some of her bottles. (I did not even know her name; it wasn’t on the information I had taken.) I give her credit–she had no recollection as to who I was, but she responded and was willing to share her craft with me. (Brave woman–she had no idea what she was getting herself into!) Fortunately for me, she did put her name at the end of her e-mail.
Karuna and I checked our calendars and made plans to get together last Saturday. Let me start by saying that I had such a wonderful afternoon at her home! She was ready to teach me how to decorate an empty wine bottle using a decoupage technique. The process was not difficult, but it did take some time due to drying times between steps. That just gave us more time to talk! (I am slowly trying to bring back face-to-face conversations, one person at a time.)
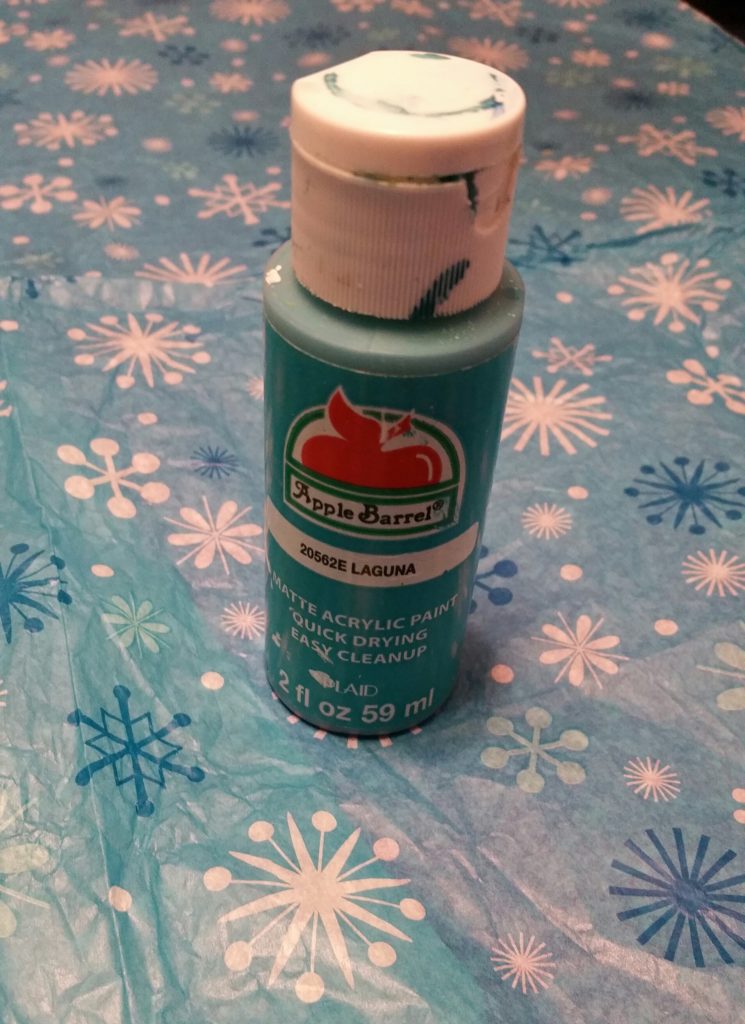
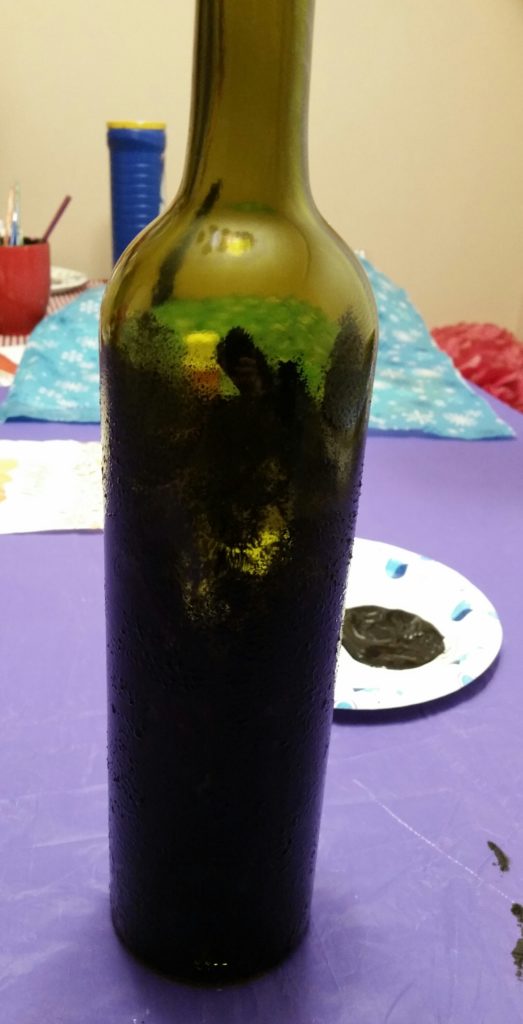
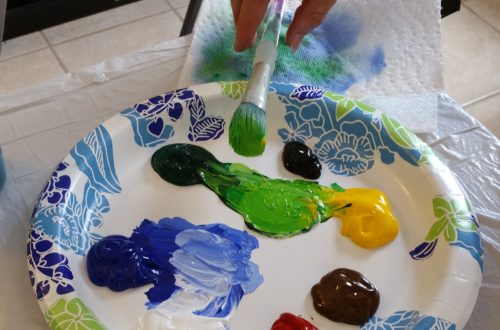
She already had a clean bottle ready to go. She had the options of winter-themed tissue paper (the kind used when packaging gifts) or decorative napkins to use for a pattern. I chose the snowflake patterned tissue paper. Karuna had acrylic paint available that would work well colorwise with the paper.
Prior to applying the main color, a base coat was applied. We combined black acrylic paint with some mod podge. Two coats of the paint/mod podge combination were applied with drying time between coats. The mod podge helps decrease the chance of the paint peeling. The coverage did not have to be perfect with each layer of paint, especially since the bottle was slightly dark to begin (it was an empty green bottle). Additionally, the use of two coats allowed for better coverage by default.
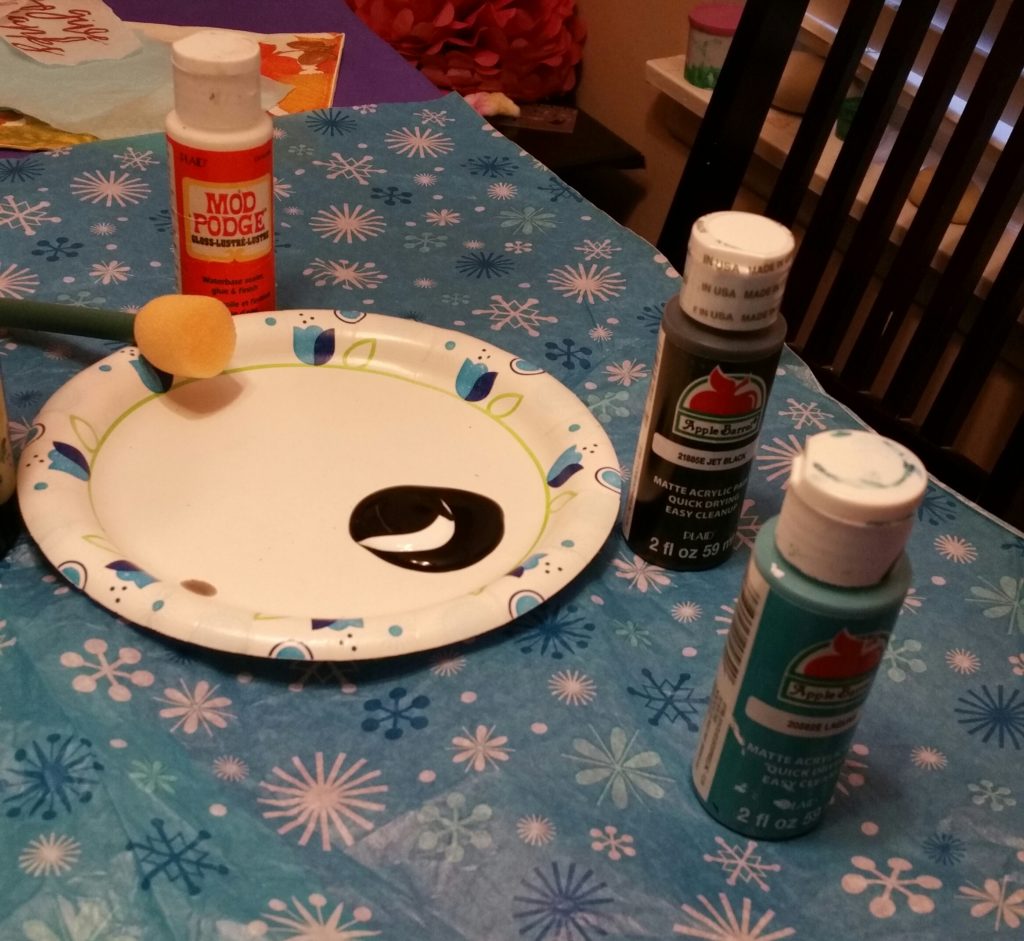

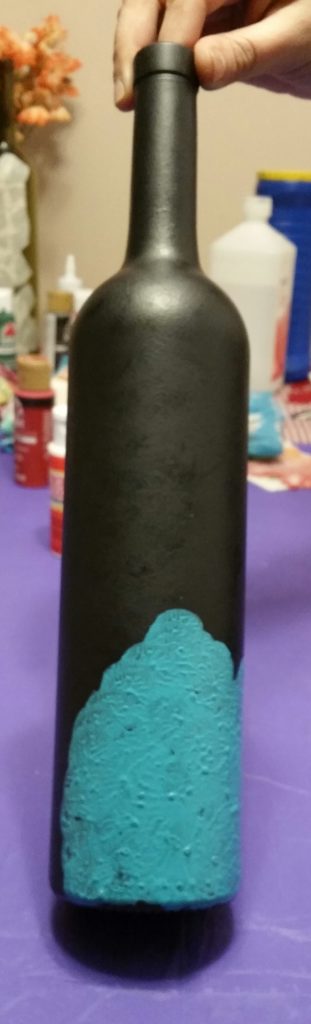
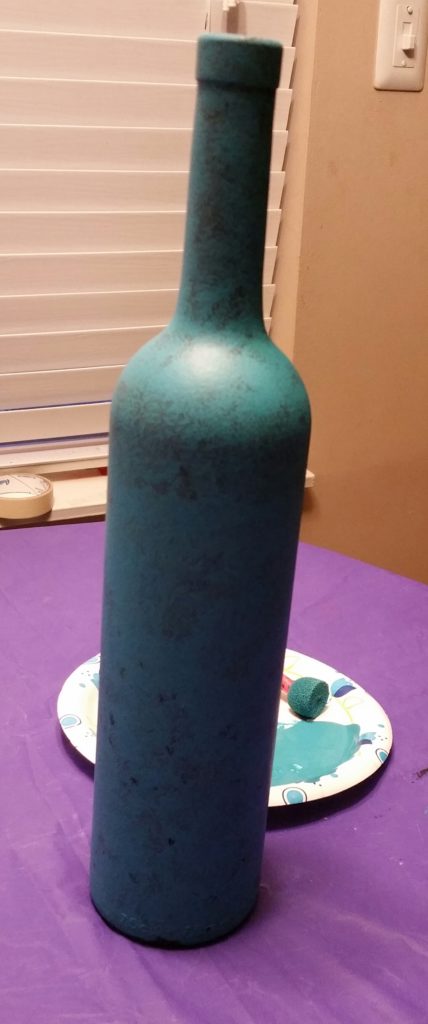
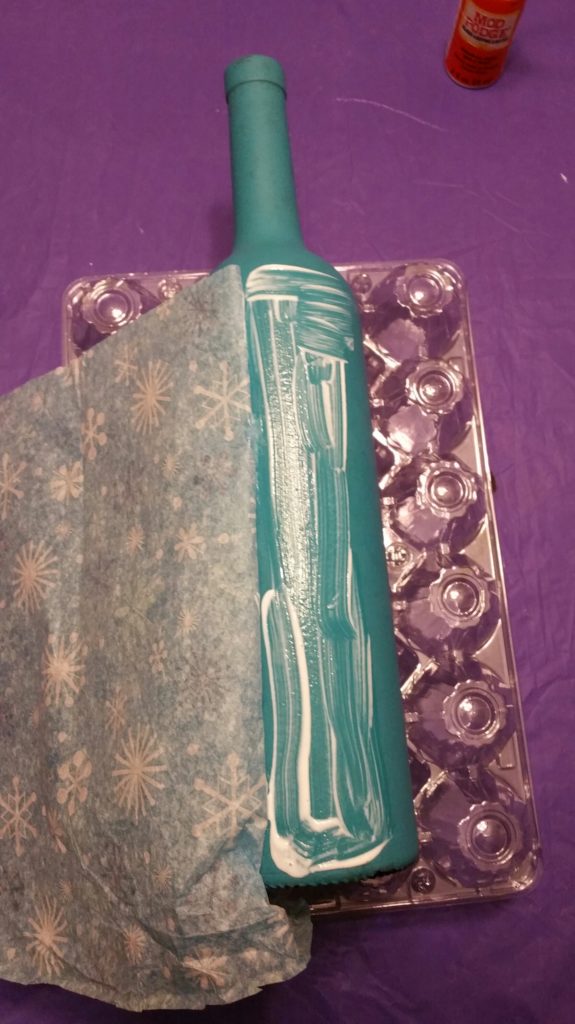
Next, the main color was applied. Like the base coat, this was mixed with mod podge prior to applying to the bottle. Once again, it was applied in two coats with drying time between each coat. The layers of paint were not unusually thick, so the drying time was not excessive. Each time a layer of paint was finished, Karuna took the bottle from me and just put it by her floor vent to help speed up the drying process; it worked like a charm!
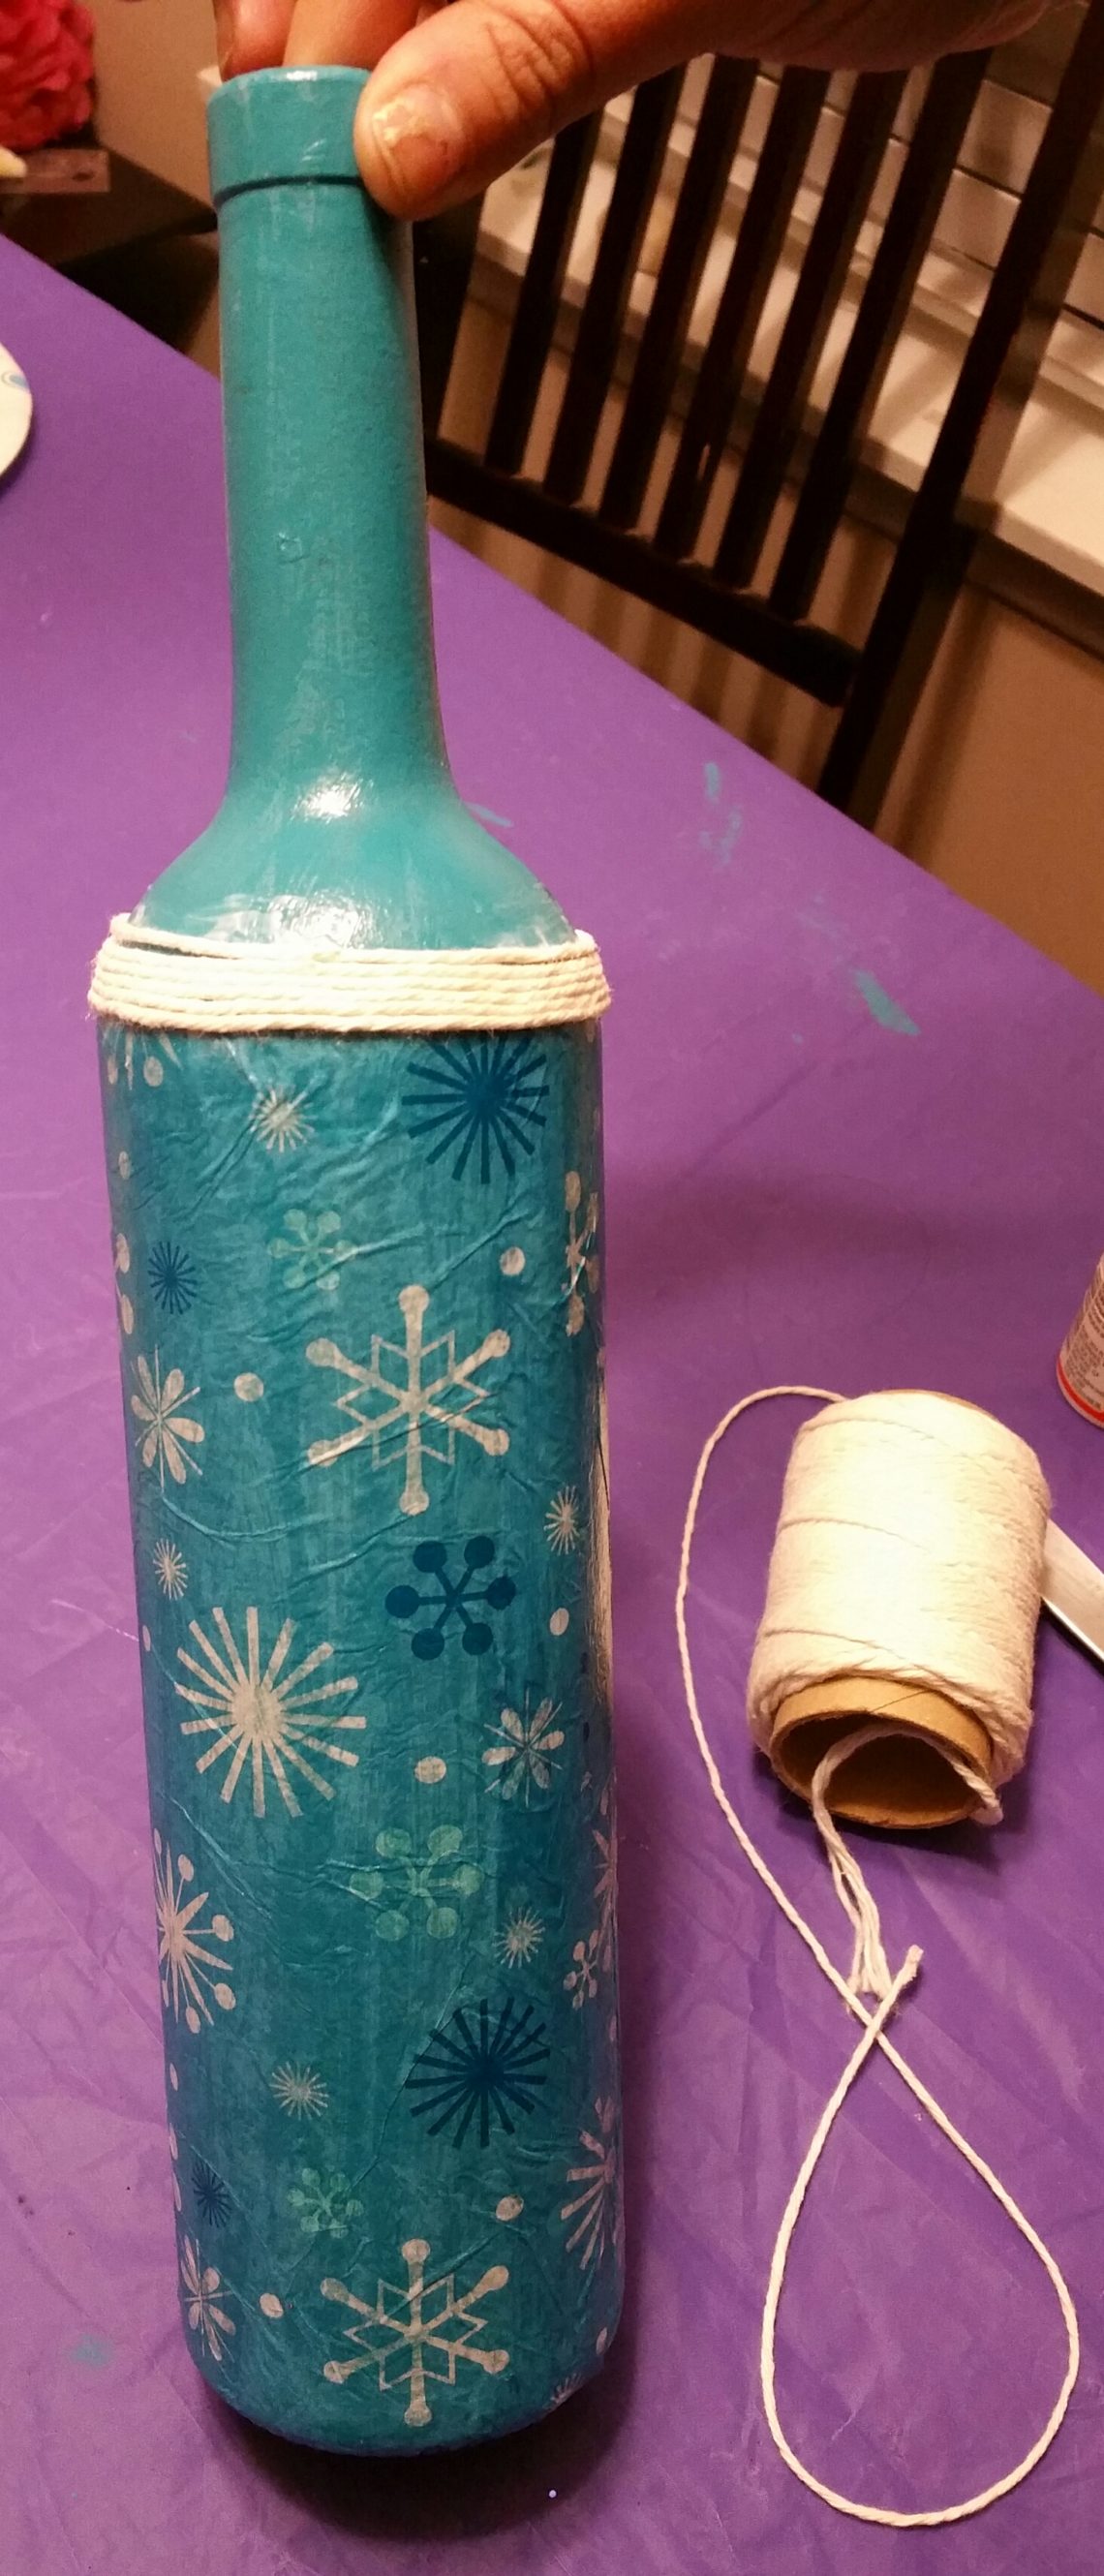
At this point, the bottle was pretty simply due to the paint, but we weren’t done yet! The tissue paper was cut more-or-less to size (it was longer than necessary allowing for some “fine-tuning” after gluing). The mod podge was painted along a vertical area of the bottle, and the tissue paper was gently apply and pressed into place. For support, the bottle was resting on an old empty egg carton. That was definitely helpful. We just continued the process of painting glue, pressing paper, and rolling until the parts of the bottle we chose to cover were covered. I had decided to cover the whole body but not the neck of the bottle.

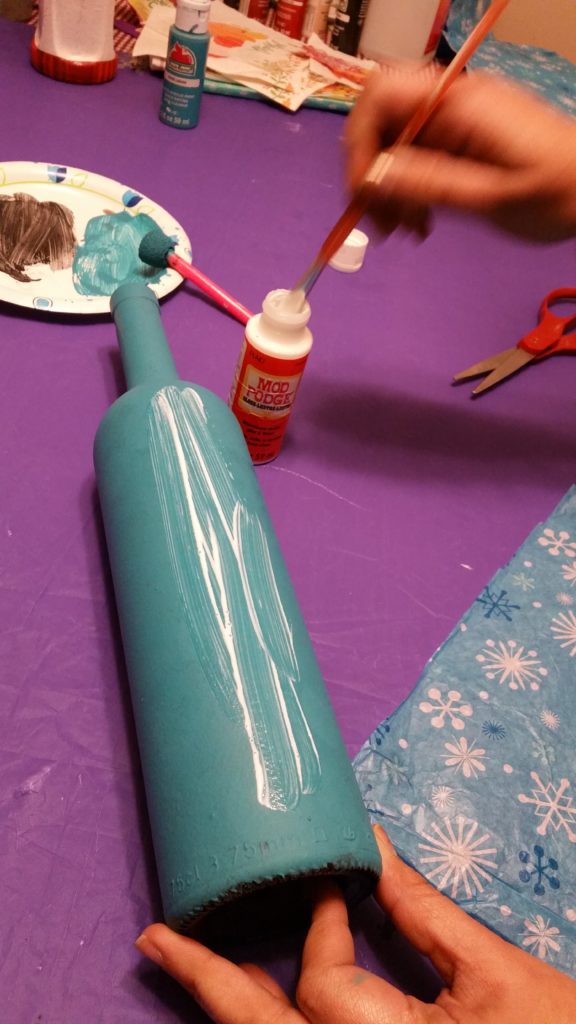

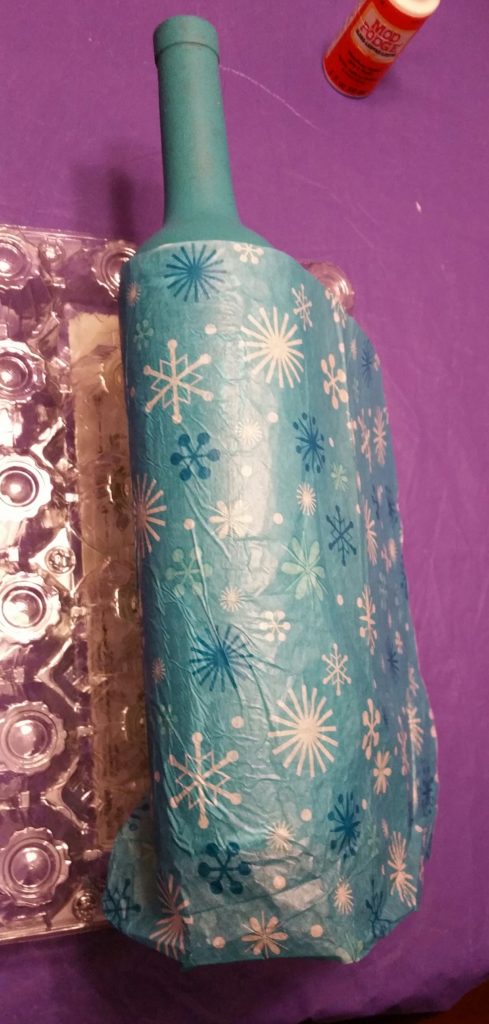


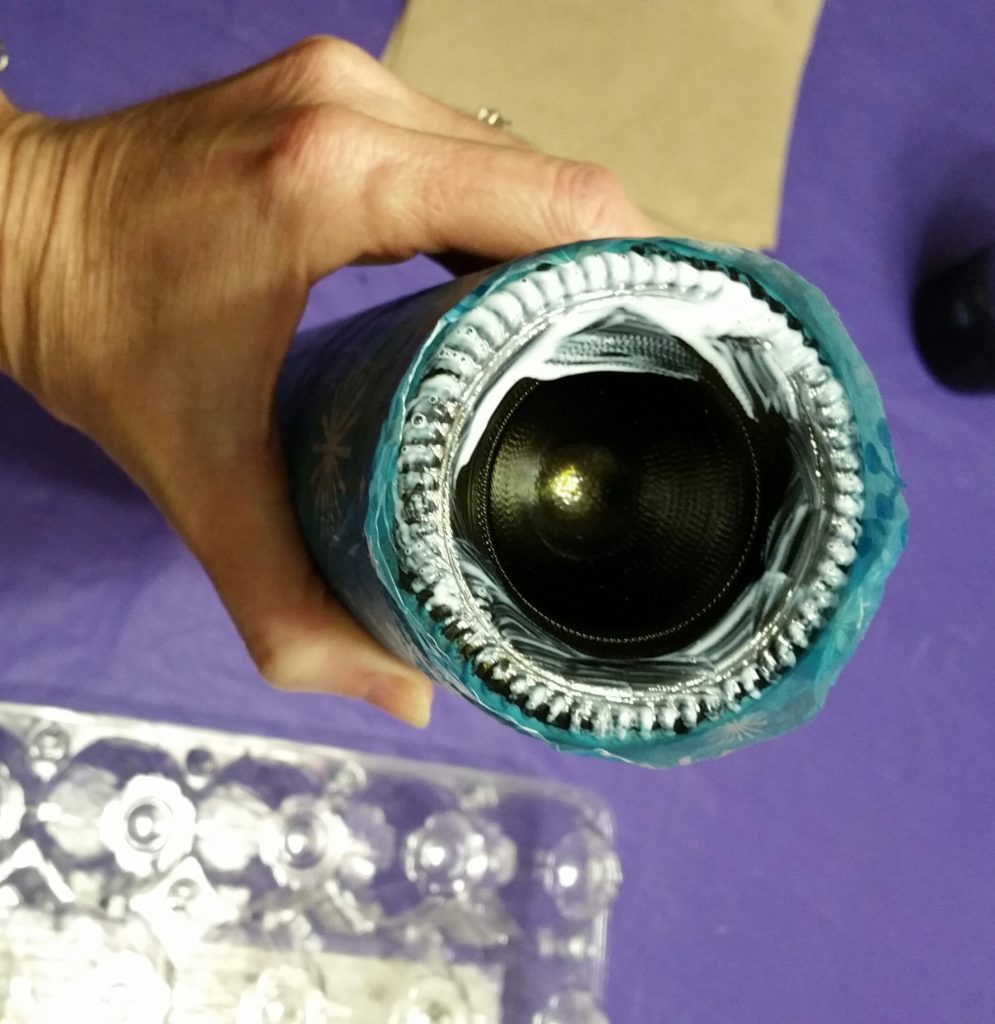
After covering the desired surface, excess tissue paper was cut from the bottom. A little mod podge was applied to the outer part of the bottom of the bottle, and the edges of the paper were pressed down. Mod podge was then applied to the entire bottle to help seal everything.
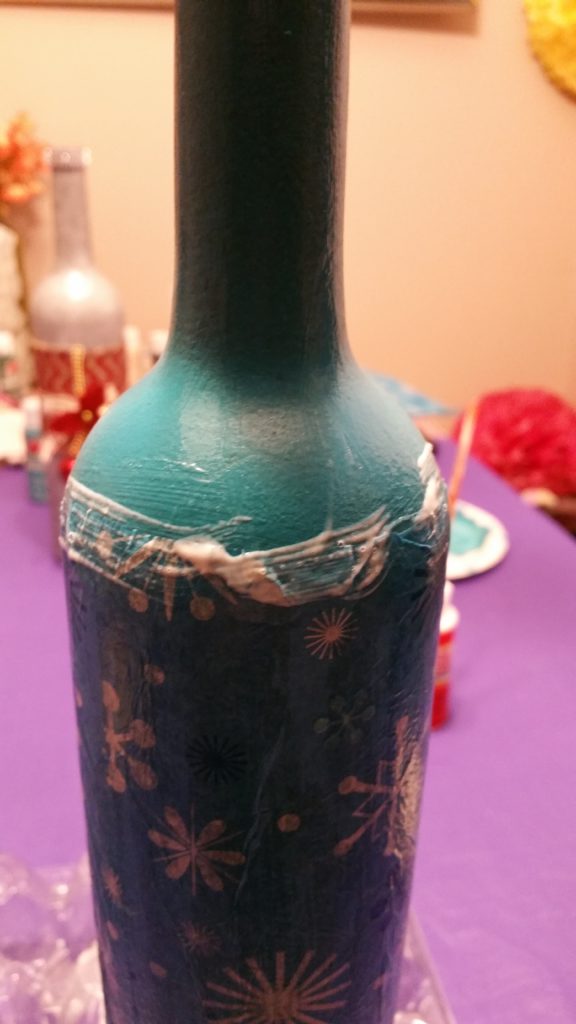
The top edges of the paper did not line up perfectly. (Seriously, how often does “perfect” happen with crafting, especially with a new project?) I could not move or adjust the paper at this point; it was glued down. I could, however, camouflage it with additional decorative elements. Options could have included pieces of cloth or lace, glitter, or ribbon or string. In this case, we had string available. Mod podge was applied around the area of the bottle that I wanted to cover, and the string was gradually wrapped around a few times. This covered up the uneven edges (shhh!) while adding another element to the design.

As the bottle finished drying, I ended the afternoon sitting with Karuna and her husband, drinking tea (whatever Karuna did to it, it was delicious!), and having a wonderful conversation!
What started as me enjoying beautiful bottles at an art show turned into making some new friends while at the same time creating a beautiful project which I will proudly display this winter!

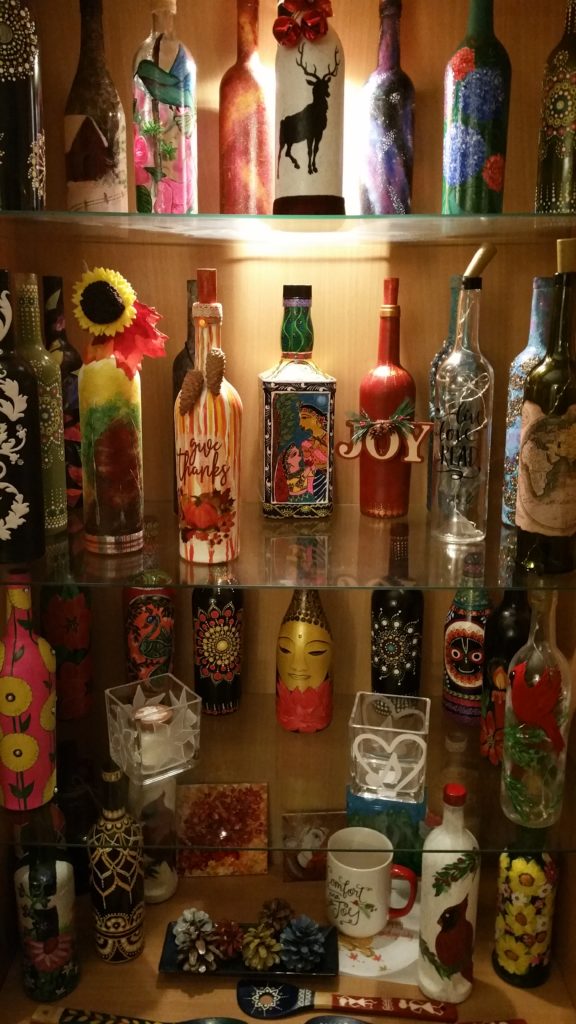
The photo below shows some of the bottles Karuna has decorated in the past. You can find more of her work, “Decorabots,” on-line. You can also reach her at decorabots@gmail.com.
With lots of holiday celebrations coming up, you now have something new you can try with your empty wine bottles, however many that may be. But wait, here is another option: I don’t drink wine, so feel free to give some of your empty bottles to me so that I can decorate some more!


4 Comments
Sharai
I love wine so I was glad to read this article! I have several bottles that I have saved for just a project like this. Can’t wait to try it!
Beckie
Have fun! I would love to see photos of the final results!
Shameeza
Those are very beautiful and look so amazing.
Beckie
Thank you! I enjoyed making the bottle, and my “instructor” for the day does beautiful work.