Making Rope Coasters with the Husband and College-Age Kids–A Successful Family Project
Over the years, Pinterest and regular perusal of Michael’s ads have lead me to become more interested in crafting. I love the idea of being able to say “I did it!” or “Yes, I made that myself.” Honestly, though, I don’t feel that I have the patience to fully commit to any one type of project nor the patience to work on a project that will take a long period of time. For example, although I would love to say that I knit an afghan, the truth is that I don’t see myself doing that (for now; it may change in the future.) I did get into beading and jewelry making for a while, and I still love wearing what I made. Even then, though, any project could be started and completed in one sitting. The main reason that I have taken a hiatus from that is that I don’t know what type of jewelry I “need” to complete an outfit nor what others might like.
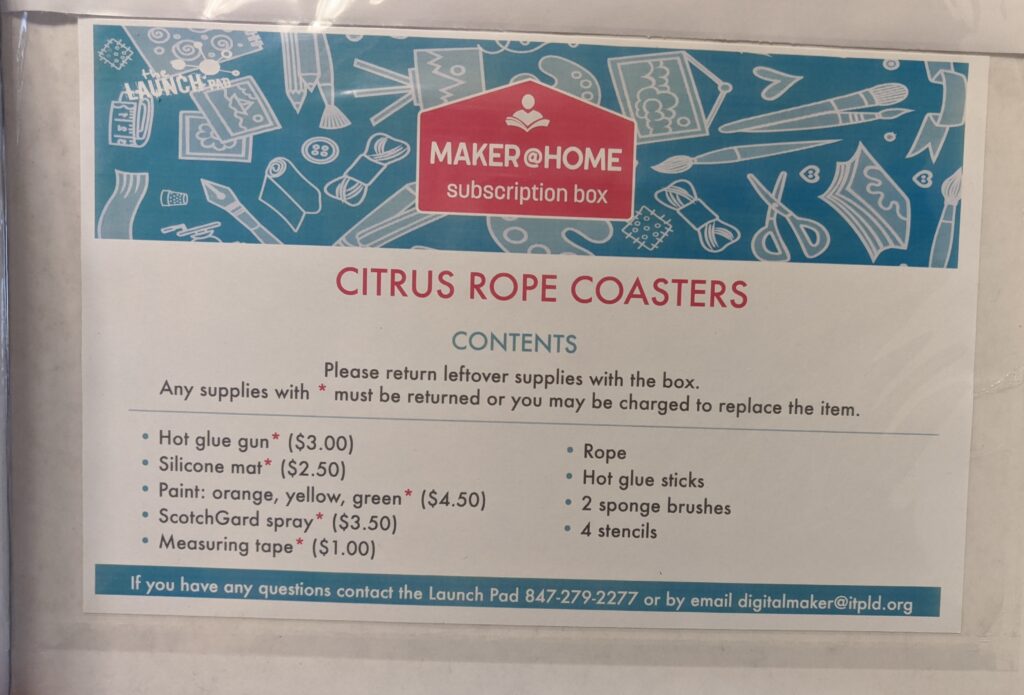
Fortunately for me, I live fairly equidistant from two great community public libraries. One of them has a program called Maker@Home subscription box, and I have enjoyed multiple boxes over the past year or so. This subscription box is similar to a meal prep subscription box in that all of the contents to prepare the craft plus instructions are included. Some of the materials are part of the final project; others are the tools needed. You keep your finished project and just return the remaining tools.
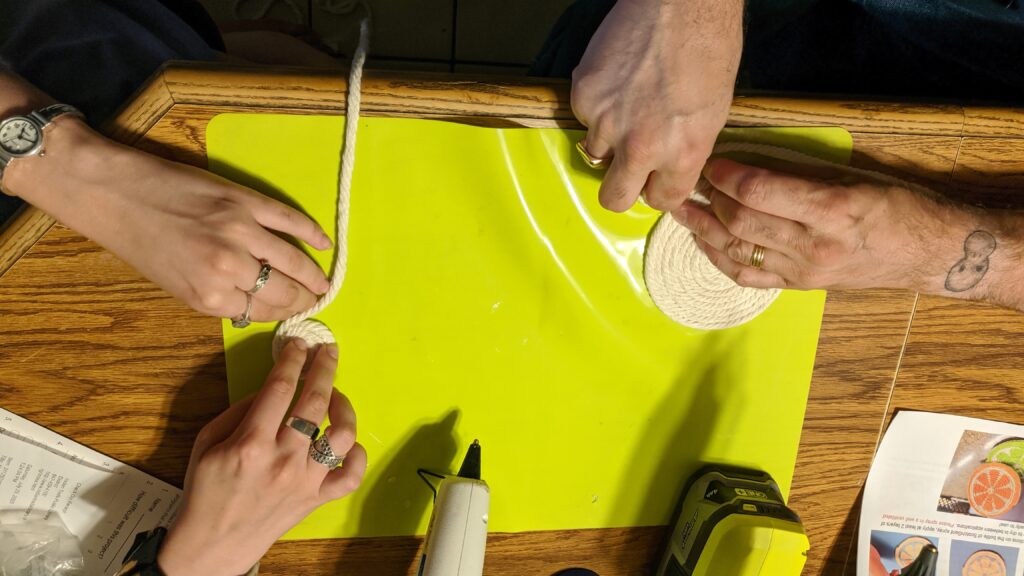
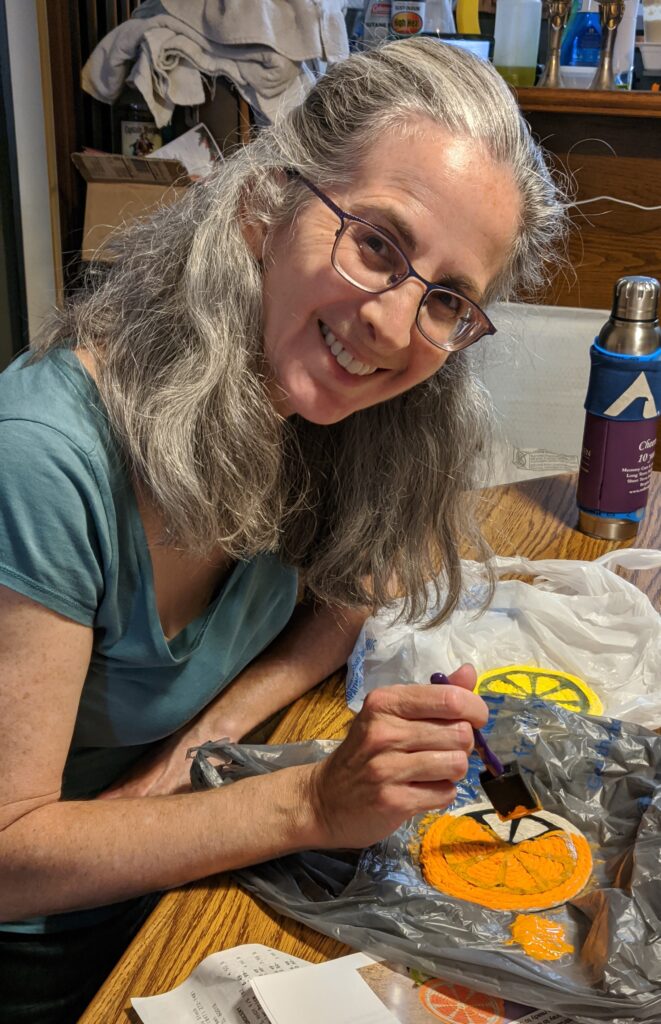
This summer, one box had all of the items needed to create “citrus rope coasters.” Per the instructions, there were enough materials to make four coasters, and the estimated time to complete the project was 30 minutes working time per coaster. I decided that this was the perfect opportunity to make this into a family project—one coaster each!
The supplies included with the box were: hot glue gun, silicone mat, paints (orange, yellow, green), ScotchGard spray, measuring tape, rope, hot glue sticks, 2 sponge brushes, and 4 stencils. For the sake of allowing more than one of us to create at time, we did use a second glue gun that we already had. We also used a lot more than just 2 glue sticks—we were very liberal with the use of glue and used it on the base of the coasters as well as to keep the coil together as we rolled it. So that each of the four coasters would be different, we also took some paint from our own home paint stash. The included orange, yellow, and green paints would make the orange, lemon, and lime coasters. We chose to use red (with some other colors mixed in) to create our fourth citrus fruit—grapefruit. I also had plenty of foam brushes, so we each had our own to use for painting.
In the beginning, there was ROPE.
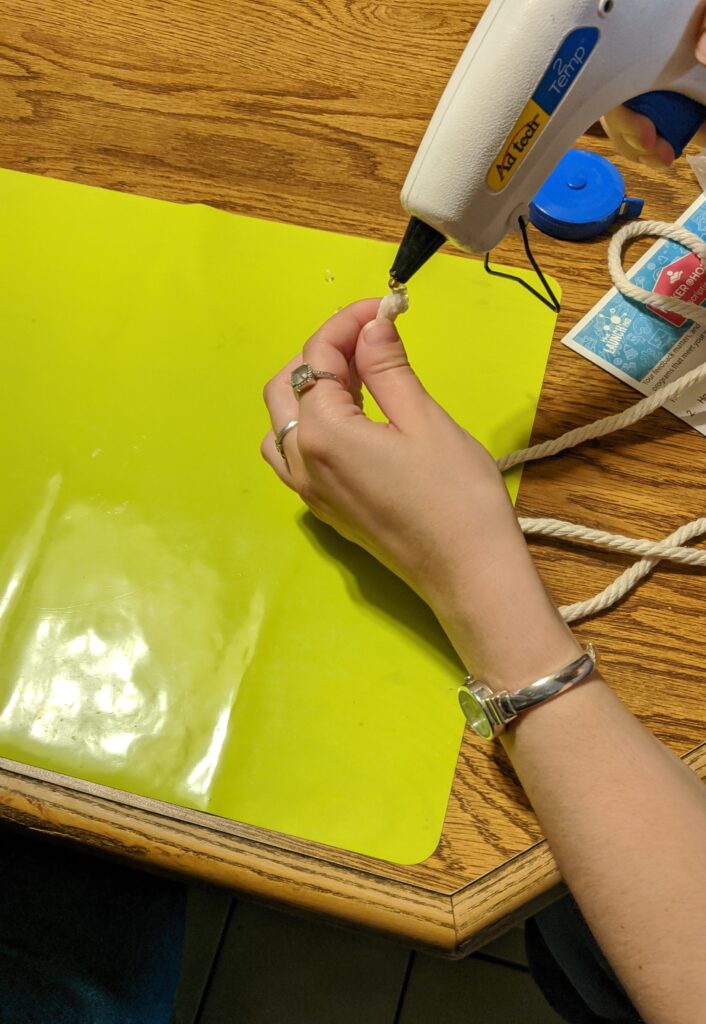
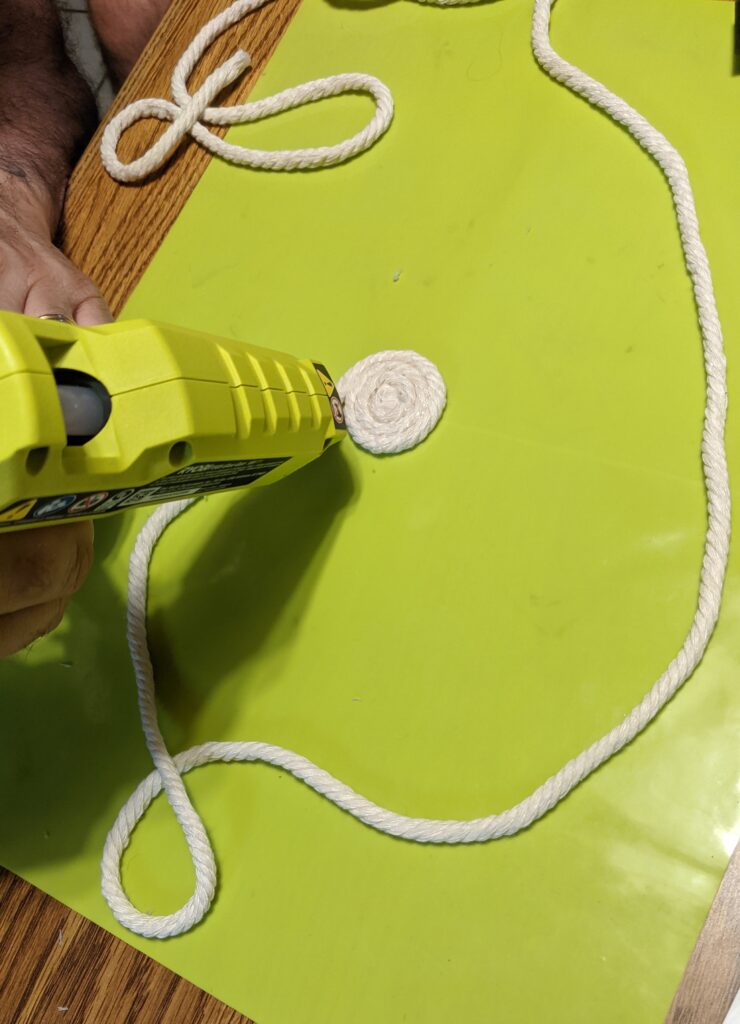
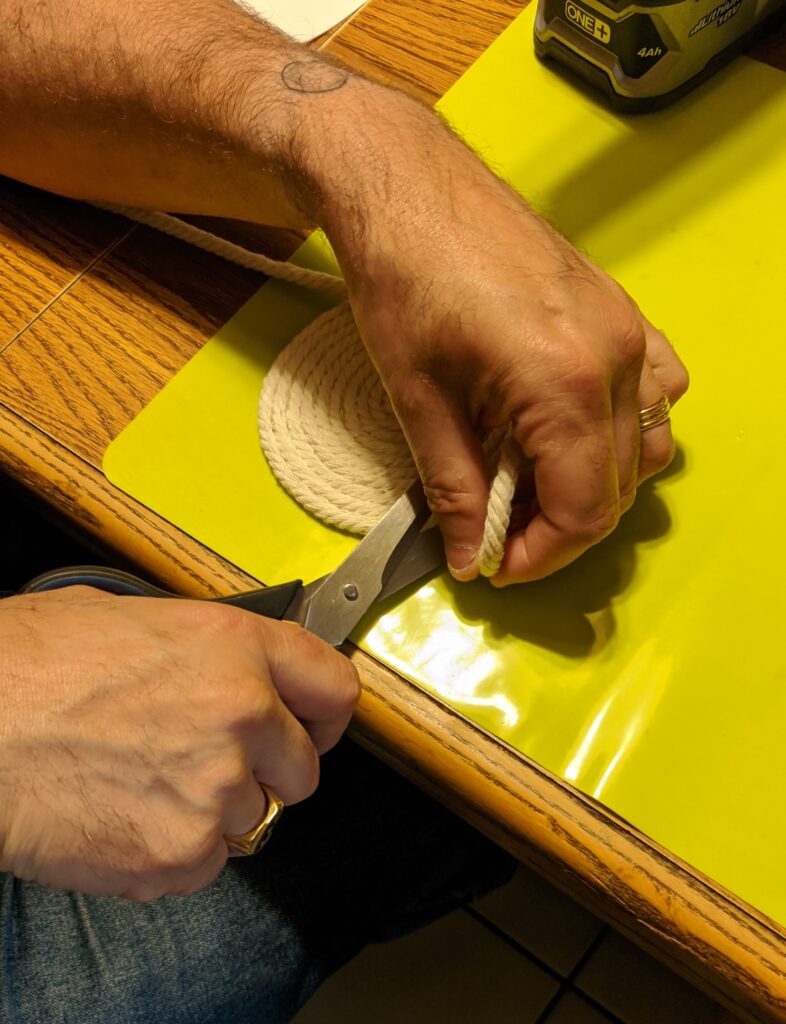
The box came with a large ball of rope. Knowing that there was enough for four coasters, we just cut the whole thing into four even pieces at the beginning. I should have measured each section, but, alas, I did not. The first step (and I am typing this verbatim from my instruction sheet) was to “curl one end of the rope in and secure with hot glue to create the center of your coaster. Place a line of hot glue along the edge of the center and press the rope into the glue to create a spiral.”
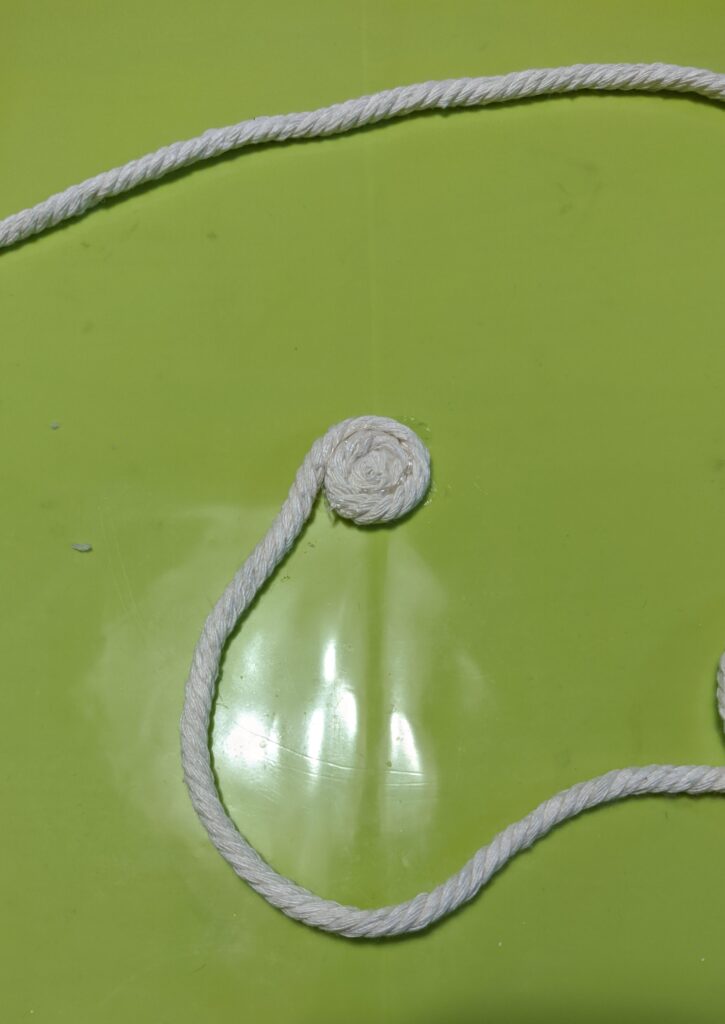
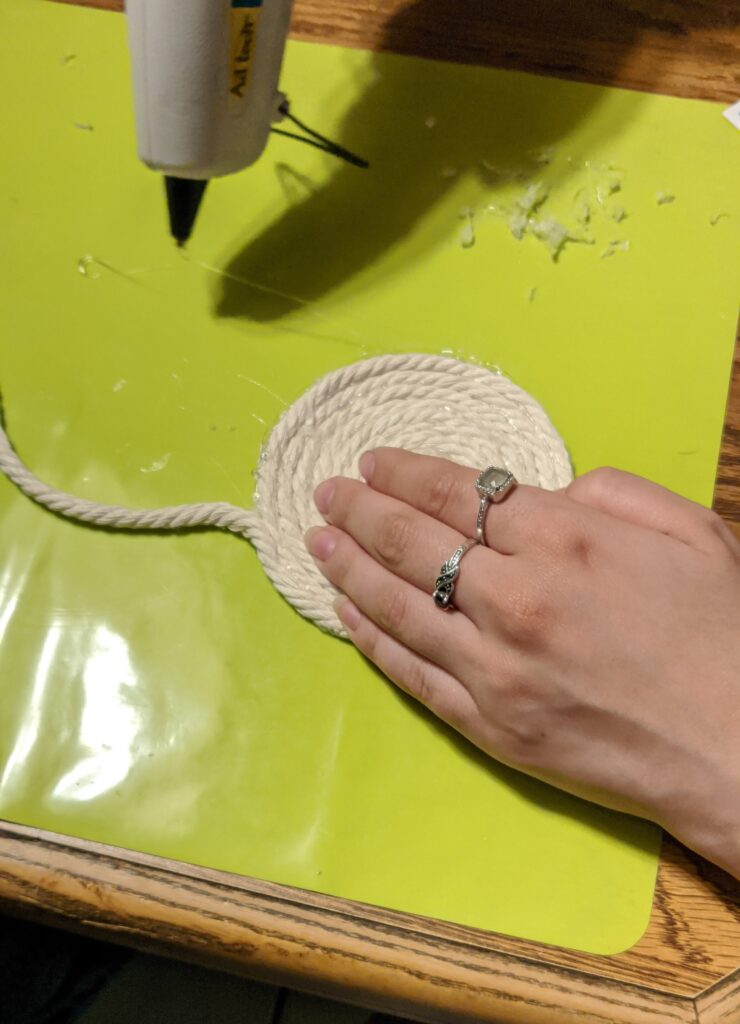
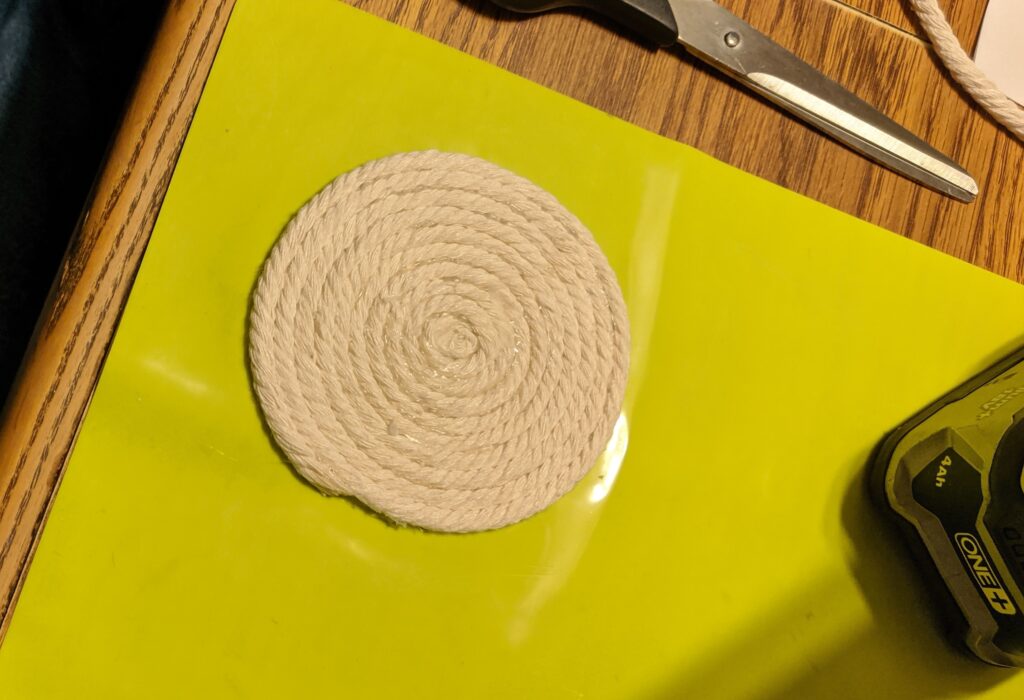
The gluing and coiling of the rope, one or two inches at a time, continued while taking time to press the coil flat on the mat. We kept coiling and gluing until the disc was approximately 4 inches across. At that point, we cut the end (there was more than enough rope) and secured the end with more glue to avoid fraying of the end as well as to keep it attached. Somehow, the one I was working on (the one that became the orange) was kind of wonky. Oh, well. Going rogue from the instruction sheet, we also covered the entire bottom of the coiled disc with more glue with the hope that this would provide even more stability over time. (Unbeknownst to me, we had an ample supply of glue sticks in the cupboard. Good to know for the future.)
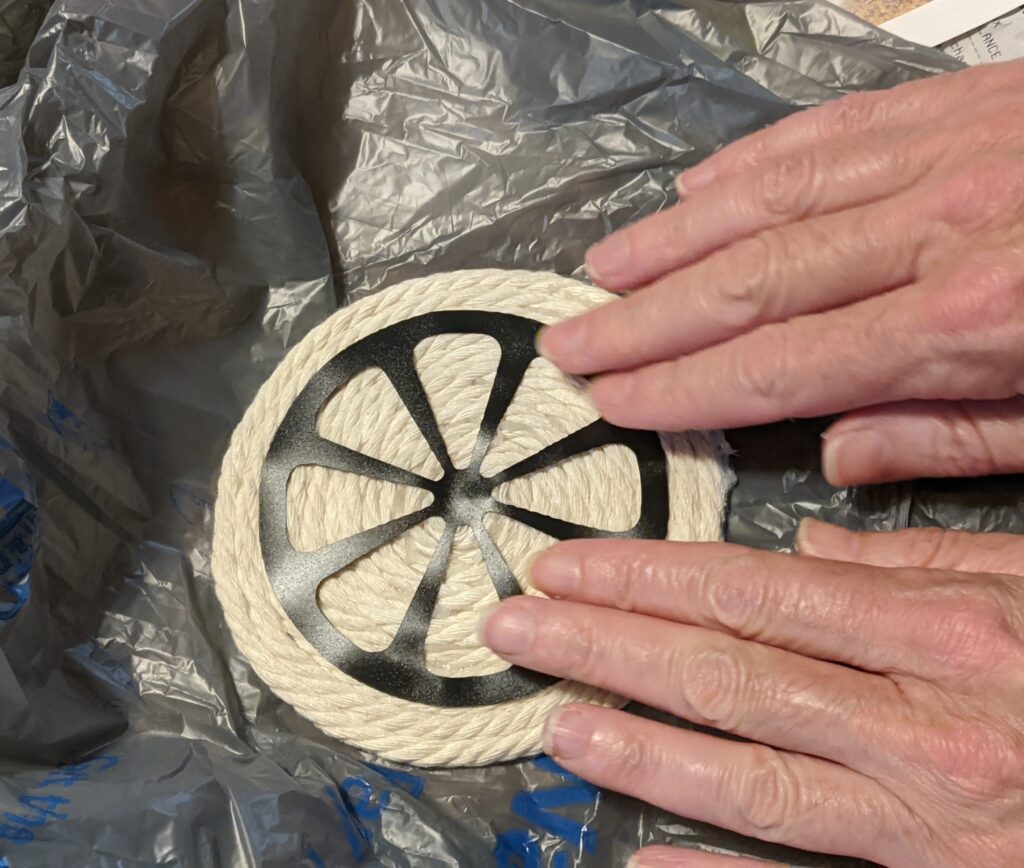
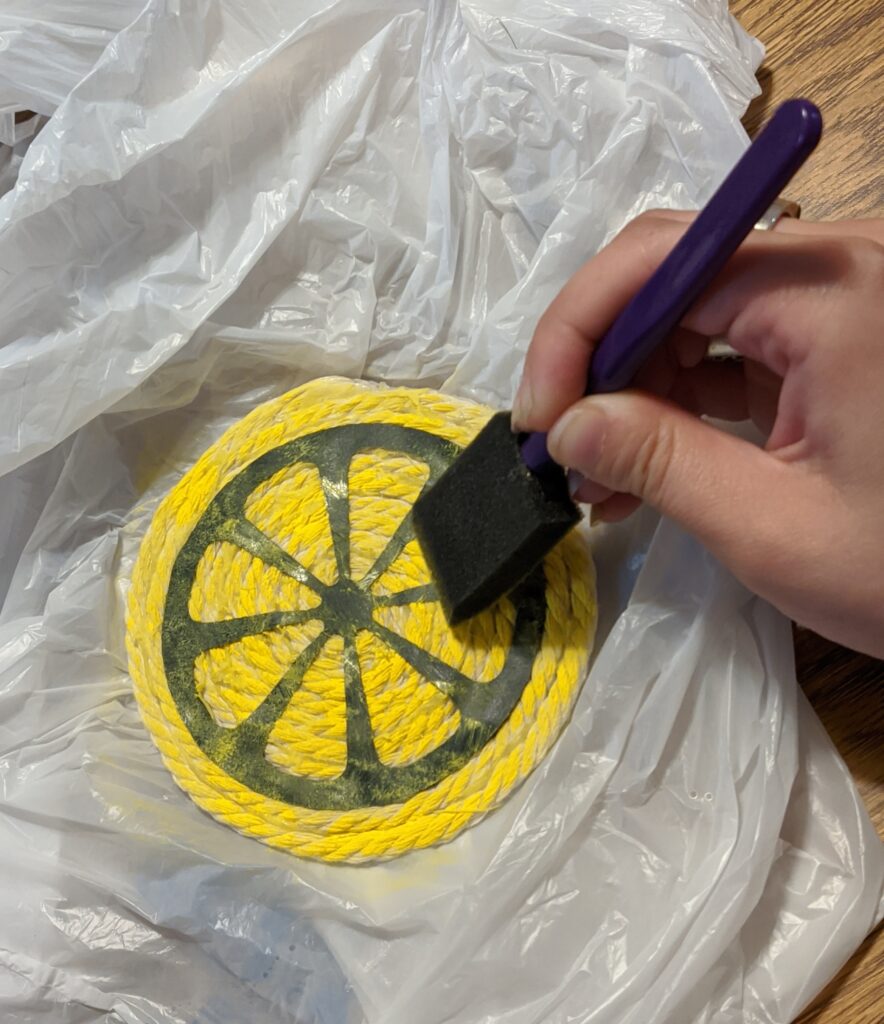
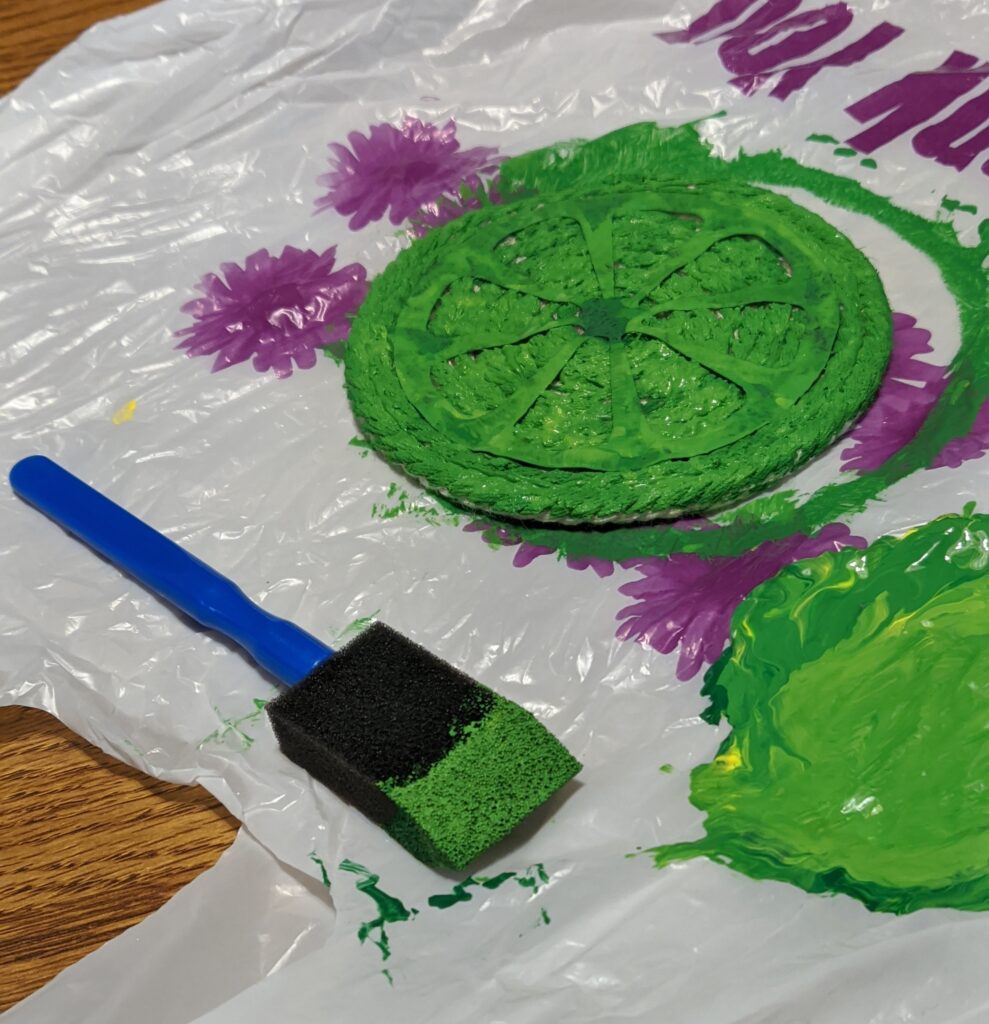
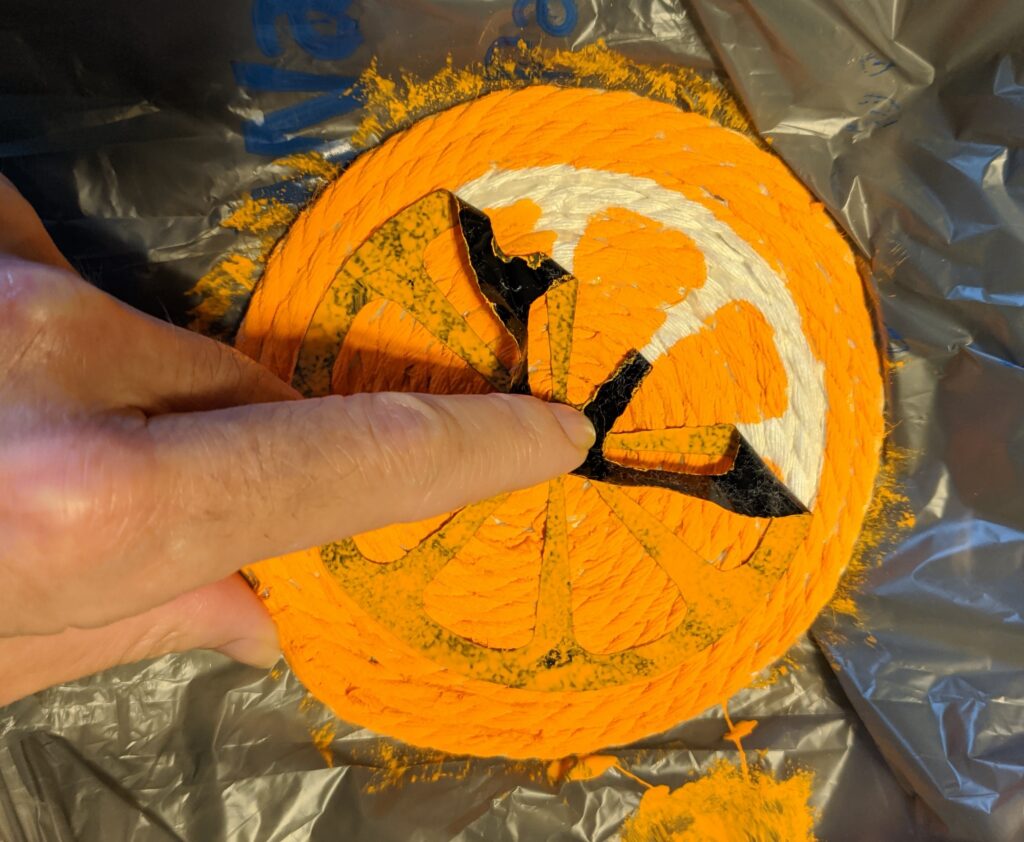
Time to get fruity with stencils and paint.
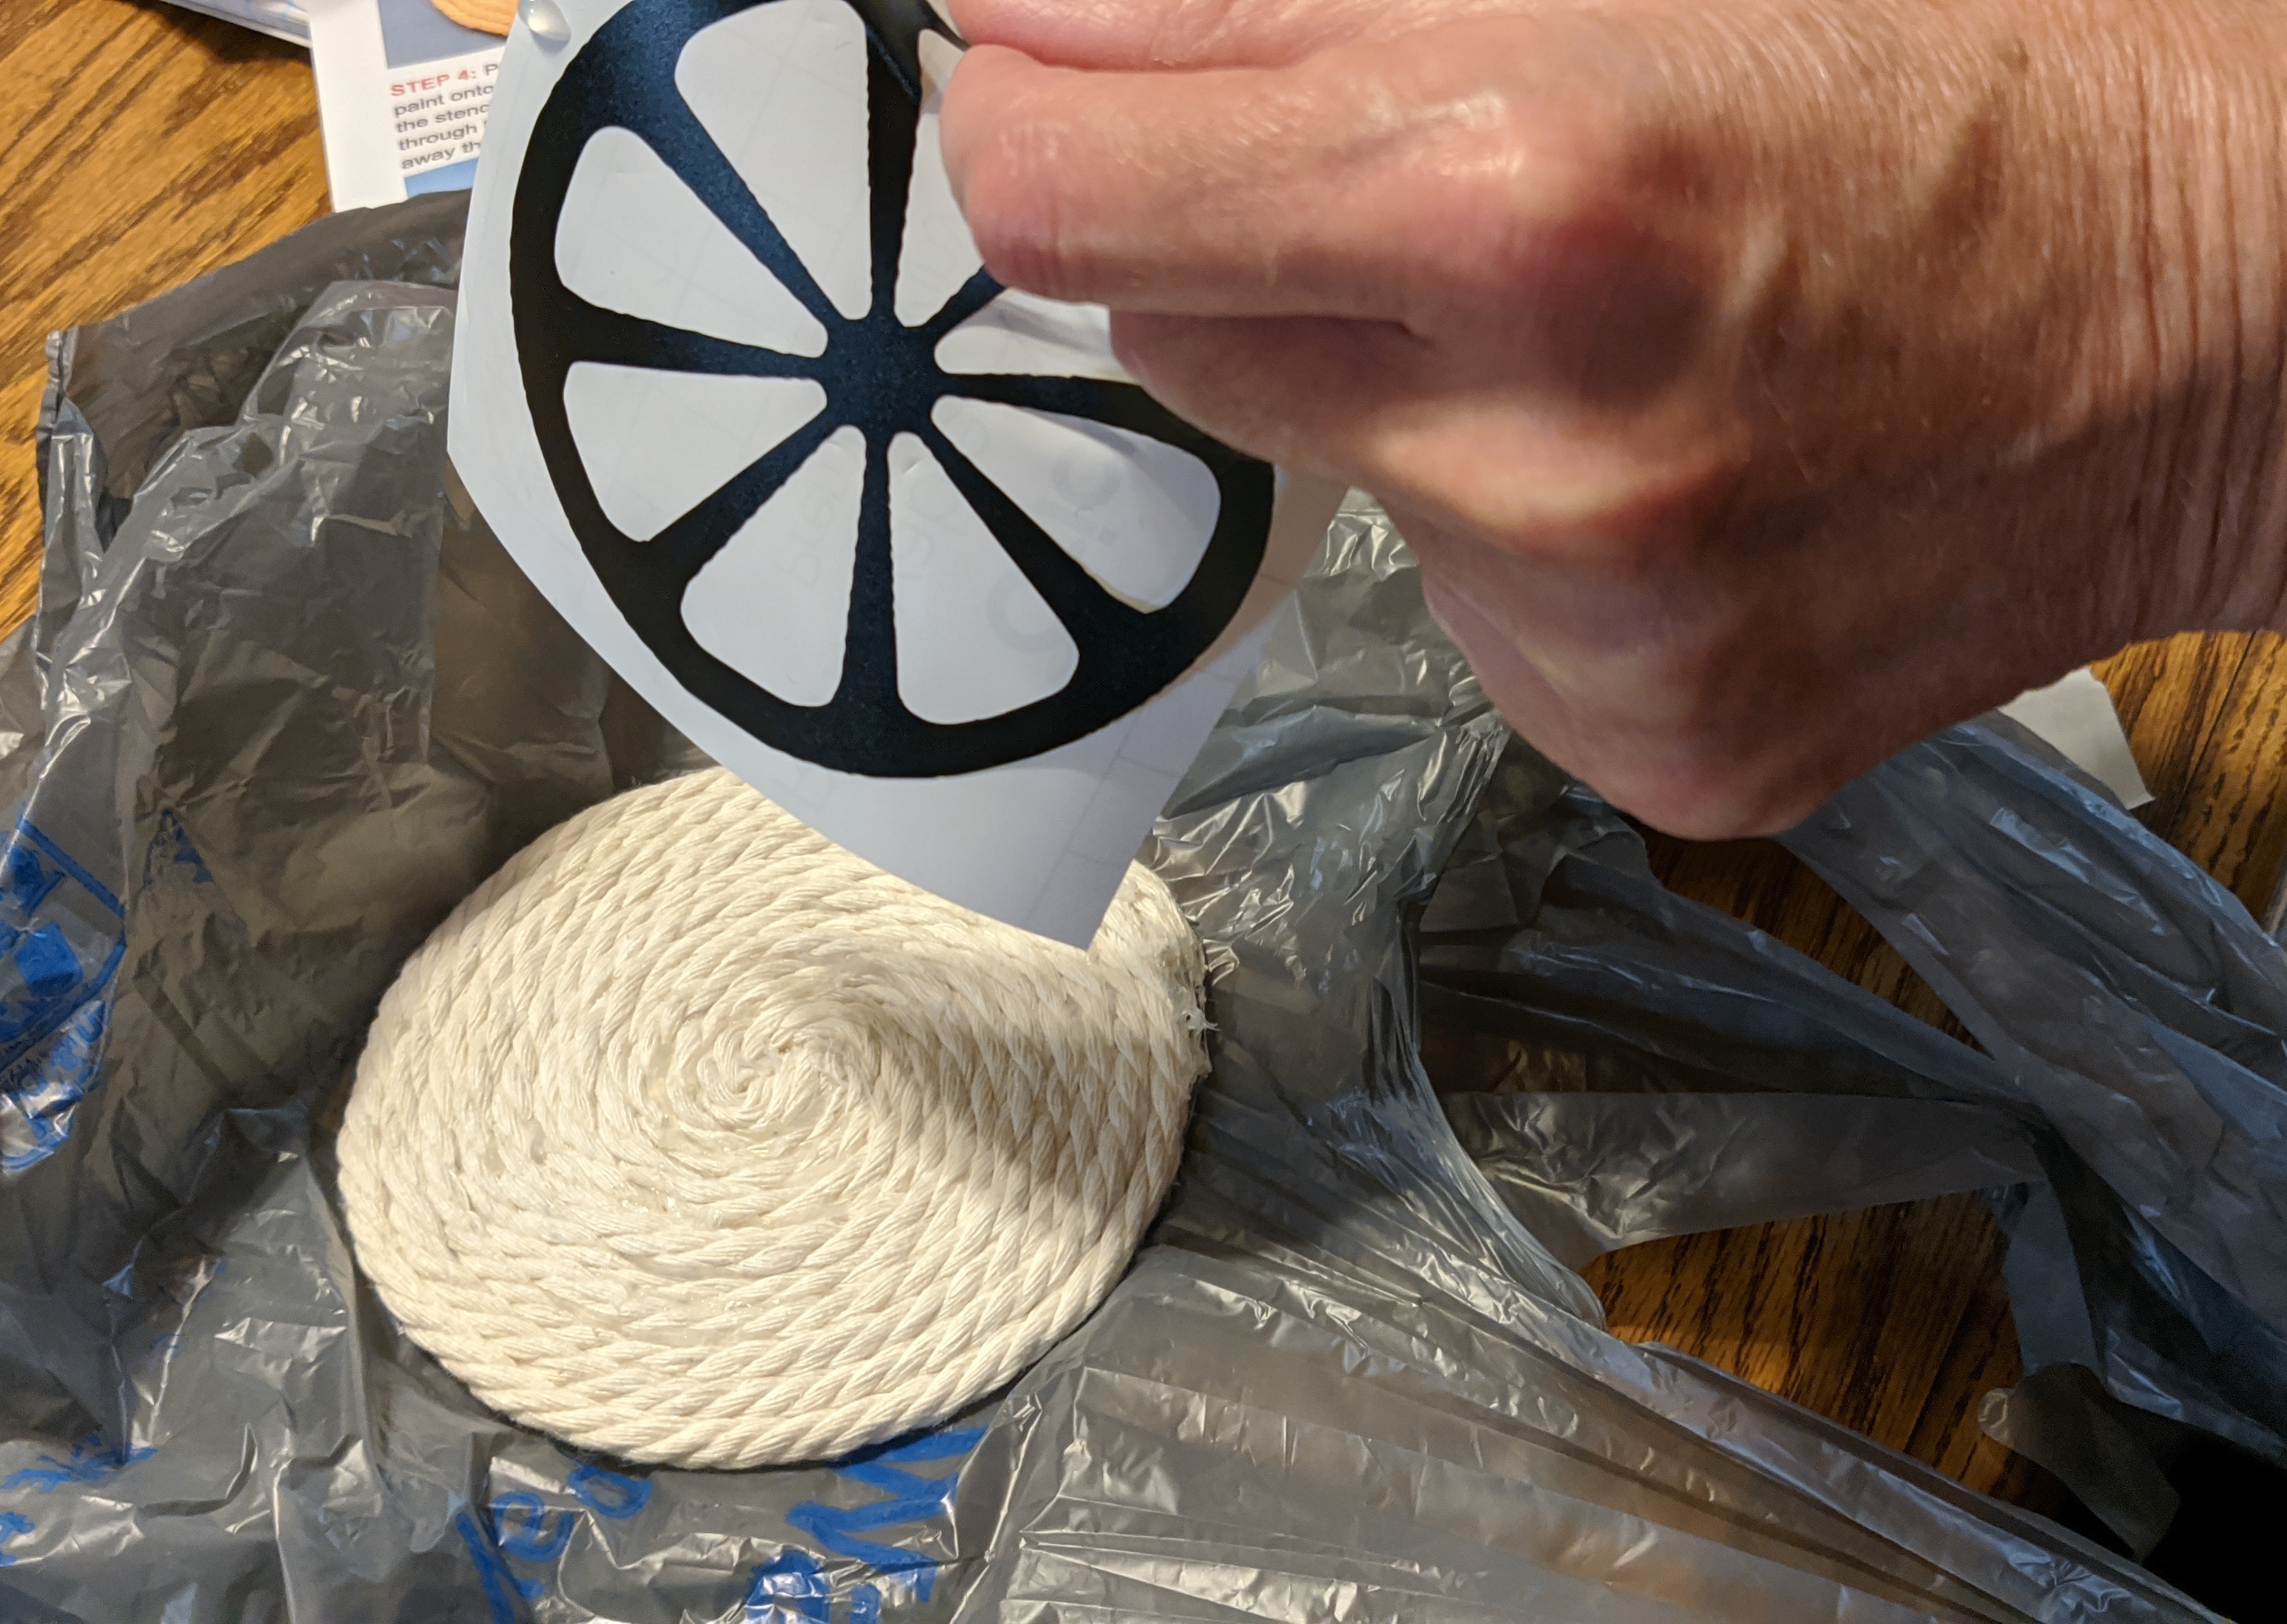
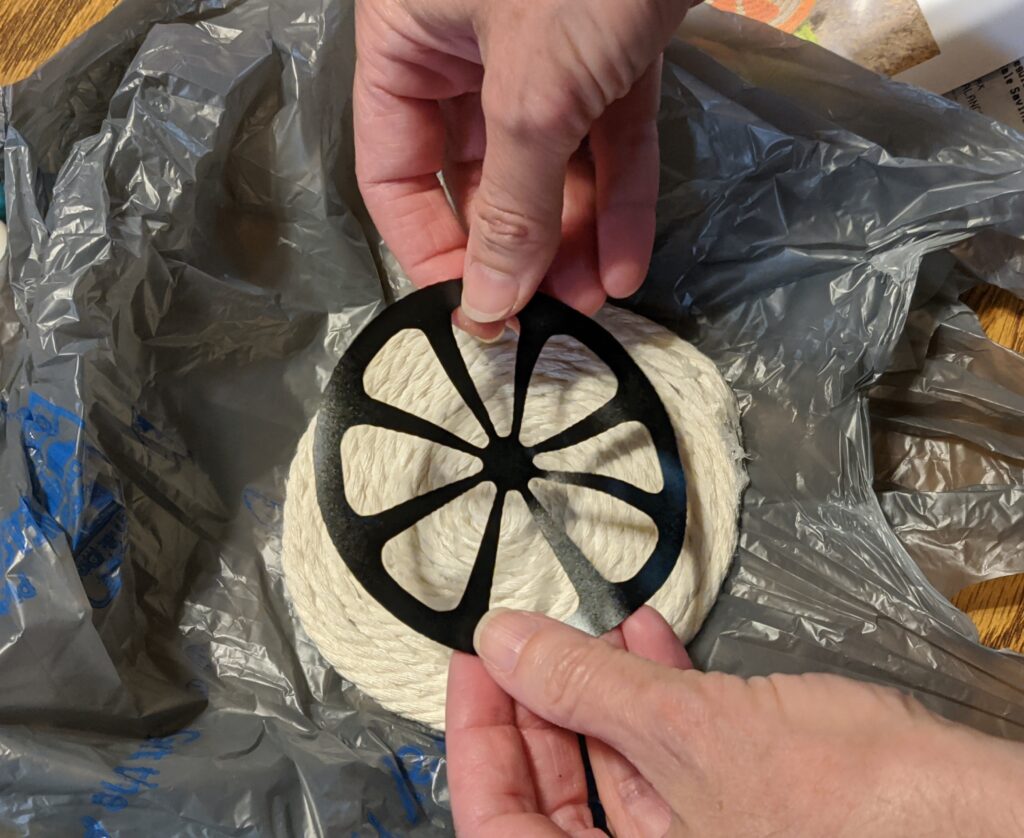
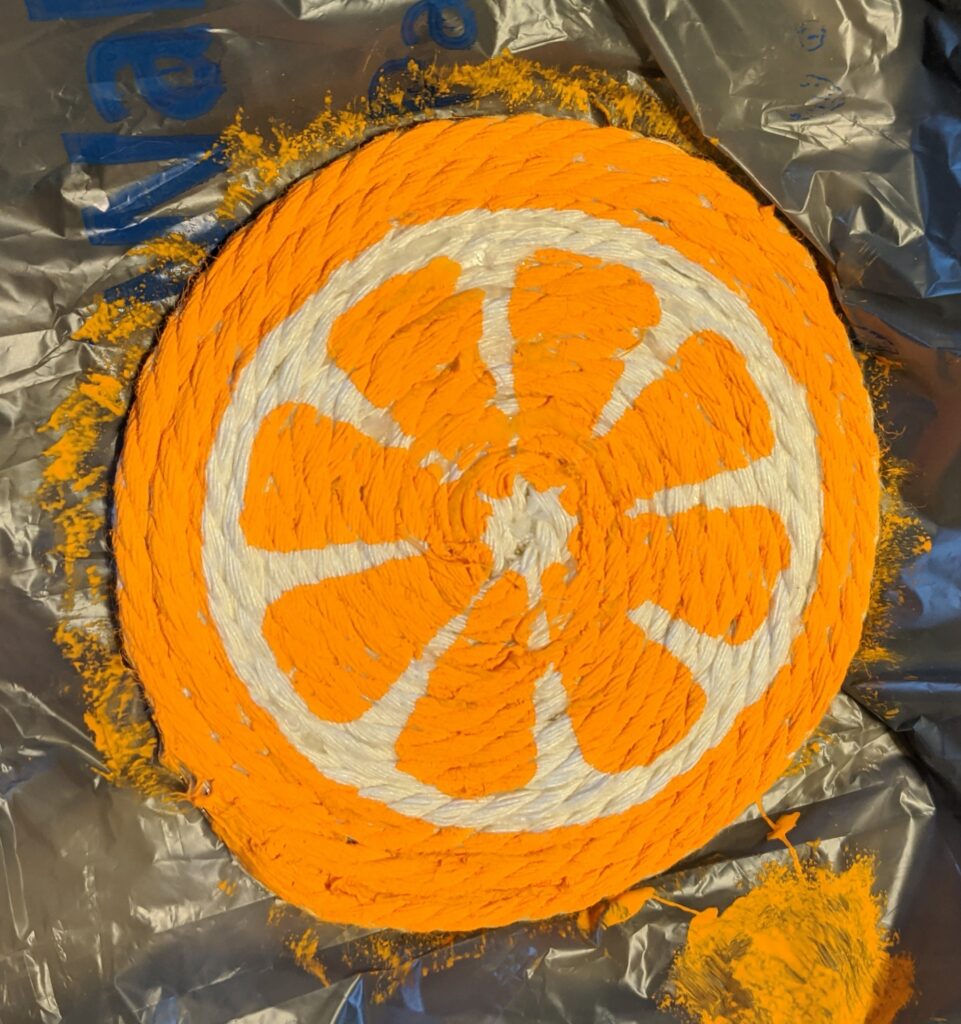
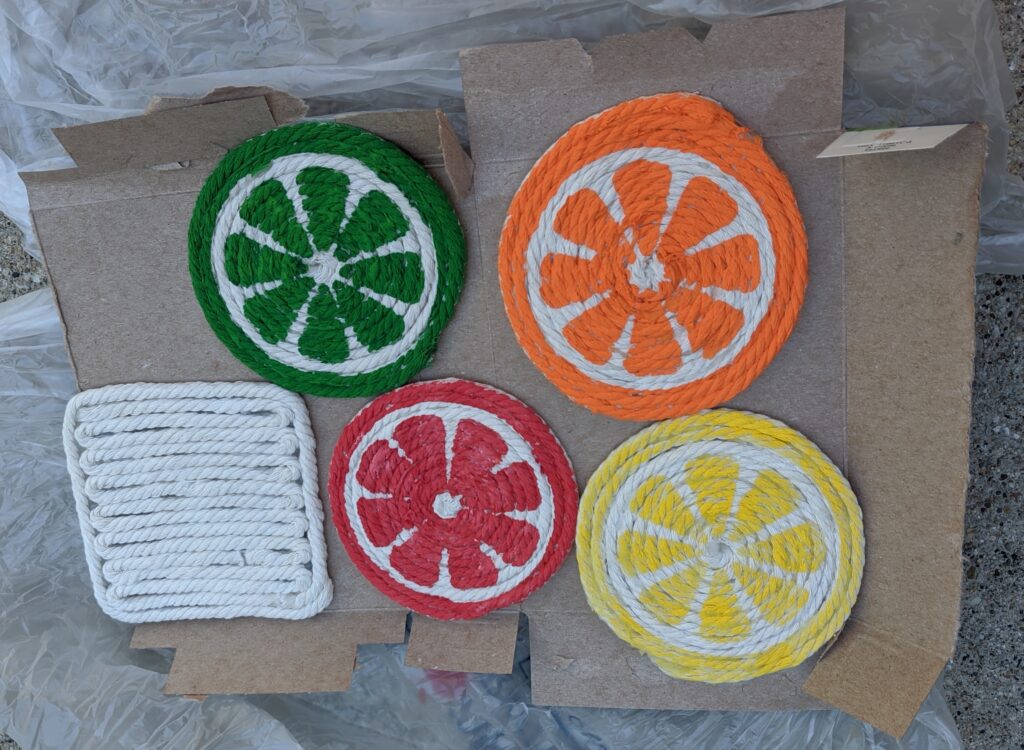
Once the glue was dry, the stencil sticker was applied and pressed firmly onto the rope coil. We each chose a color and started dabbing away at our stencil until the surface was fully painted. We played a little with the green and red paints by adding some other colors (ie yellow, white) until we created a shade we liked for each fruit. Next, we had to patiently wait for paint to dry. Literally. Once dry, the stencil could be removed. (The waiting for paint to dry and the final step did not count toward to total project time of 30 minutes which seemed fairly accurate.)
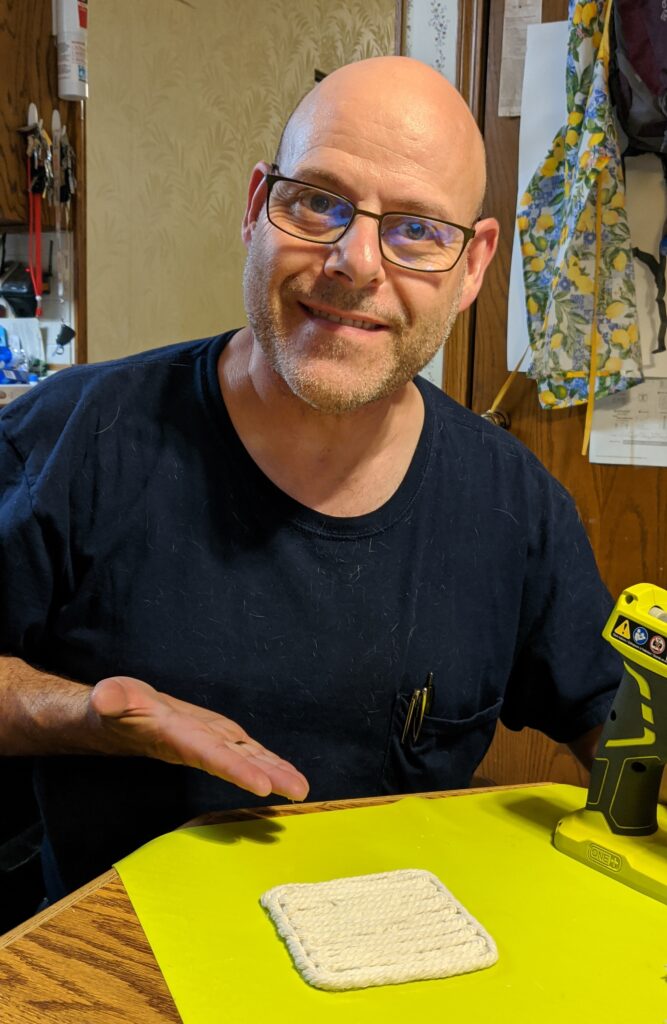
In the meantime, my husband took advantage of the fact that there were still extra pieces of leftover rope. He glued these together to make a “bonus” coaster of his own design.
Time for being practical.
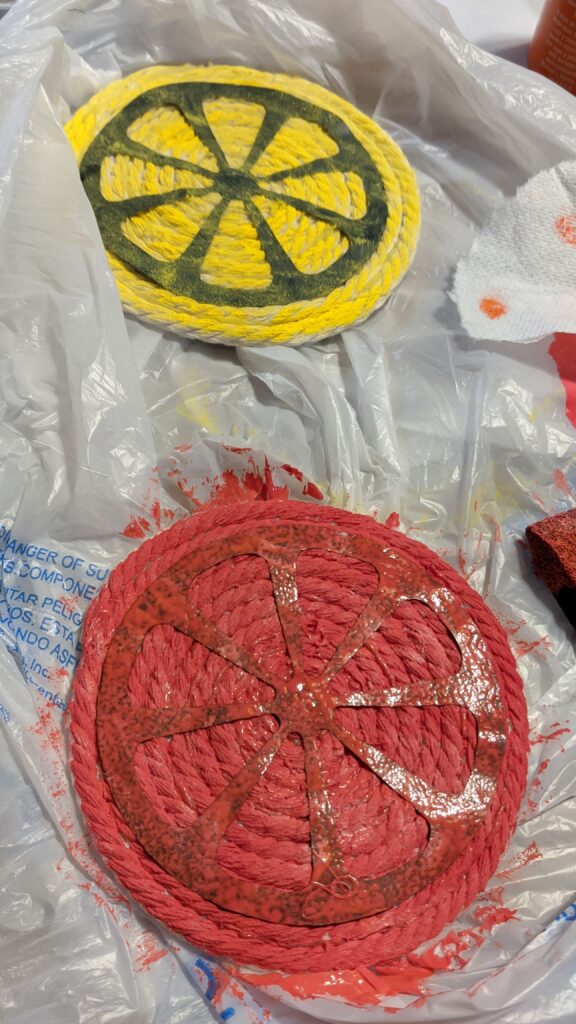
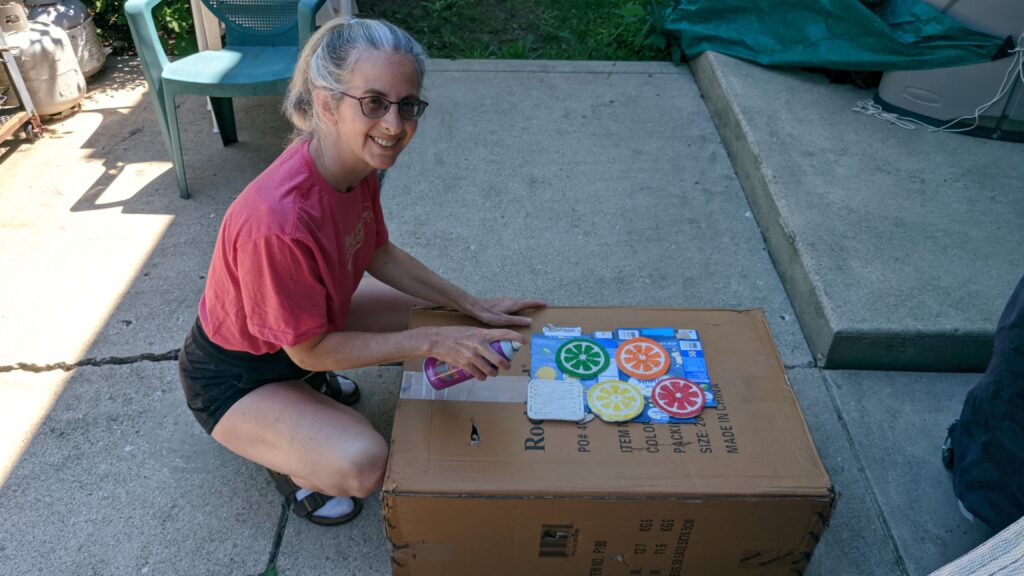
The final step was spraying the coasters with ScotchGard to protect them. This was applied to both sides (although I don’t know if it really made a difference on the base we covered with glue) a few times allowing it to dry between coats.
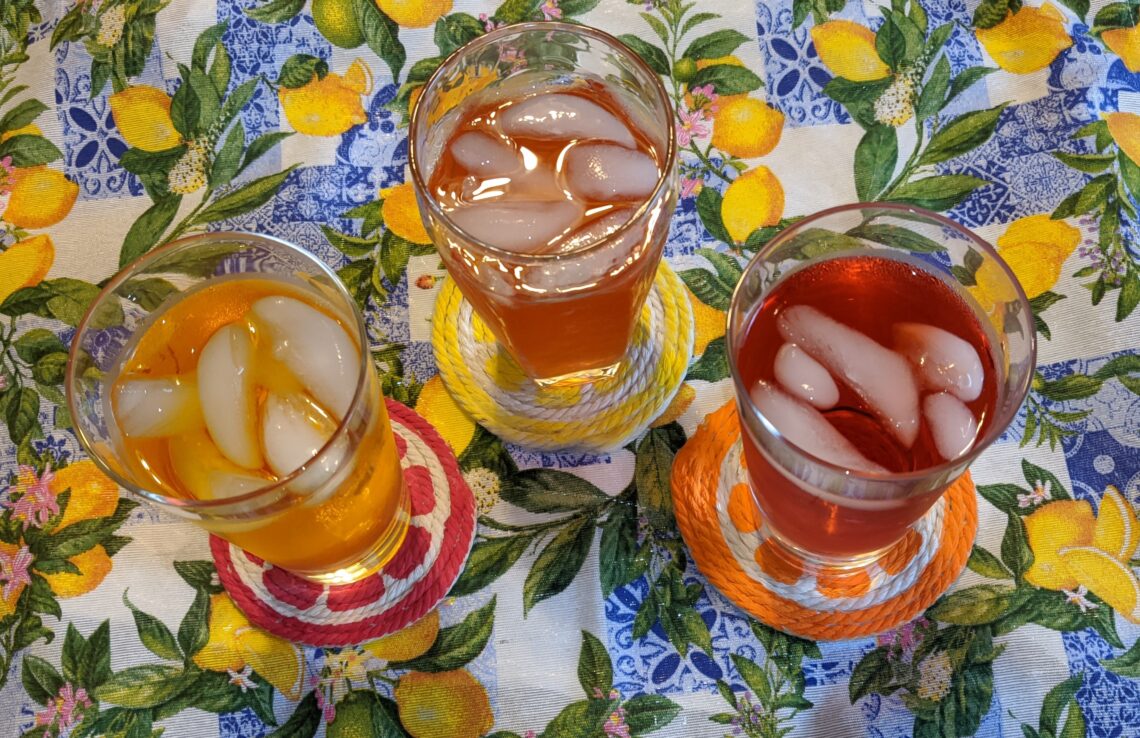
In the end, we had our family pack of citrus rope coasters! Now, every time I use one, I remember our fun family project! It was easy enough that no one was frustrated, and we had plenty of time to complete it together. It was interesting and enjoyable enough that not only my husband but also my college age kids enjoyed doing it and practical enough that we use what we made. In case you are curious, the “bonus” unpainted rope coaster went to college with my daughter. I should ask if she has been using it on her desk when studying.
The project is also the type that can be “adapted” for different seasons. Using different paint colors, stencils, stamps, etc, we can choose to make more coasters that fit with a desired color palate, season, or holiday theme. (I am also starting to visualize packs of coasters in the colors of the universities my kids are attending. That could make for a nice apartment gift—made with love yet practical, plus they don’t take up too much space. Seems like a winning combination.) If we make more coasters with a new theme at some point, I will be sure to share photos of them. I am now interested to see what types of coasters I make next.
It always feels great to successfully create and enjoy a project, especially one done with family. The outcome did not need to be perfect for this to be a great family activity, and I believe that I can make more of these if I choose to do so.
I have done many Maker@Home projects. I look forward to sharing more of them with you!


3 Comments
Stephen Bergman
We definitely had a lot of fun with this project! Our college kids stayed engaged, which is often a challenge in this digital world, and my daughter chose to take the square coaster I created down to her first year of college as a way of connecting with me, which made me feel all warm and fuzzy inside!😁❤️
Beckie
I hope that we can find another great (low tech) project for when the family is back together again!
Pingback: