One recent Saturday afternoon, I heard a beeping in my house and followed the sound down to my basement. Lo and behold, I realized that the beep was to inform me that a nice puddle had formed which I thought was coming from the hot water heater. Fast forward to later that day, my husband realized that the problem was the furnace, not the hot water heater. Neither is fun, but a non-functional heater in Chicagoland on a weekend in the winter, to put it gently, sucks. To add to the situation, my husband, the handy one in my house, was going to be out-of-town few that following Monday and Tuesday visiting some more colleges with my son. (They were finally visiting the in-state schools to which he was accepted. I am still having a hard time wrapping my head around the idea of him heading off to college!) At least, we did have the benefit of a fireplace and some space heaters (extra thanks to our friends who loaned us two of them!) which kept the house relatively comfortable. My husband was eventually successful with getting a “furnace guy” to come to our house on Sunday to check out the situation. He determined that the problem was the gas valve. (This was due to a loose water line on the humidifier that caused water damage to the control board on the gas valve itself.) Rather than spending a lot of extra money on having someone else fix this or purchasing a new furnace, my handy husband opted to order a new piece and install it himself. His first order did not work out properly, so he ended up ordering the piece from a second distributor. Thank goodness we had the fireplace and space heaters–we received the new gas valve approximately 1.5 weeks after the furnace stopped functioning.
I have mentioned in previous posts that one thing my husband loves about my blog is that he now knows that he has company for many of his household fixes. I was right there next to him in the basement, photo-documenting the whole gas valve replacement process, and I shall now share those photos with you! (I know, EXCITING!)
If you have ever wondered, “How can you fix a furnace gas valve?’ you are in luck! Here is an answer for you!
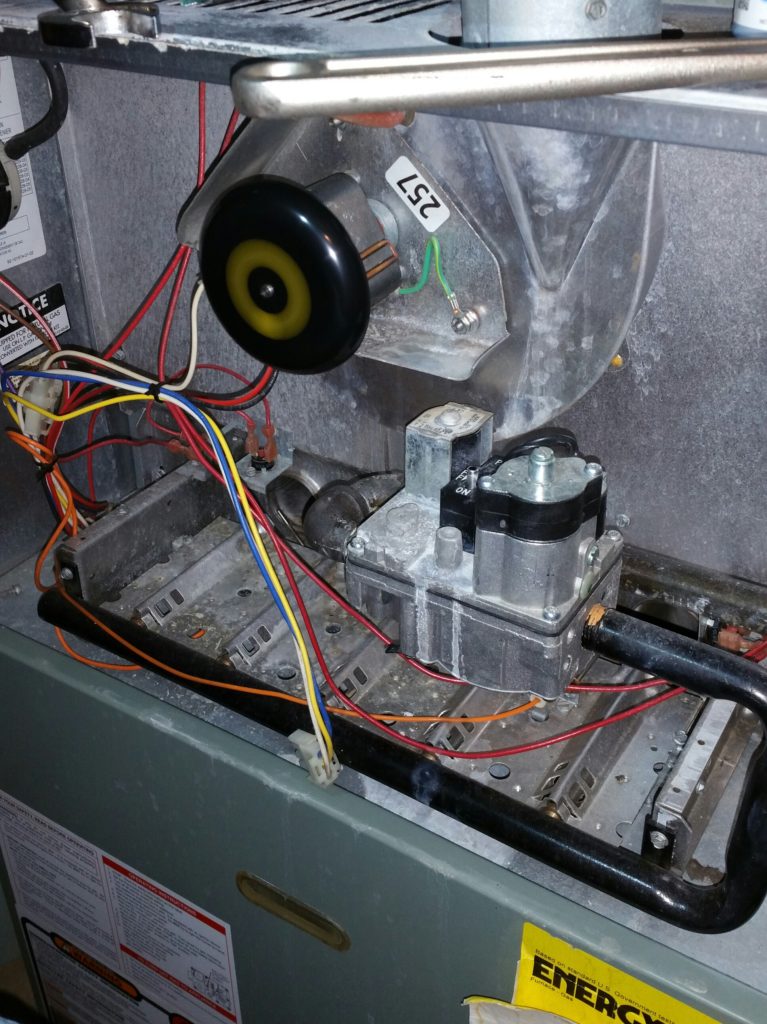
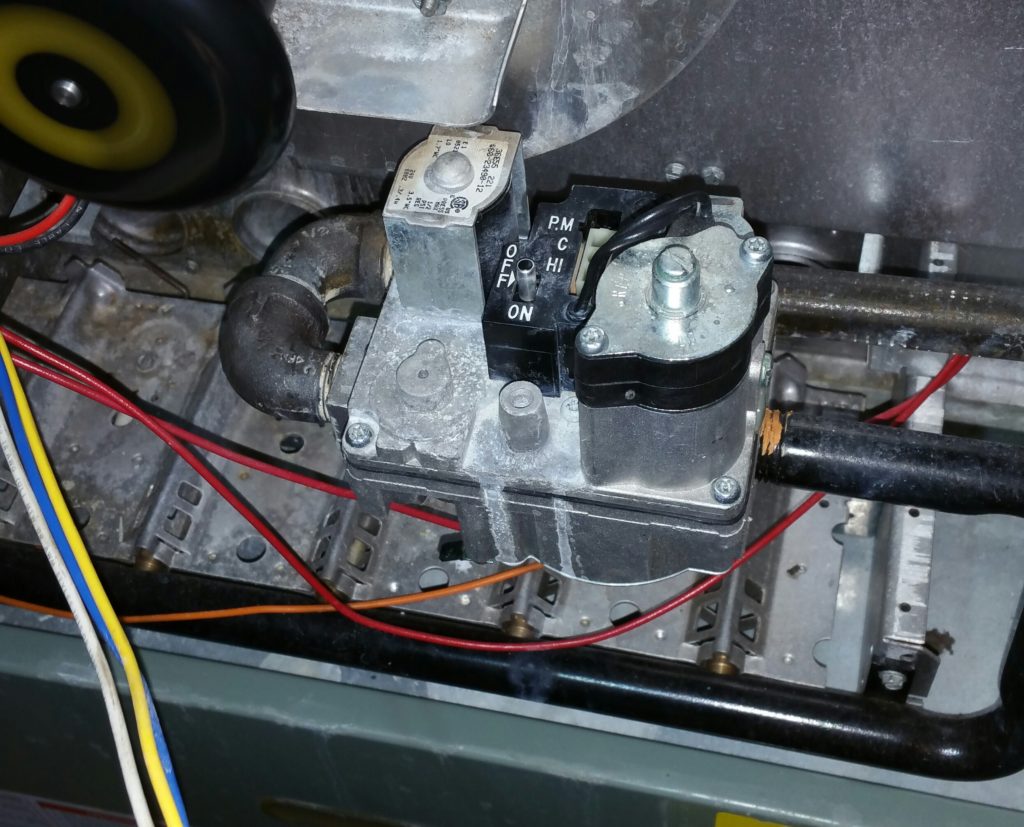
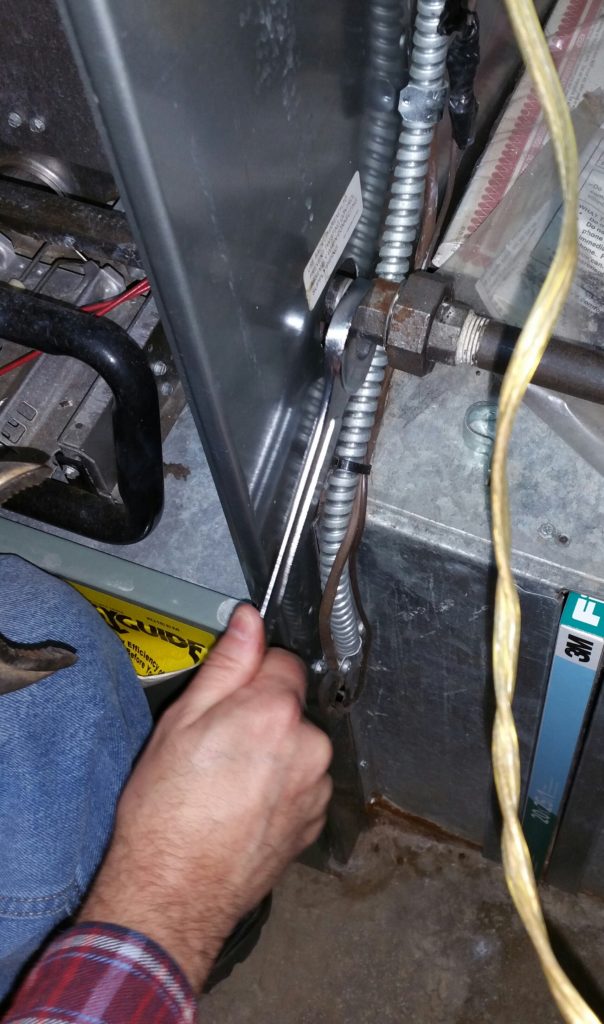
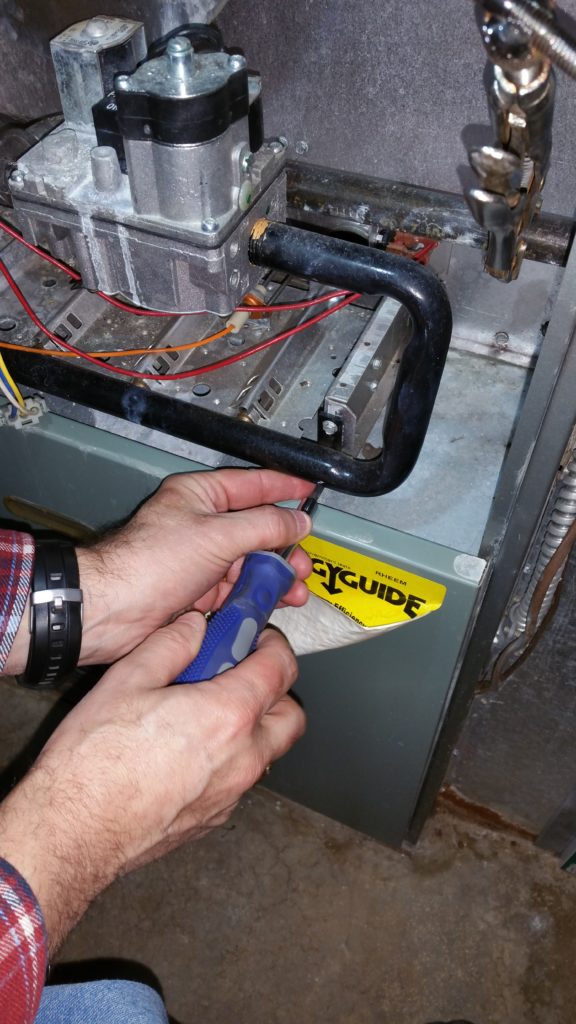
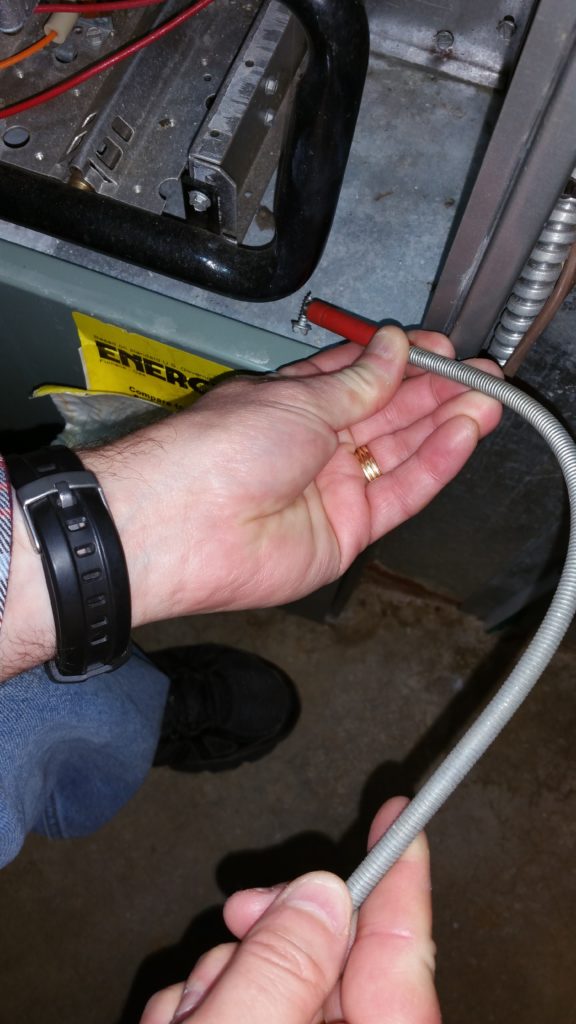
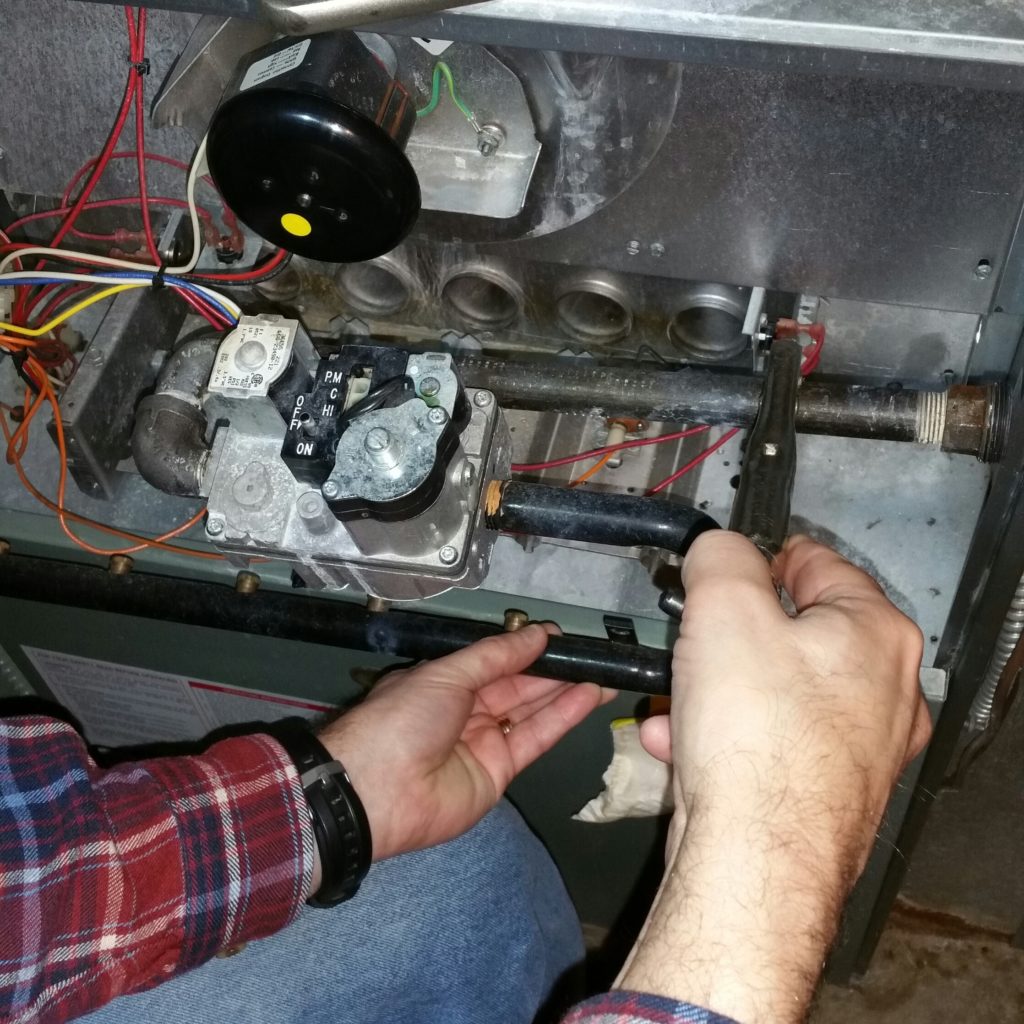
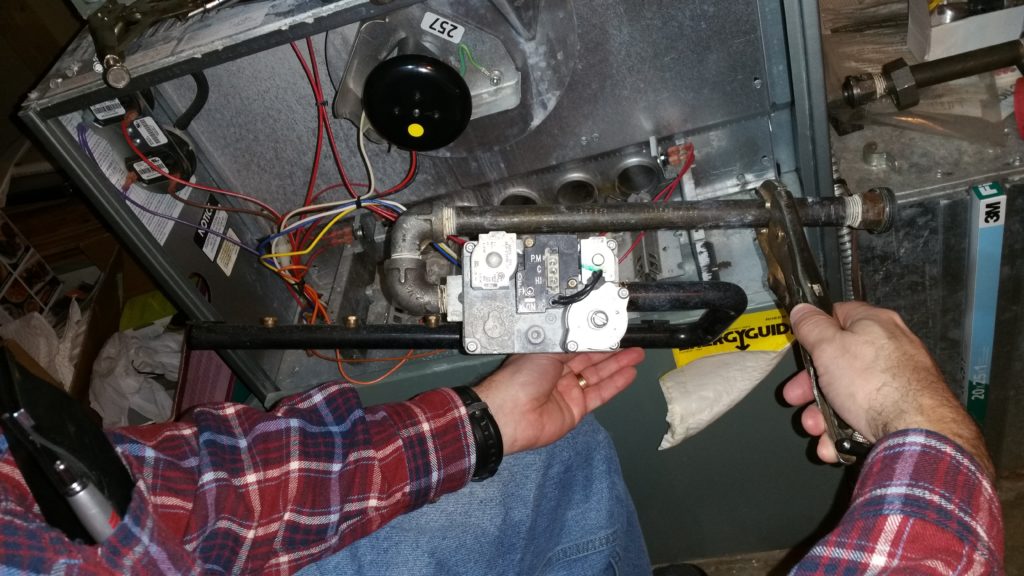
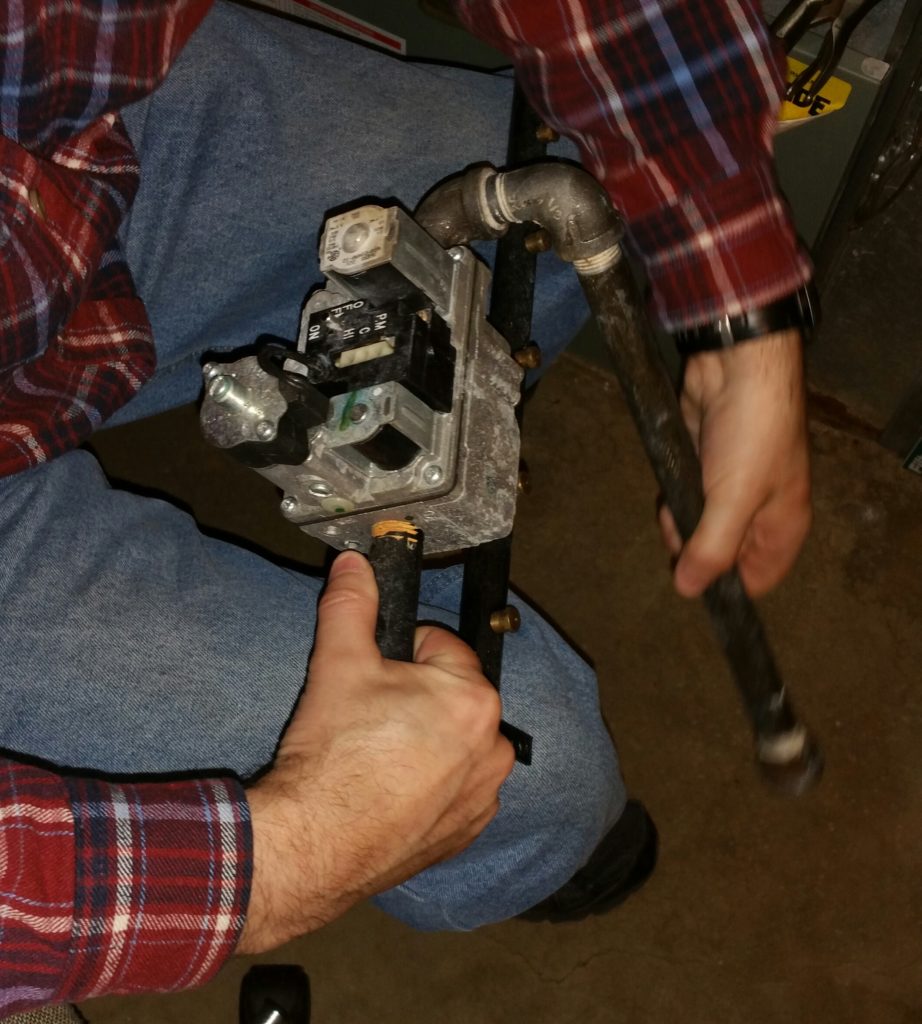
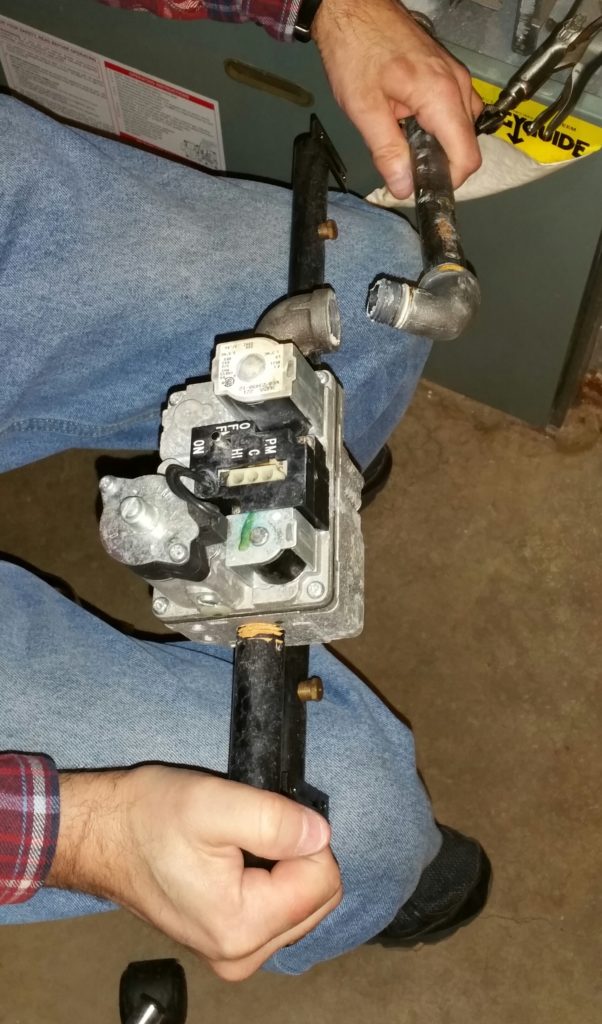
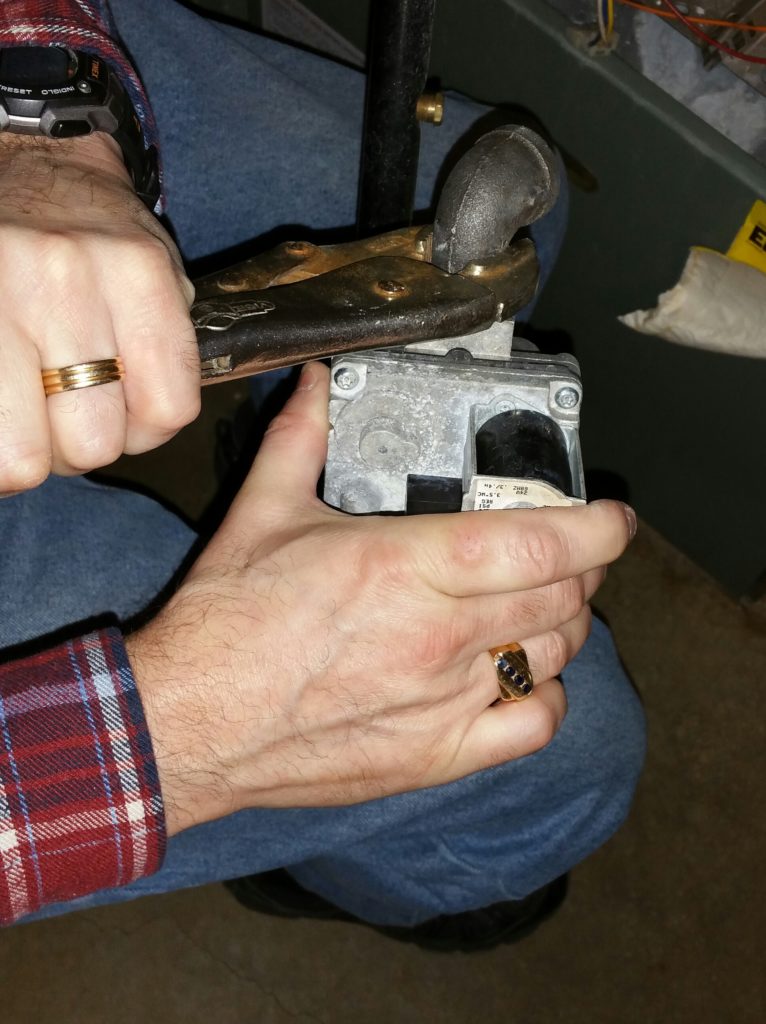
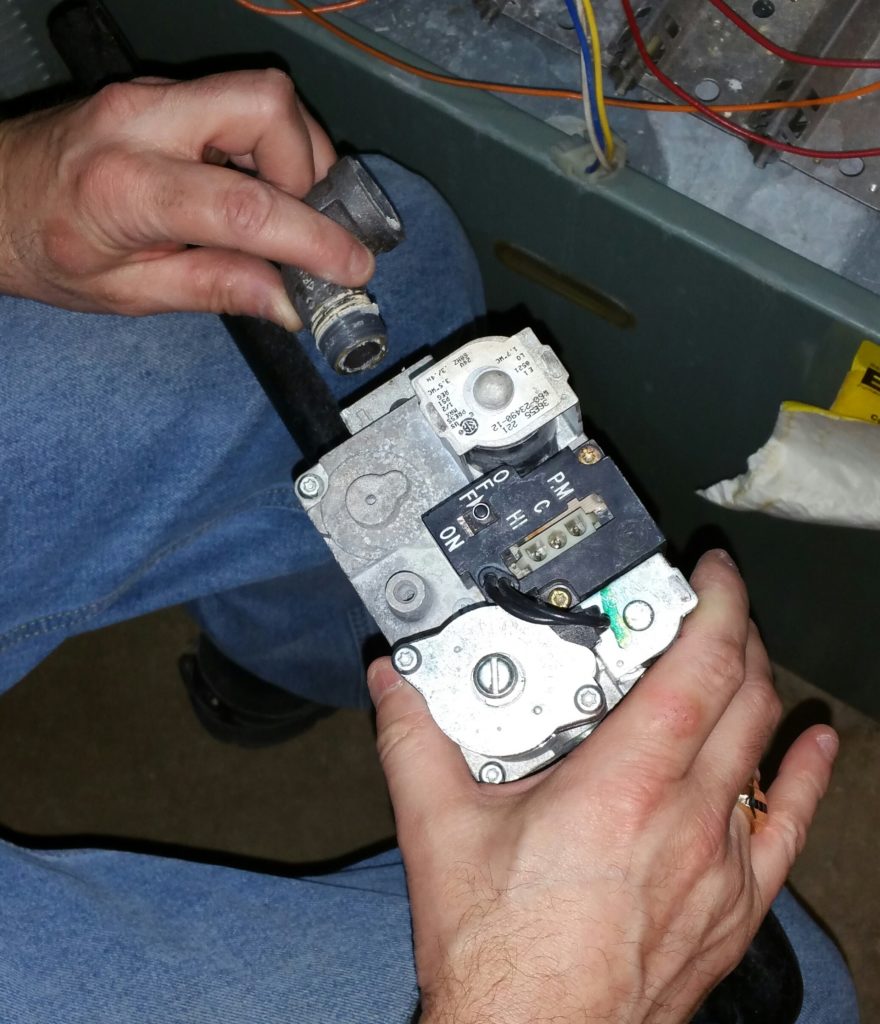
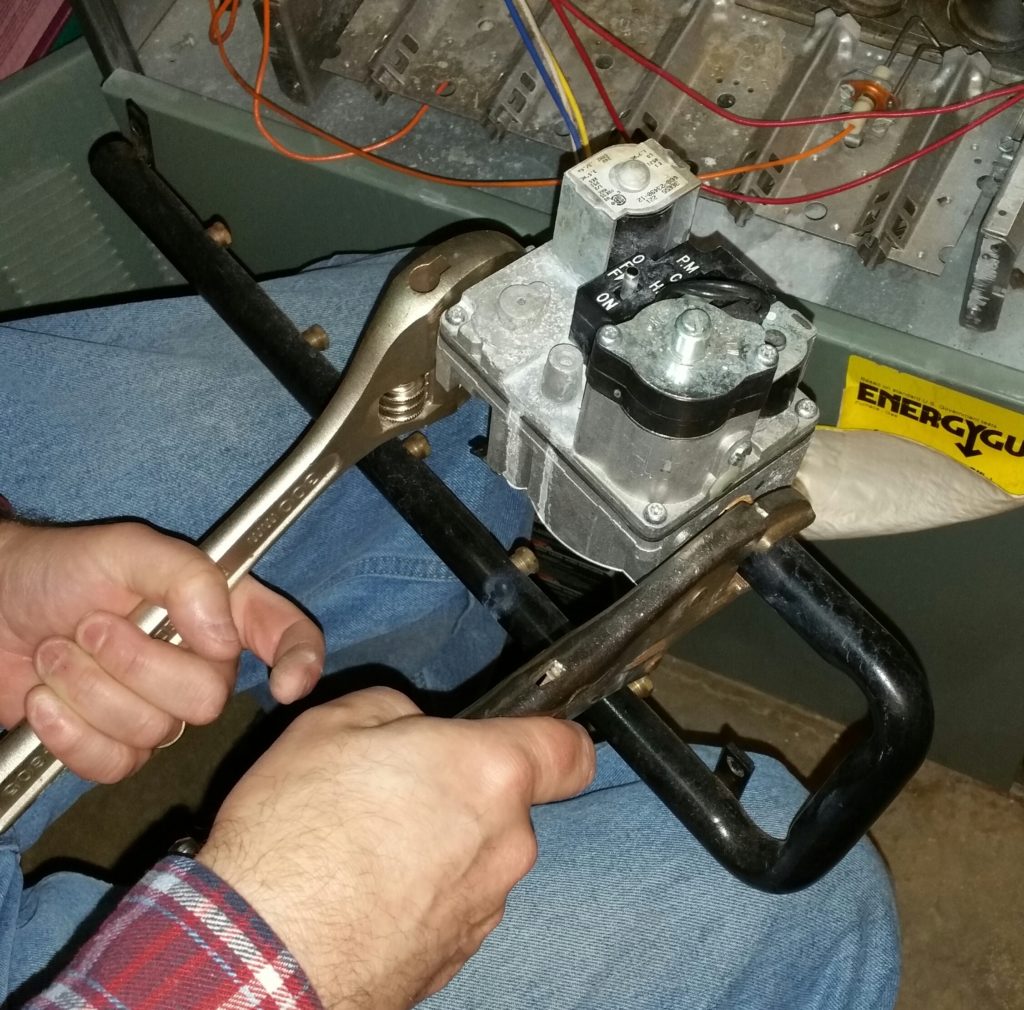
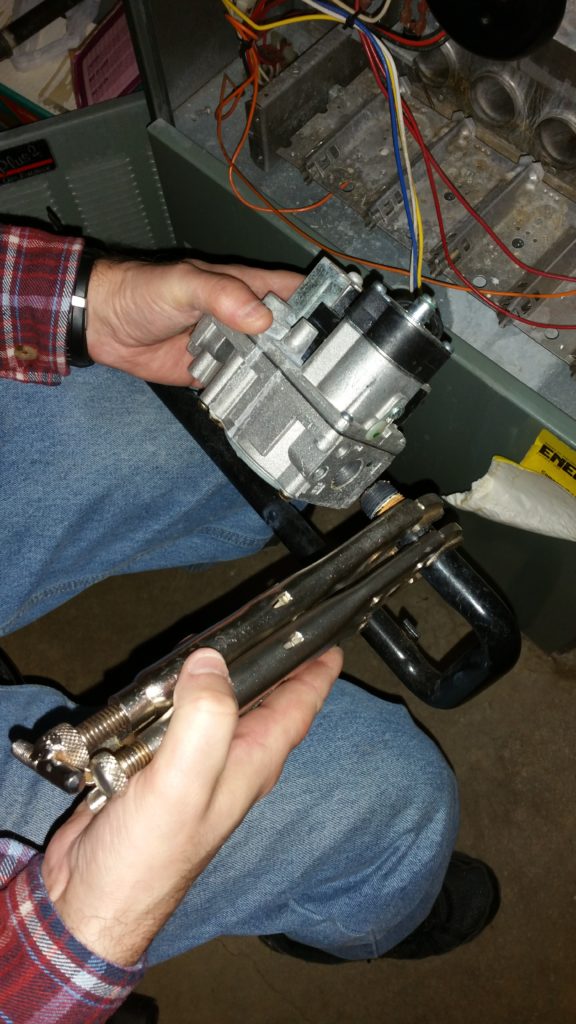
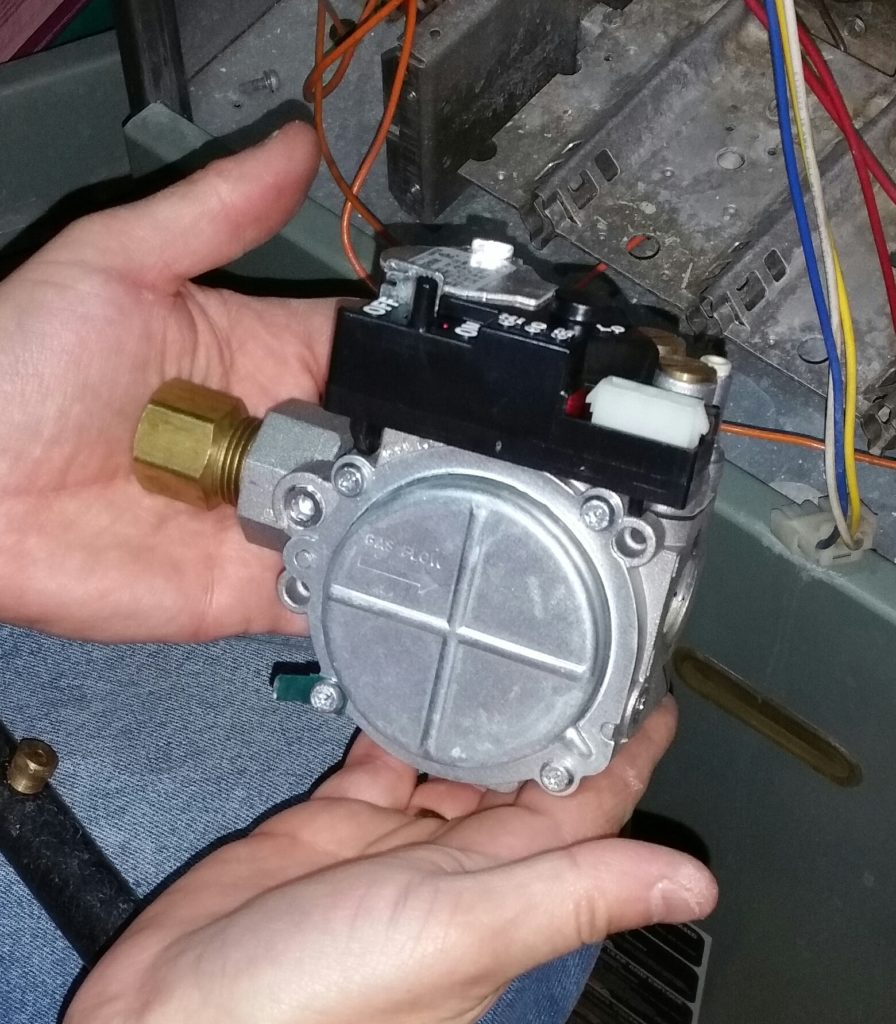
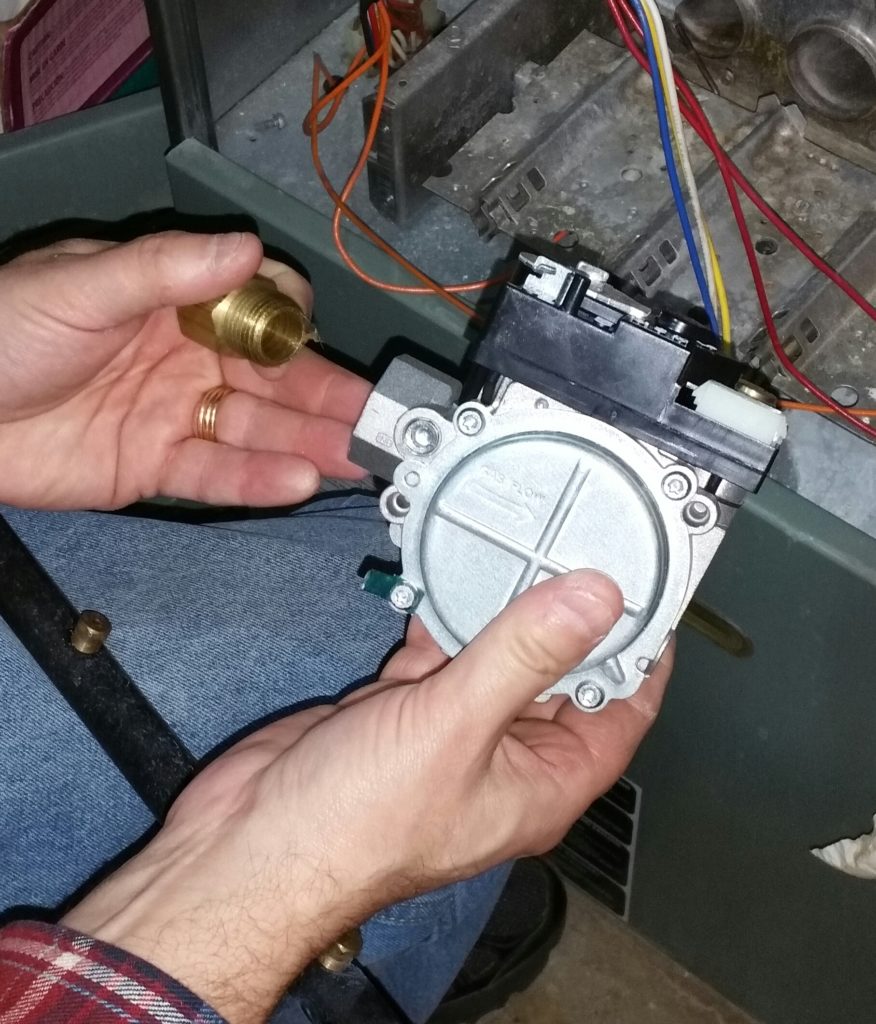
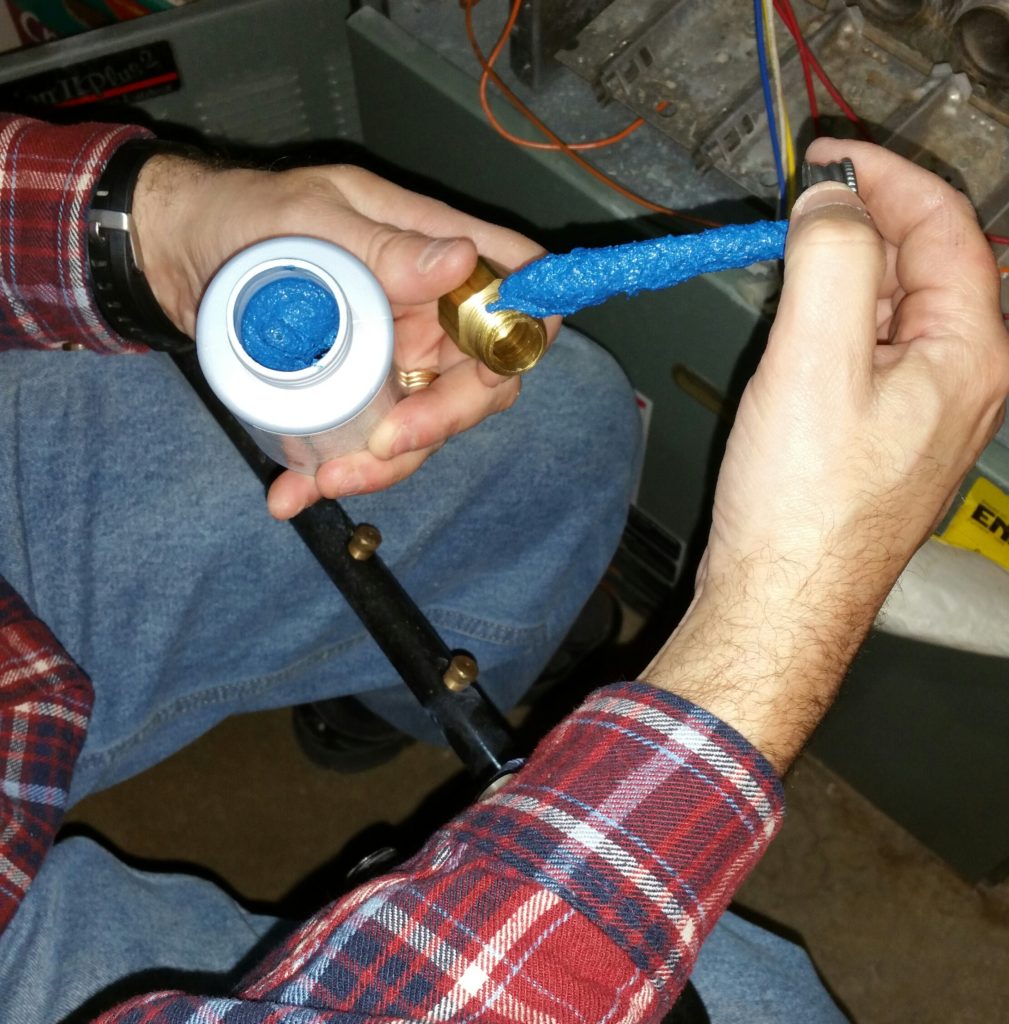
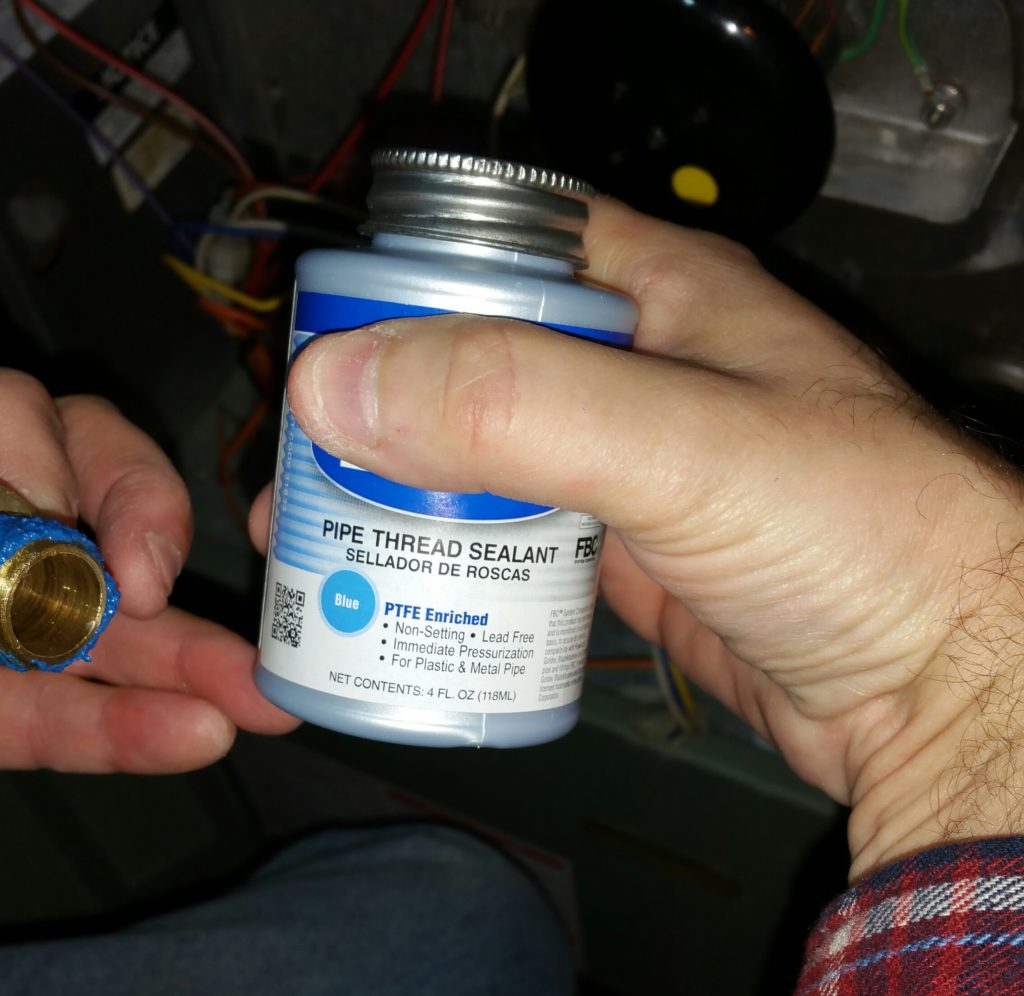
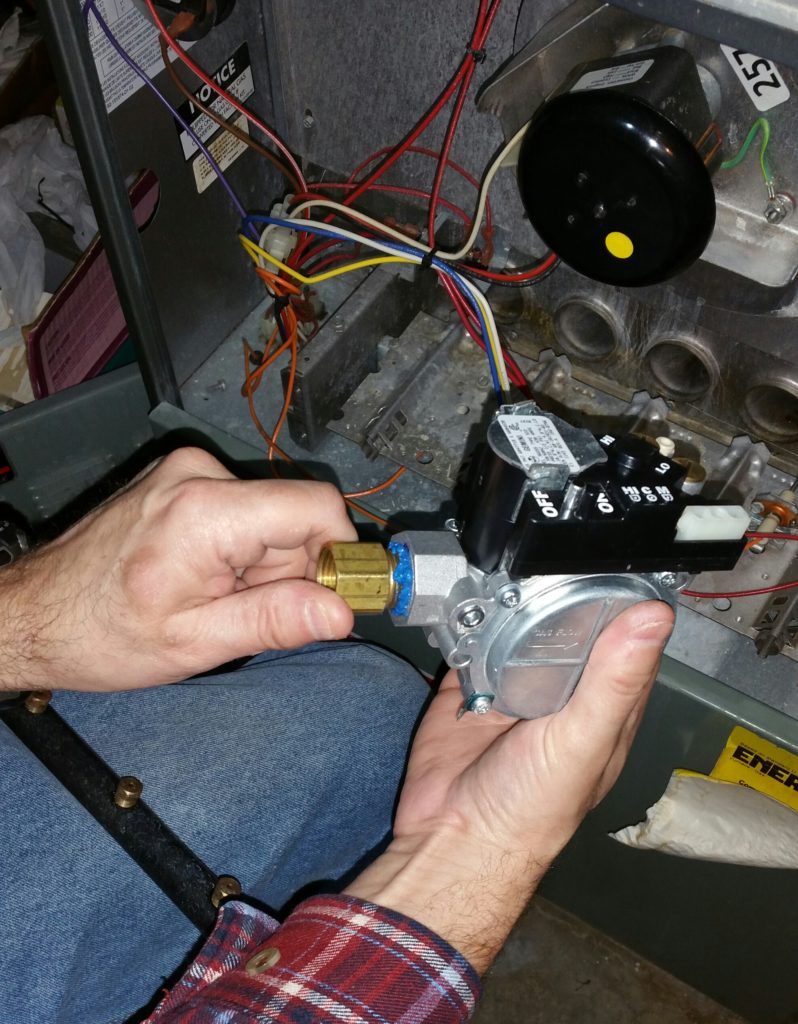
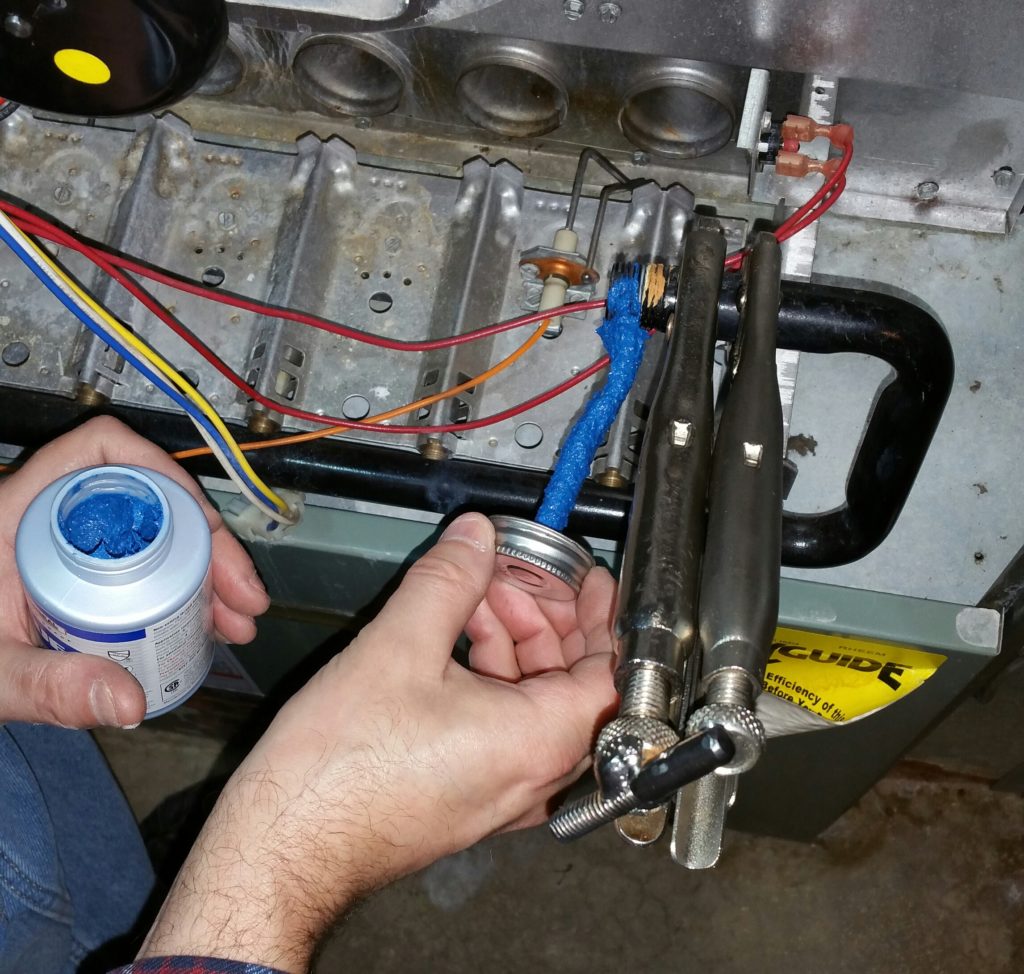
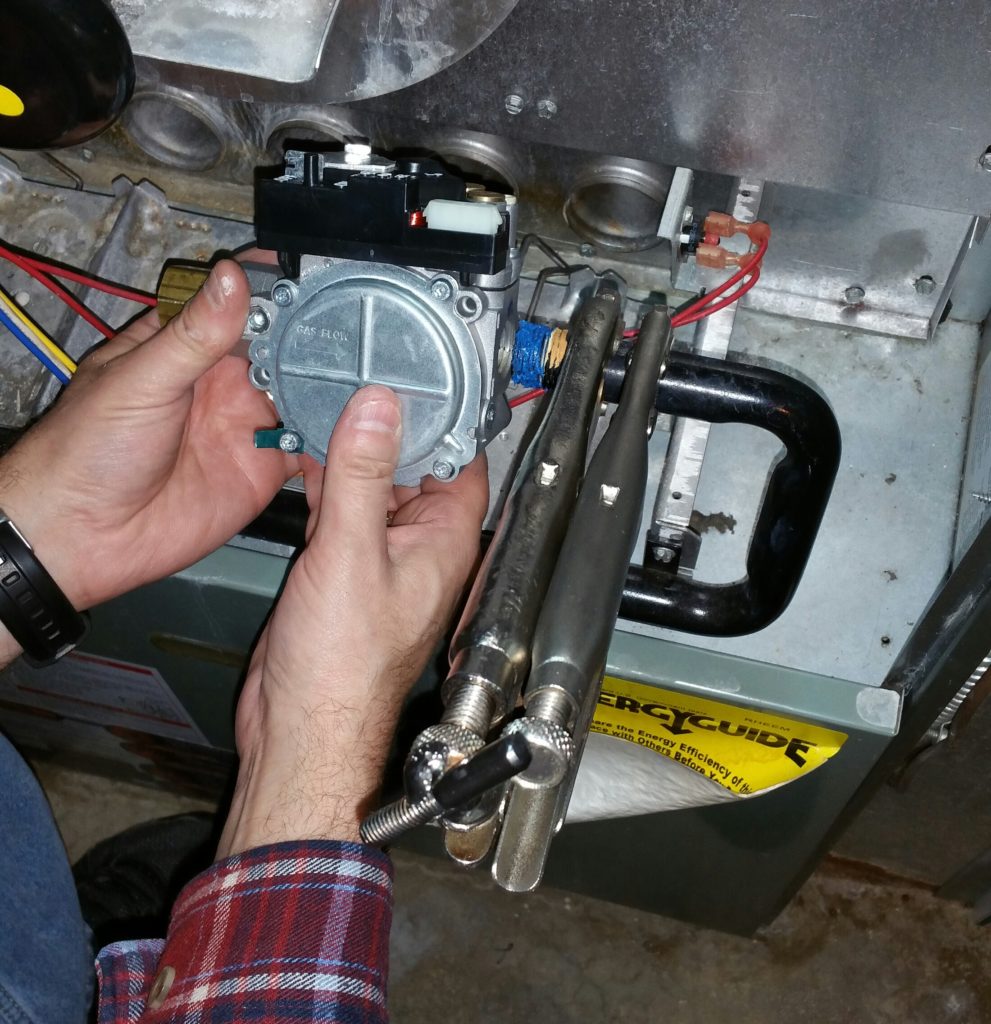
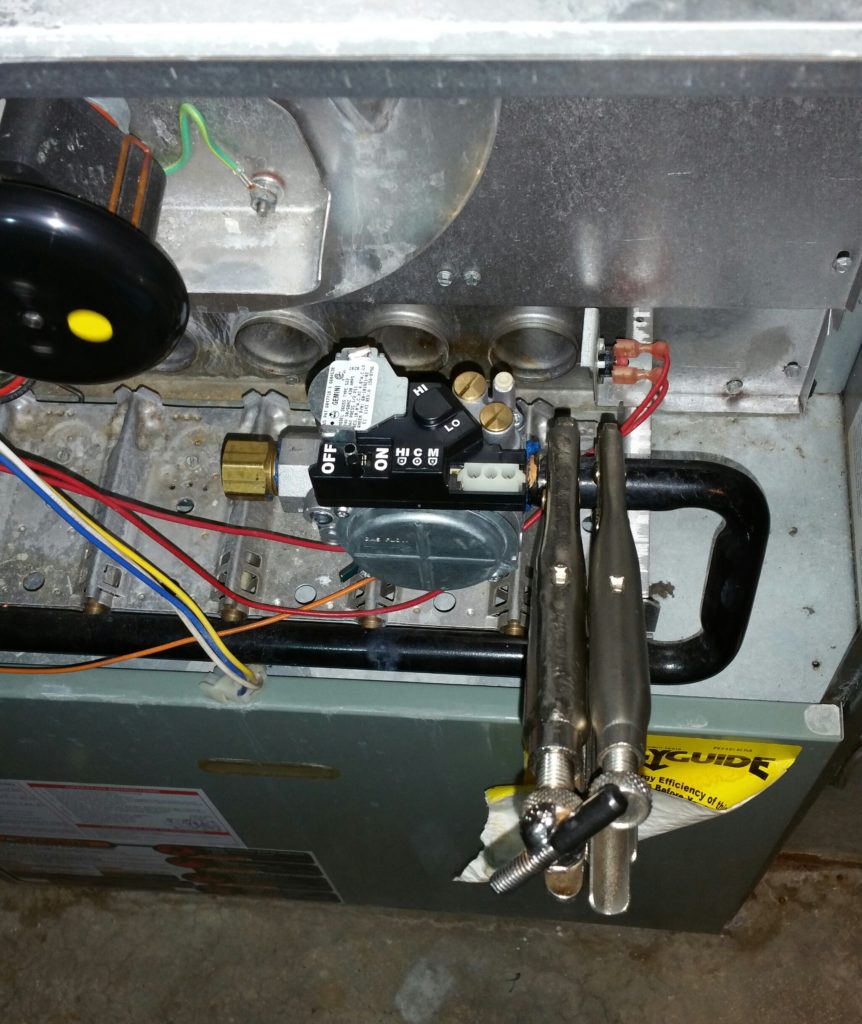
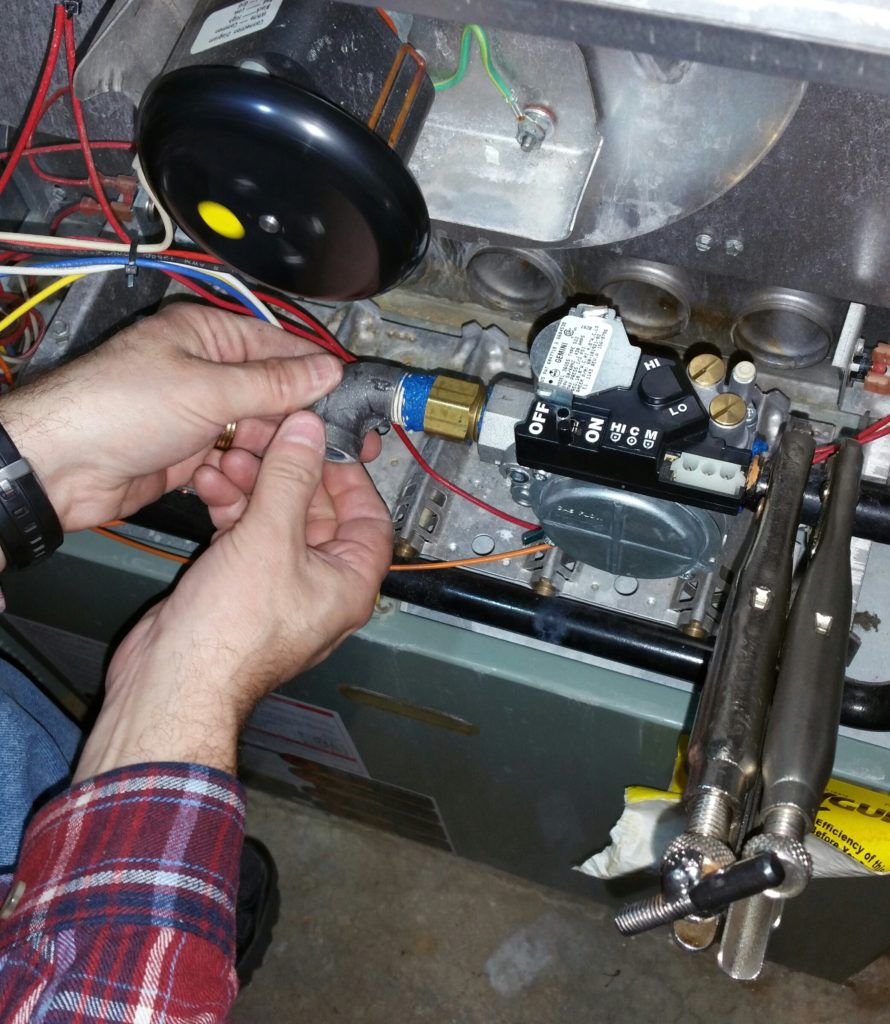
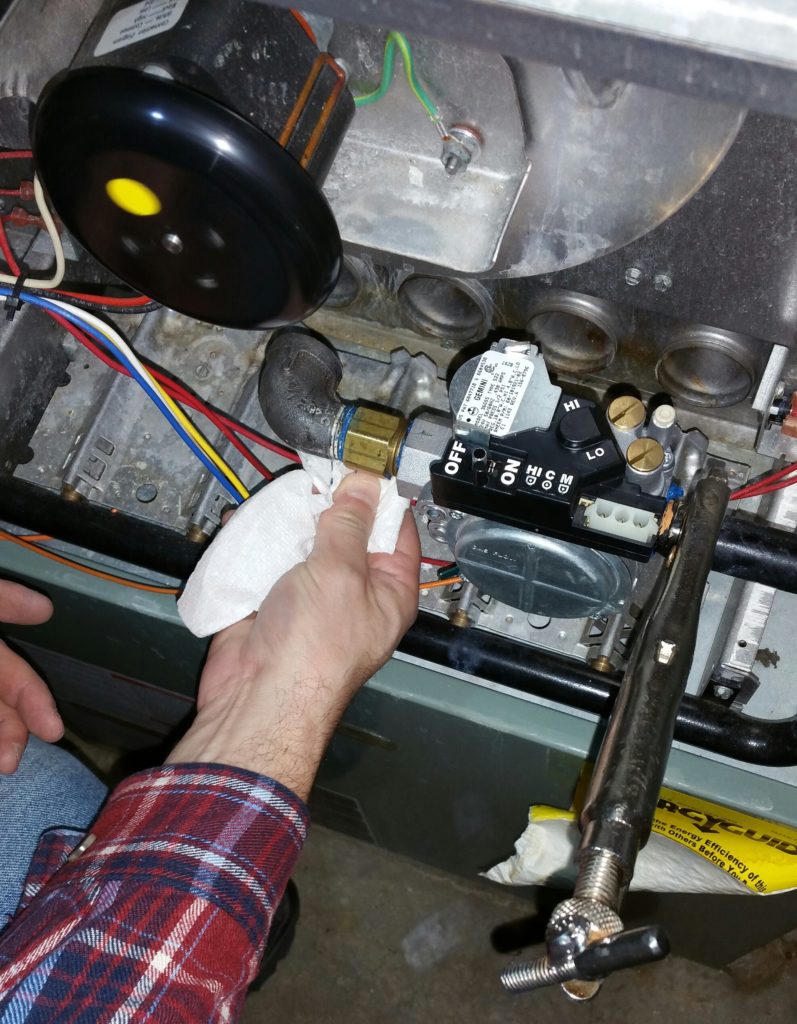
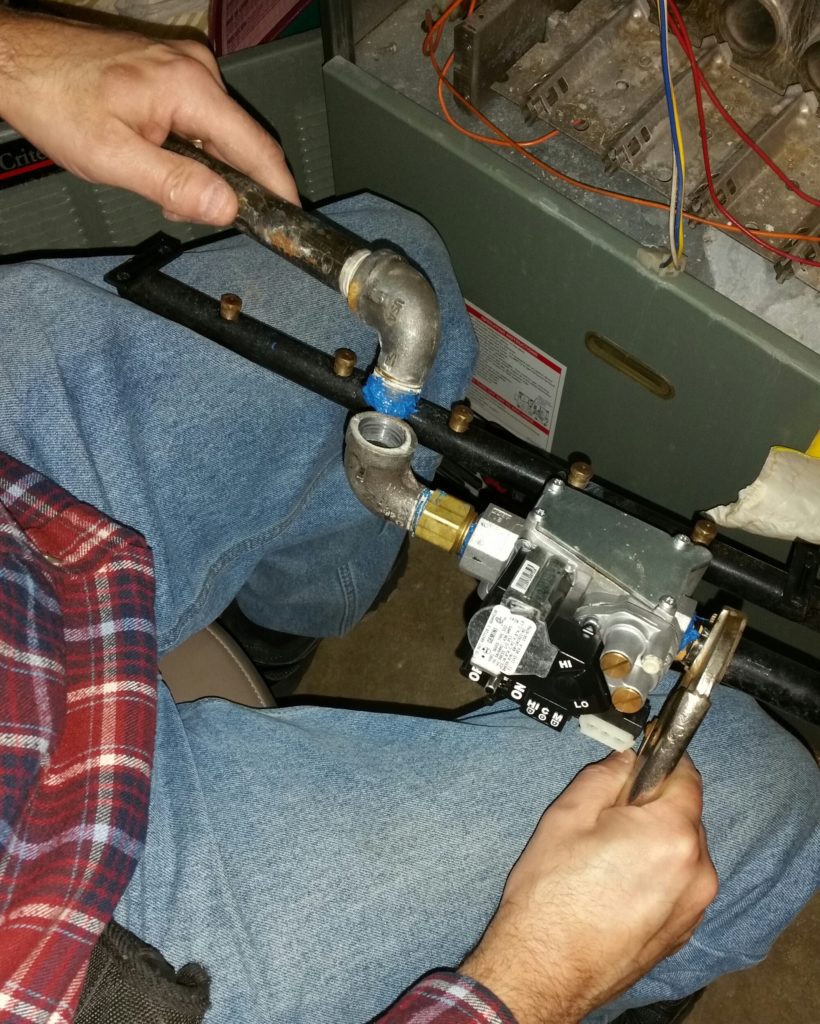
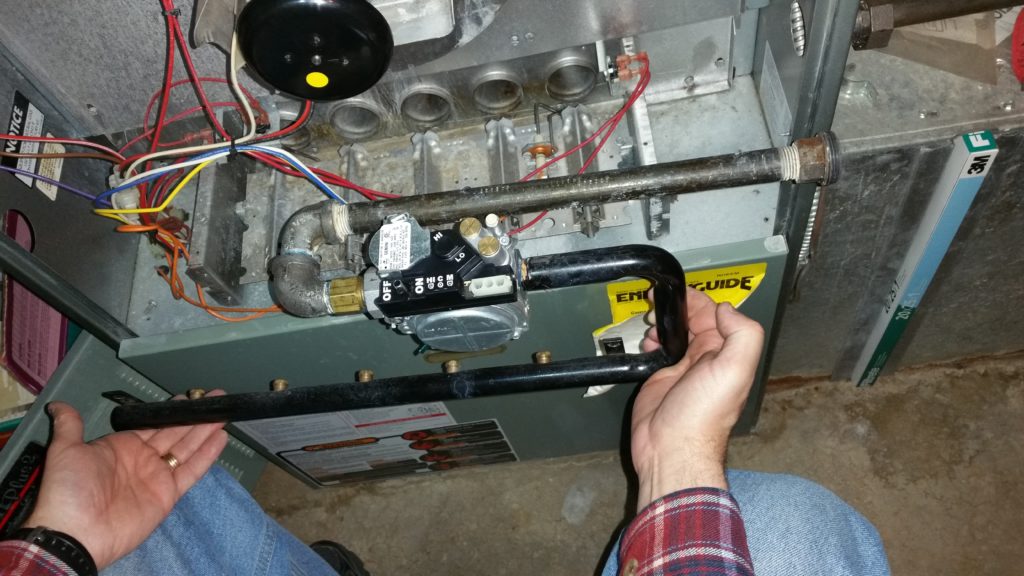
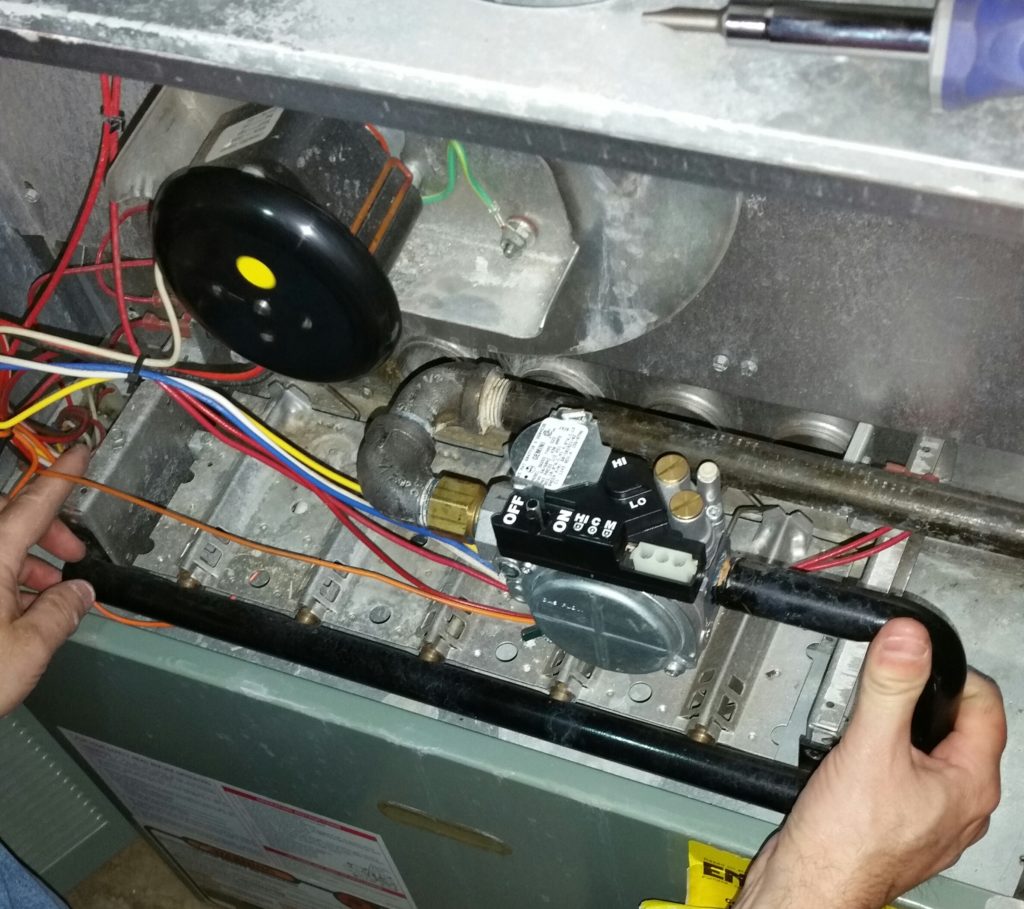
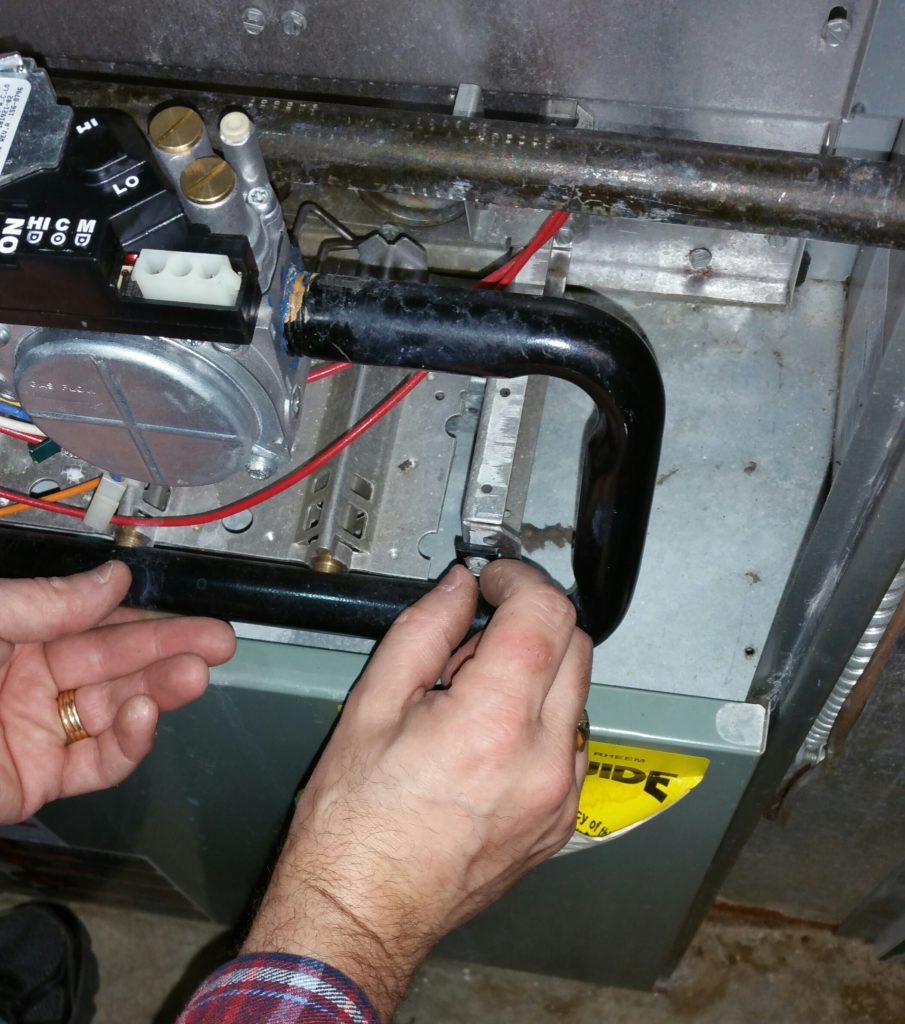
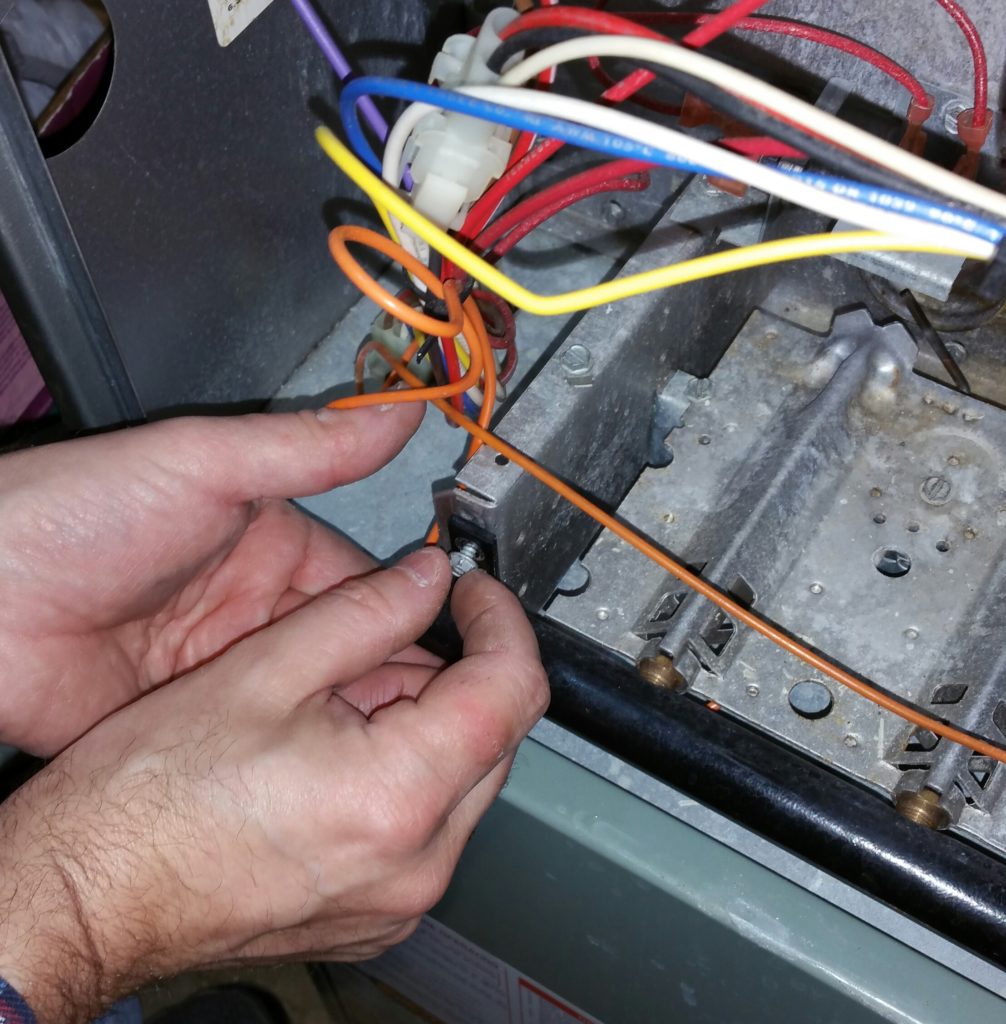
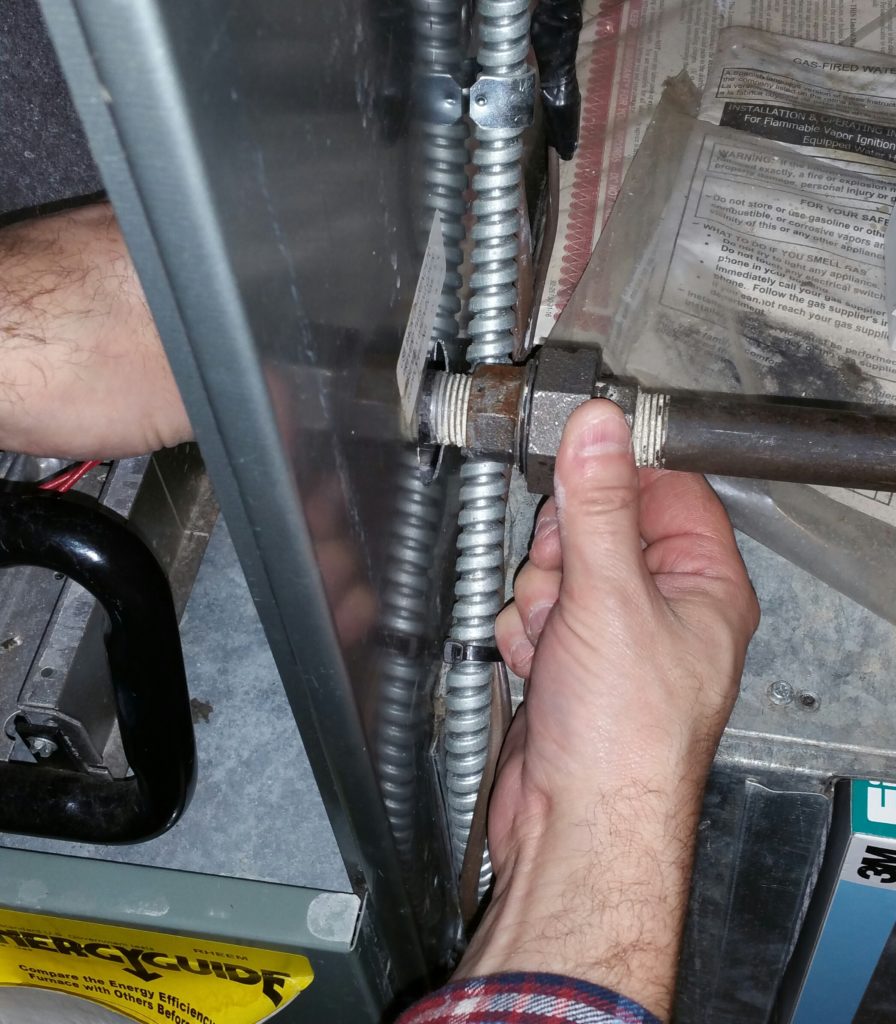
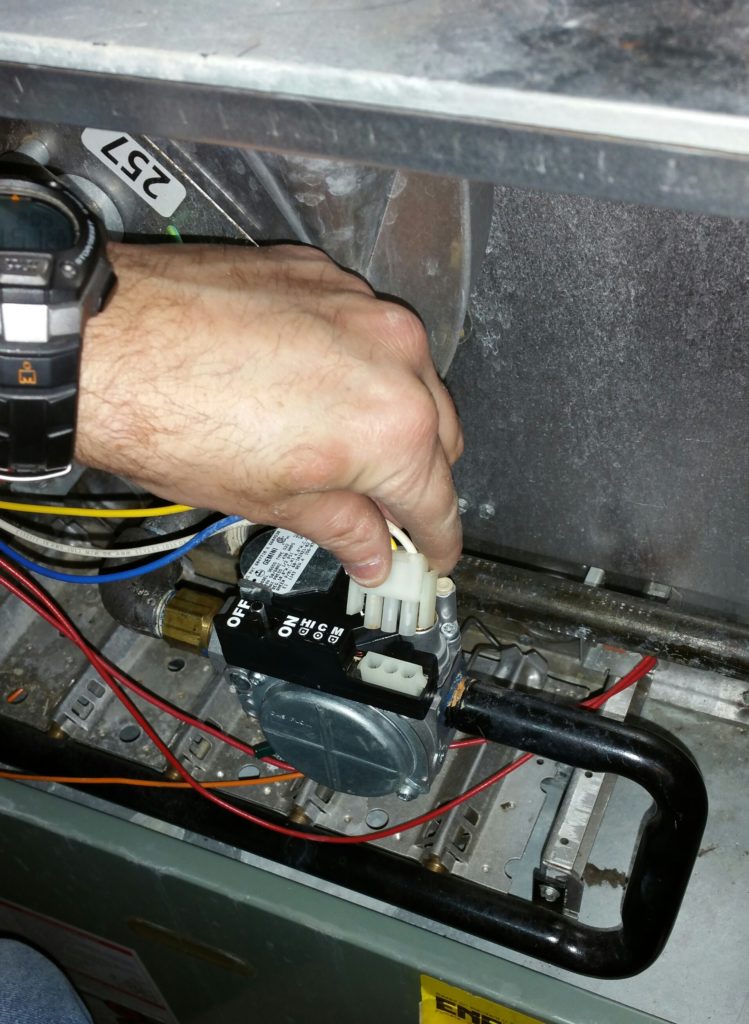
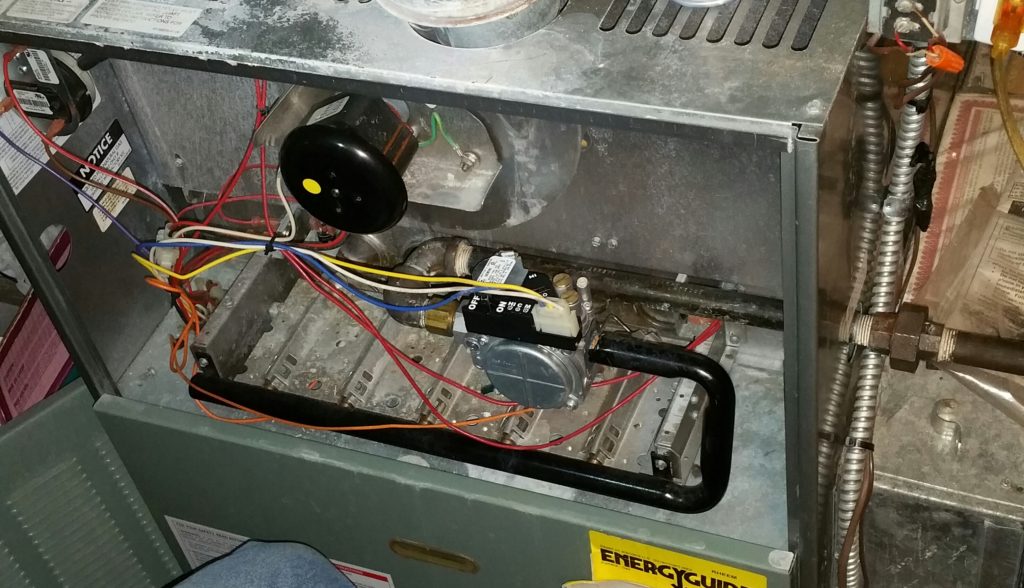
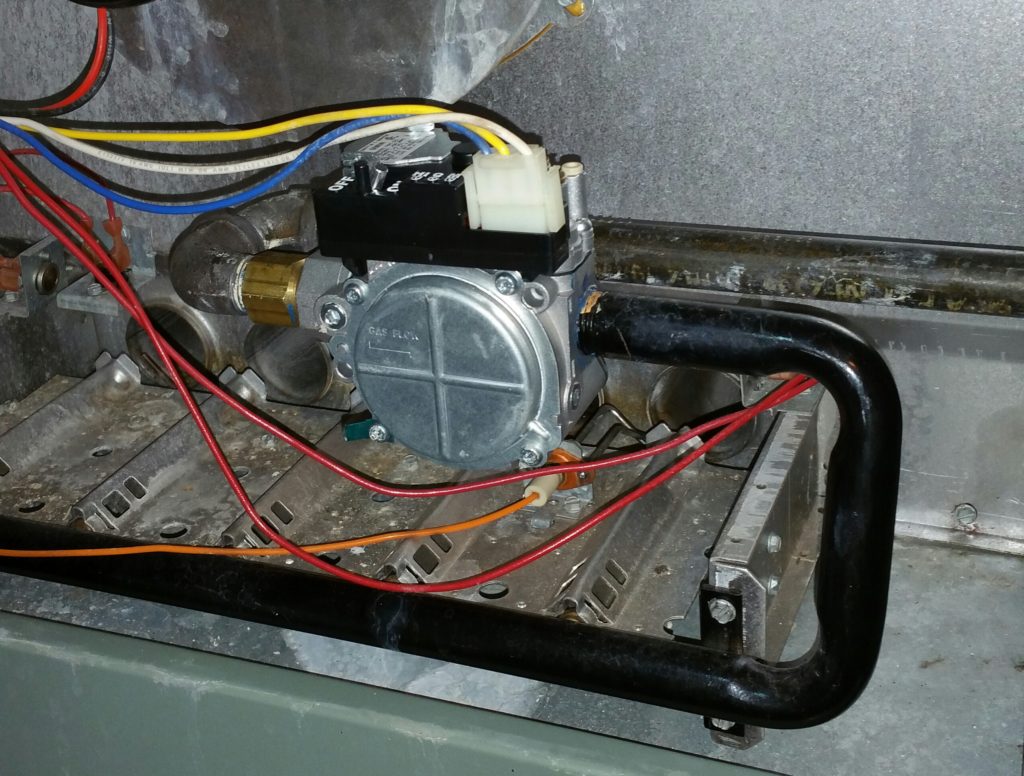
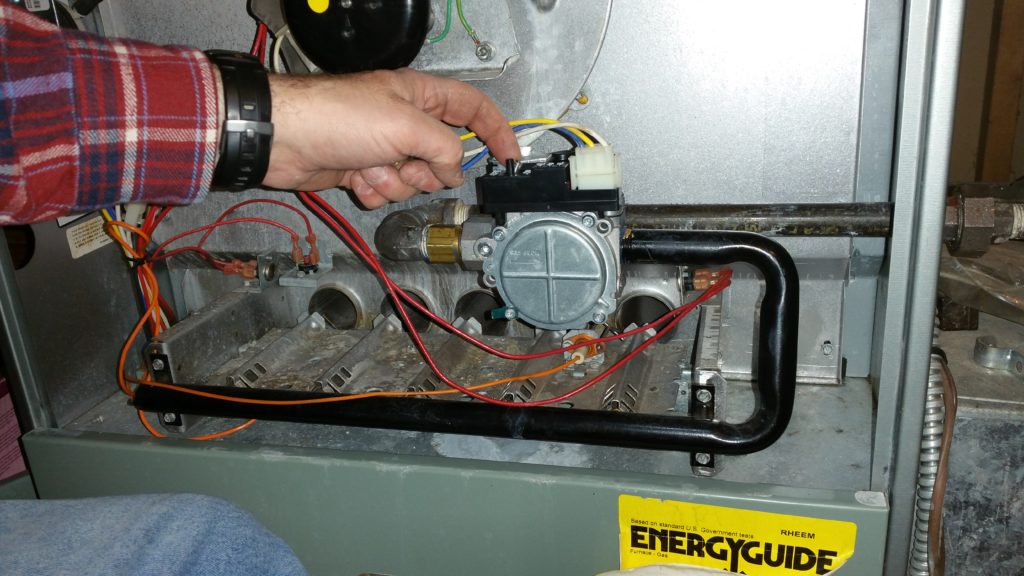
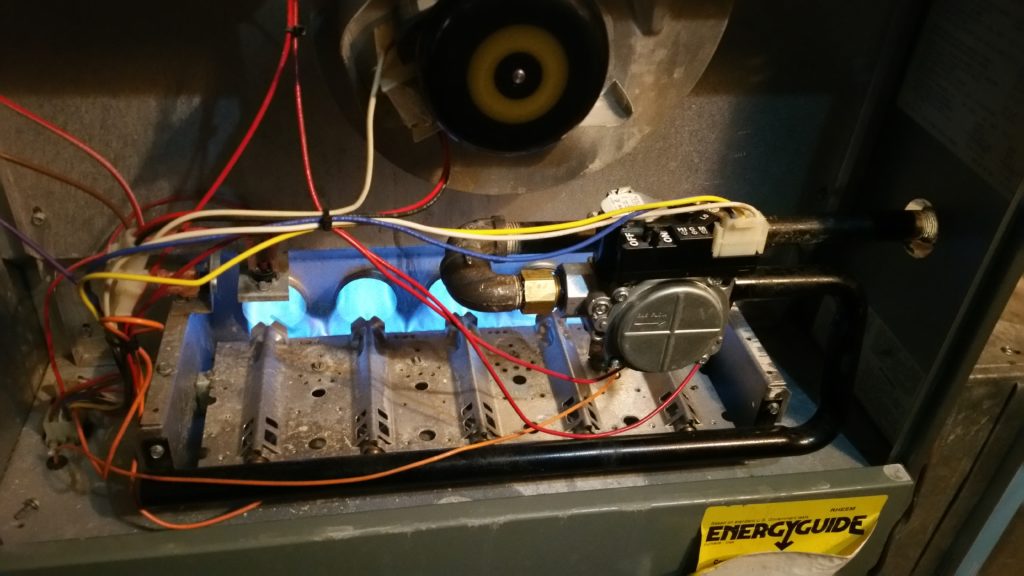
As we begin, you can see the original furnace gas valve set-up.A closer view of the old gas valve. This has to be removed in order to be replaced.Starting the disassembly of the gas line after having shut off the gas flow to the furnaceSeparating the supply line to the gas valve from the gas main.This is the gas manifold, which has four nozzles that direct gas into the flame chamber. It is attached by four screws.When you drop a screw, a magnet comes in handy to retrieve it from small spaces!The entire gas valve assembly is now being removed to allow for replacement of the valve, itself.Another view of this assembly.Unscrewing the pipes from the old gas valve.A view of the pipes separated.Look, another view!Removing the angled junction.The angled junction has been successfully unscrewed from the gas valve.The gas manifold being removed from the gas valve. Here, you can see the nozzles that direct gas into the flame chamber when the furnace is lit.The old gas valve is almost free!This is the new gas valve. Isn’t it pretty?This brass fitting was used to ensure that the new valve connections lined up with the older, longer gas valve fittings.The blue goop being applied here is pipe thread sealant.Here is our bottle of pipe thread sealant. Without this, each connection would leak, causing an unwanted explosion – let’s avoid that!The brass extension is being permanently installed with sealant.A side by side view of the old gas valve and the new one, to make sure that the lengths match before reattaching the gas line and manifold.Another view of the old and new gas valves.Each connection gets a liberal amount of pipe sealant applied, aka “Blue Goop!”The new gas valve is carefully aligned so that it is level and doesn’t contact other parts of the furnace.The new gas valve is temporarily mounted with the four screws to check its alignment.The angled junction is screwed on to the brass extension and lined up to allow the gas supply line to properly meet the gas main.After the angled junction is screwed on to the brass extension, excess sealant is wiped off the assembly.The gas supply line (with its attached angled junction) is screwed on to the angled junction of the gas valve, creating the u-turn we need to meet the gas main.Here is the final assembly, ready for re-installation!Re-installing the complete gas valve assembly.Inserting the four mounting screws.Inserting the four mounting screws.Reconnecting the gas supply line to the gas main. This connection uses a rubber seal/gasket to keep the natural gas where it belongs – in the pipe!Plugging in the wiring harness to the new gas valve.Inspecting the completed assembly and making sure that all wires are where they ought to be.Inspecting the completed assembly and making sure that all wires are where they ought to be.Flipping the on/off switch of the new gas valve to the “on” position and checking for gas leaks after turning on the flow of gas.Eureka – we have fire in the flame chamber!!! The operation has been a success, and the patient’s heart beats hot!!!
Happy ending–the furnace functions, and the house is nice and warm! Also, I actually feel as though I understood what my husband was saying and doing as he made the repair!
I always enjoy when you keep me company during a home repair/improvement! I’m glad you understood what was going on. The irony was that the gas valve, itself, wasn’t even broken – it was just the electronic board attached to it that was damaged by the water leak. If I could have obtained just the control board, this would have been a much easier job! 😉


2 Comments
Steve Bergman
I always enjoy when you keep me company during a home repair/improvement! I’m glad you understood what was going on. The irony was that the gas valve, itself, wasn’t even broken – it was just the electronic board attached to it that was damaged by the water leak. If I could have obtained just the control board, this would have been a much easier job! 😉
Beckie
Now we should try to find some fun projects to do together just because we want to rather than we have to!