I am a 51 Year Old Woman Who Has Finally Learned How to Solve a Rubik’s Cube!
I grew up in the 80’s, and yes, I had a Rubik’s Cube. I would play around with it, but I would be thrilled if I could solve just one side. I honestly don’t even remember if I successfully solved two sides. One may have been my limit. (Also, I didn’t cheat by removing and replacing the stickers.) I was always impressed by those who could solve a Rubik’s Cube but never imagined that I would be amongst them…until now! Before you read any farther, I am letting you know right now that you will not learn how to solve a Rubik’s Cube in this post. It is really about my experience in finally learning something I had wanted to learn. Hopefully you will be a bit inspired, too. Suffice it to say, for me it wasn’t easy, but it has been done!
In response to one of my “who is willing to teach me something requests,” Michael, a good friend of mine from college, offered to teach me how to solve a Rubik’s Cube. I (obviously) took him up on his offer! My sister got excited about the prospect of learning, too, so she joined our little Rubik’s Cube Zoom class.
Michael told us that he would be able to teach us the different steps, but it would take several meetings to do so. No problem. We all have a much greater comfort level with Zoom now than we did a few years ago. Years ago, Michael taught himself how to solve a Rubik’s Cube. He downloaded the instructions, and, when he travelled overseas over 20 years ago to visit his wife’s family, he used the extensive travel time to successfully learn. (I just usually nap or read a book on flights.) I can not even fathom trying to learn how to do this from printed instructions.
We set up our first lesson for Wednesday, March 3, 2021. Fortunately, I did find a Rubik’s Cube in my home. I was worried that I may have donated any of the cubes my kids may have received but never used in the past. Lo and behold, I found one, and it was still in the sealed bag. In case you are not aware, the newer Rubik’s Cubes do not have stickers, so you can’t cheat 80’s style.
We met on Zoom, our “crazy” trio, and got to work! The first step and the lesson of the day was to learn how to just do one side (we started with the white side) of the cube. I will be honest; I had a rough time. Although seeing this demonstrated on Zoom was easier for me than trying to read instructions, I kept getting my directions confused since we were (obviously) looking at each other and were not side by side. My sister picked it up much more easily. She had to leave the video call early, so Michael gave me some one-on-one attention. While doing that, I finally started getting the hang of it. (Phew!) We made plans to meet again for step 2 on Sunday, March 7. That night, I tried to practice. I had trouble again. What I thought I “had,” I no longer “had.” Michael sent us some videos of the process. This was the start of MANY extremely helpful videos to come.
On Thursday, he sent some more videos. Nevertheless, I was really getting frustrated. That evening, I was really getting ready to throw the #%&$%#@ cube out the window! I was! Friday was a rough day at work. I didn’t want to risk more annoyance that night, so I didn’t even try working on the Rubik’s Cube.
On Saturday, I decided that I really needed to try again. I thought that it would be wise to determine if Sunday would be a review of step 1 or if we could proceed to step 2. Well, holy cow! IT CLICKED!! I don’t know exactly how, but it all suddenly clicked! (I felt SO much better!) I actually started to enjoy setting up the white side of the cube! It nicely transitioned from pissing me off to being a relaxing activity.
Sunday, March 7 arrived, and Michael, my sister, and I were ready for step 2! By the end of step 2, the yellow side of the cube (the side opposite the white) would have the 4 corners (and the yellow center) in place. This step has two parts which were a series of steps to memorize. By the end of step 2, the yellow corner cubes would be in place. The first part (2a) involved having two corner cubes in the correct place color-wise even if the colors didn’t line up properly. Once two cubes were in the proper position (but not orientation), the steps were repeated once more. After this, at least one corner cube would (hopefully) be in the fully correct position, and the next set of steps (2b) would eventually get all four yellow corners in the correct places with the correct orientation (all of the colors lined up properly). Since these steps were mainly about memorization, and we were realistic, my sis and I wrote down the steps and other helpful information for step 2. We just had to practice step 2 multiple times and wait for muscle memory to kick in. It wasn’t a set of steps that I could just “figure out.”
Due to Michael’s work schedule, we had to schedule our next Zoom lesson for Wednesday, March 17. Michael was proactive and made videos for step 3. My sis and I chose to try to learn step 3 from his great videos and then ask for any help and/or be ready to move on by our next meeting. What can I say? We were impatient and ready to forge ahead! Again, I was getting frustrated because I had trouble following the videos initially. I am more of a left brained person than a right brained person, so I was getting my directions and three-dimensional perspective mixed up. At times, I even turned part way around while watching the videos so that Michael and I (and our cubes) would be in the same direction. My sister was having more success than I, but I used one of my earlier techniques which helped…I stopped trying one night hoping that whatever I learned through my attempts would “do its thing” in my brain, and the next day it clicked. (Phew, again!) Throughout all of this, Michael was making videos and answering any and all of our questions. He has to be one of the most patient people I have EVER met! By the end of step 3, both the white and yellow sides would be completed. In part 3a, the yellow side is completed, but one of the white pieces is moved out of place. In 3b, the white piece makes its way back to the proper position.
By March 17, my sis and I had a fairly good grasp of step 3. With our white and yellow sides set up, we were ready to learn steps 4 and 5. Apparently, after step 3, we were ALMOST THERE! These final steps also mainly involved memorization of a series of steps to get the cubes of the middle row into their final positions.
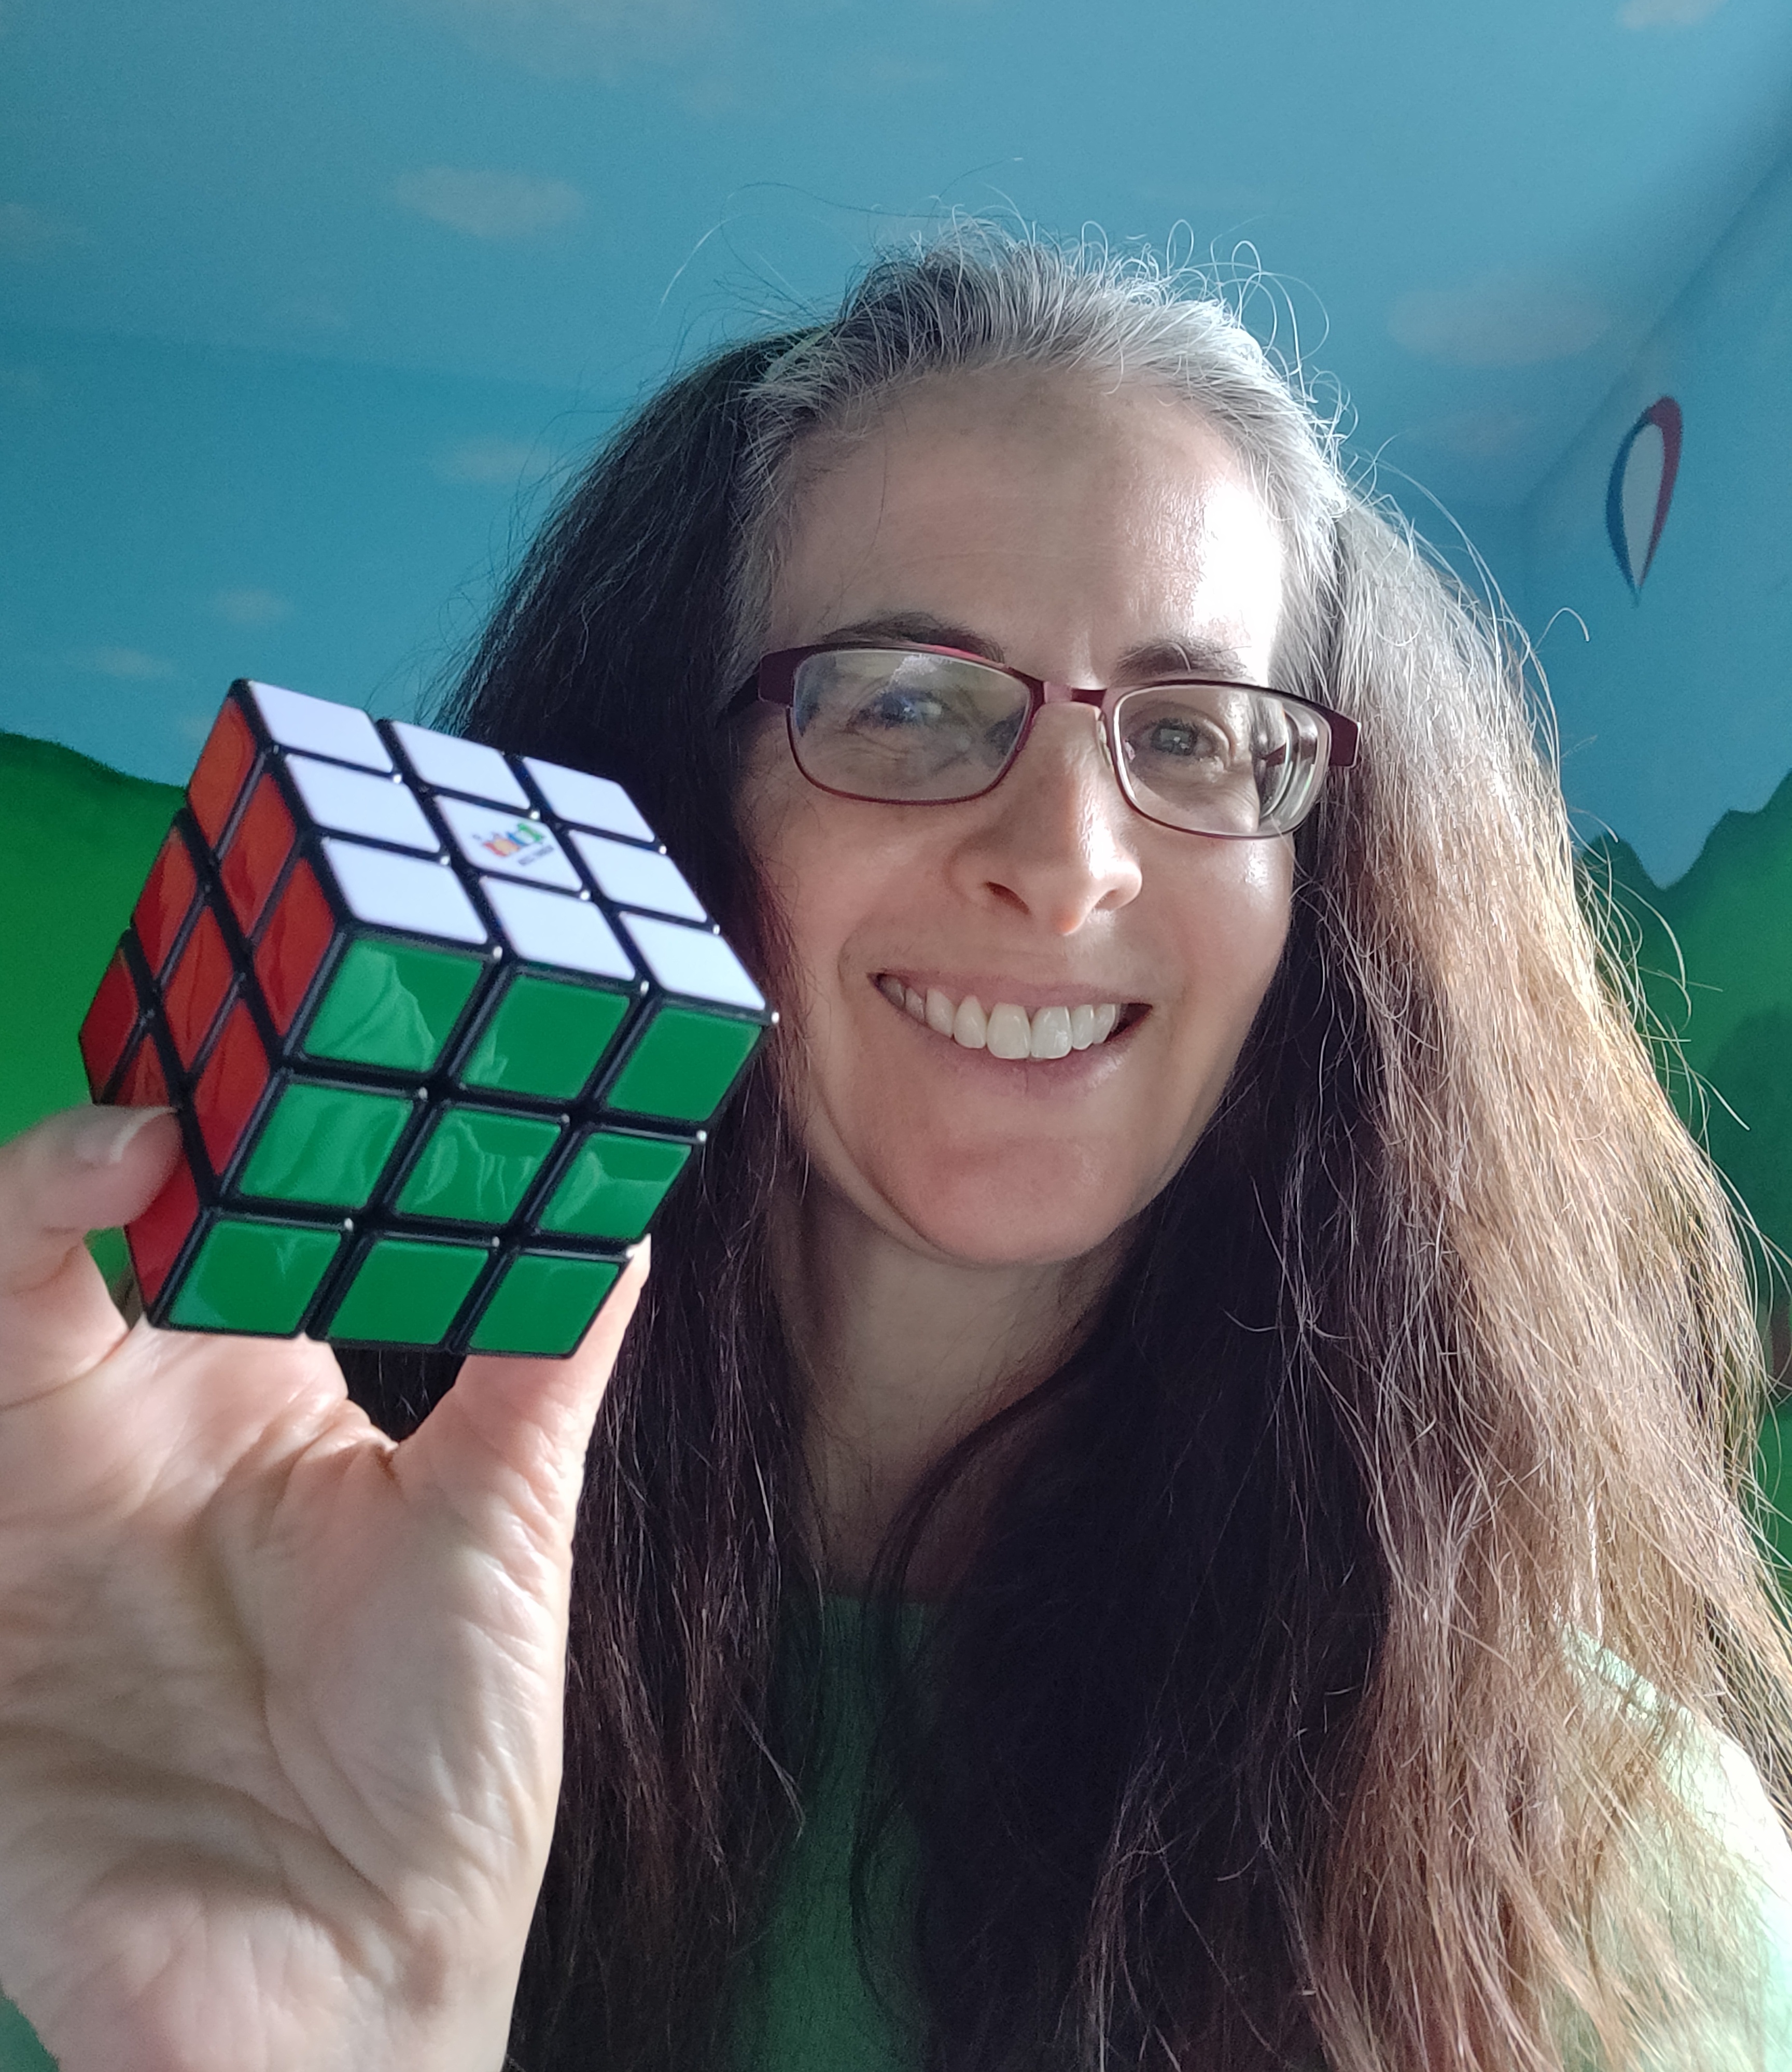
We met on Wednesday, March 17. With our handy notepads by our sides, my sis and I wrote down the last two sets of maneuvers with other helpful information. I can officially say that on Wednesday, March 17, my Rubik’s Cube had returned to its original state–all six sides were back to being solid colors! That was the first time I had EVER had a Rubik’s Cube back to its original state. THE FIRST TIME EVER! I was so excited!

It may not be a big deal in the overall scheme of things, but this really was exciting to me! It was just one of those things that as a kid I always thought would be neat to know (just like I had wanted to learn how to juggle in the past as well), and I can now say that I can solve a Rubik’s Cube! I do need to refer to my notes at times. Also, if I mess something up, I am still at the point where I usually need to start over. Nevertheless, I can now do it! I am not fast, and my moves aren’t seamless, but, that is not the point. I learned something completely new, and this toy from my childhood didn’t cause my adult brain to explode.
My nephew was inspired by what his mom and I were doing. He watched a different video and apparently learned how to solve a Rubik’s Cube in about an hour. Show off. My sister is getting fast with her cube solving skills, too! It is quite impressive!
I am so grateful that Michael offered to teach us! He is an amazing and unbelievably patient teacher. What was really great, though, was that we had the chance to “hang out” again. Zoom is nothing like being together in person, but while doing this, we did get to hang out and talk. To give some perspective, we last saw each other in person when we graduated from Tulane University in 1992. We have talked and interacted on Facebook a little bit since then, but this was the most time we have spent together in a long time. I am hoping that this is the start of spending more time, even if virtually–our families live in different parts of the country, together.
I am so thrilled that we had the chance to do this together! I want to give a huge THANK YOU to Michael for teaching us and to my sister for joining me on our Rubik’s Cube adventure!
This final video was taken on Sunday, March 21, 2021. This isn’t fast. My fingers are not moving at lightning speed. You will witness some “speed bumps” along the way. Nevertheless, I can now say that I have successfully learned how to solve a Rubik’s Cube.
Update: As of April 8, 2021, I have gotten much faster at solving THE CUBE! I am not beating any records, but it no longer takes me over 10 minutes to solve! I now find myself playing with my Rubik’s Cube throughout the day because I enjoy it!
Another update: Today is October 27, 2021. I am SO grateful to Michael for teaching me how to solve this! The entire summer was crazy for a variety of reasons (and not crazy in a fun way, but I am not going into that). I actually now play with this cube to help me relax. I am still not very speedy, and I am not trying to learn any “tricks.” (You won’t see me trying to solve it with my eyes closed or while juggling.) Taking time at home to go through the messing it up/solving it again process truly gives me some much needed mini breaks that are helping to keep me a bit more sane.


18 Comments
Rachel Hannon
Hooray! What a super fun experience this was! And I agree with you that Michael was a fantastic teacher! I wish he lived closer so I could meet him in person 😊.
Beckie
Let’s see how much we can impress people at the next family gathering!
Michael
Great job Beckie!
Beckie
Thanks! I couldn’t have done it without you!
Hannah
I am SO impressed! And did you know you can actually take them apart and reassemble them as another cheat? I won’t tell you how I know that…but anyway, I’m 51 and although I have absolutely NO interest in learning how to do this, I am so down on always learning new skills!
Beckie
Thanks! If you come up with something new you want to learn, perhaps we can find a way to try it out together! I’m game!
Silva
That’s amazing! You’ve inspired me. I used to take the stickers off my Rubik’s cube and look on with envy when my friends would solve theirs. I guess my friends weren’t as good as yours because they refused to teach me.
A few years ago, my daughter wanted to learn and watched a YouTube video. Like your nephew, she figured it out within an hour and within a week was really fast at solving it. I’d be happy if I could get it done in 10 minutes. Gotta go and find the Rubik’s cube now…
Beckie
Thank you! Find that cube! You have to start somewhere! Once you’ve got it, let me know! We can leisurely solve them together. : )
Kate Maddox
Yay!! That is awesome! What a fun topic and skill to learn how to do!! I have always messed around with Rubik’s cubes but haven’t sat down with the focus you did!! I also love that you included videos of your journey!!
Beckie
Thanks! Without having someone to show me how to do it, I could NEVER have solved it! My videos show the reality of it. No speed records here, and that is just fine. : )
DarrenRhing
“Everything is very open with a precise description of the challenges. It was definitely informative. Your site is very helpful. Many thanks for sharing!”
נערות ליווי בגבעתיים
gder4563
Beckie
Glad you enjoyed it!
Holly
I absolutely love that you challenged yourself to do this! I always promise myself I’ll learn the whole Thriller dance this time of year 😅 It’s never too late!
Beckie
This is the year! Get those “Thriller hands” ready and start learning today! Have fun! (I will probably have the song stuck in my head, now, for the next few hours. ; ) )
kitchenmitts
You look so good!
kitchenmitts | https://www.kitchenmitts.com
Beckie
Thank you!
uratothome
It is a very good useful article I like to read such articles
uratothome – https://www.uratothome.com
Beckie
Glad you enjoyed it!