
Mixed Media Art Project–Painting, Stamping, Decoupage
As a kid, I wasn’t always into art. Yes, I loved my Spirograph, Shrinky Dinks, and Fashion Plates (weren’t those the BEST?!,) but I was not necessarily “artistic” per se. I was more of a “performing arts” kind of gal who loved and still loves dance and theater.
As an adult, I have been spending more time over the years trying to become more crafty, artistic, and creative, and I have been really enjoying the process. Pinterest has helped with that. (Although searching on Pinterest can suck hours out of a day, when I actually finish a project inspired by Pinterest, it makes it worth the time!) Fortunately, I have even had the opportunity to have others to share their creative projects with me. (Thanks, Sue, for teaching me how to etch glass! The plate I etched is on display in my kitchen!) (Cheryl, I am looking forward to painting again with you soon! I love the project we did together!) (Stephanie, I love my birdhouse!)
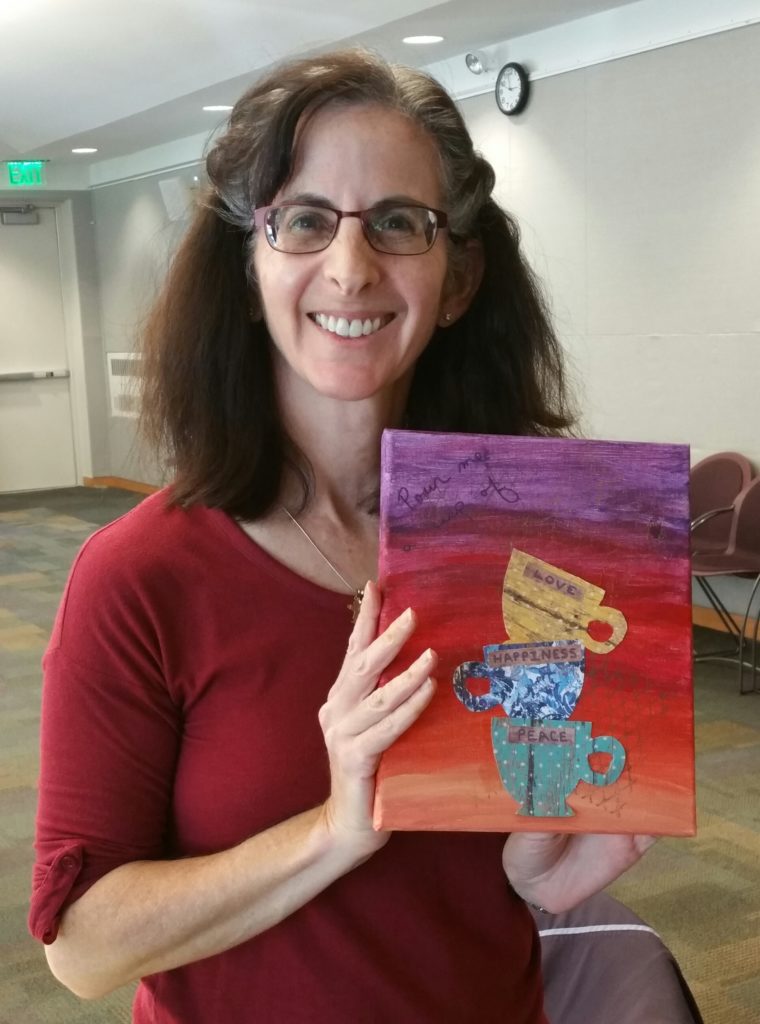
I live between TWO fantastic public libraries, and I have been able to try new projects at both of them. If you have not done so recently, check out your local library. Libraries nowadays have so much more than books! One of my first library craft “Live and Learn” experiences was learning how to make a coffee cup cozy. This also involved learning how to use a sewing machine. I still use that cozy ALL THE TIME! Most recently, I participated in a Mixed Media Art Project class. Let me show you what I created! (Spoiler alert: I really like my final project!)
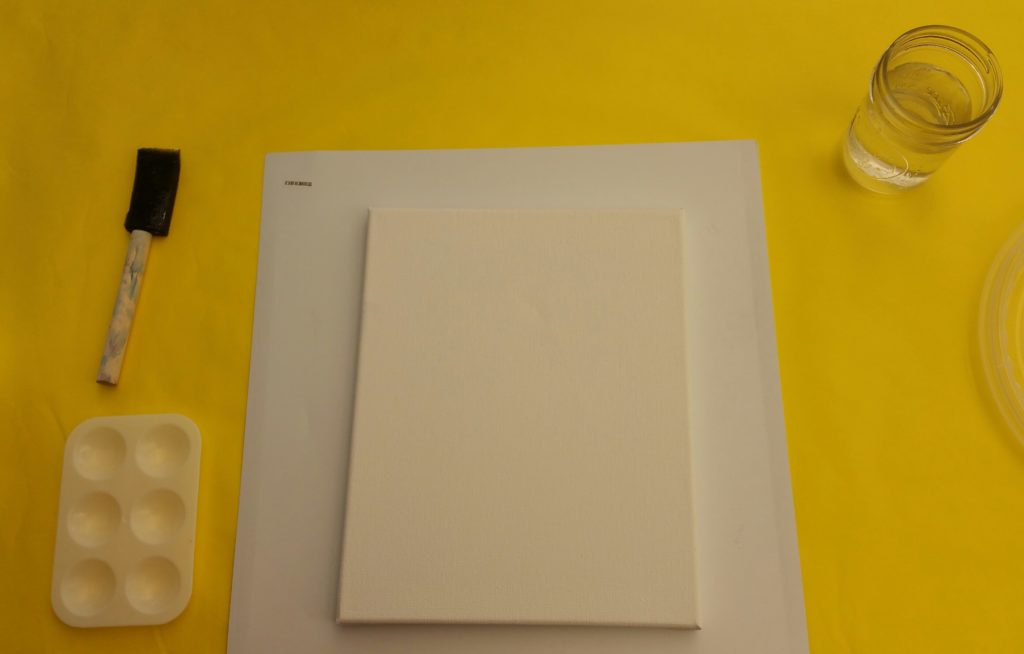
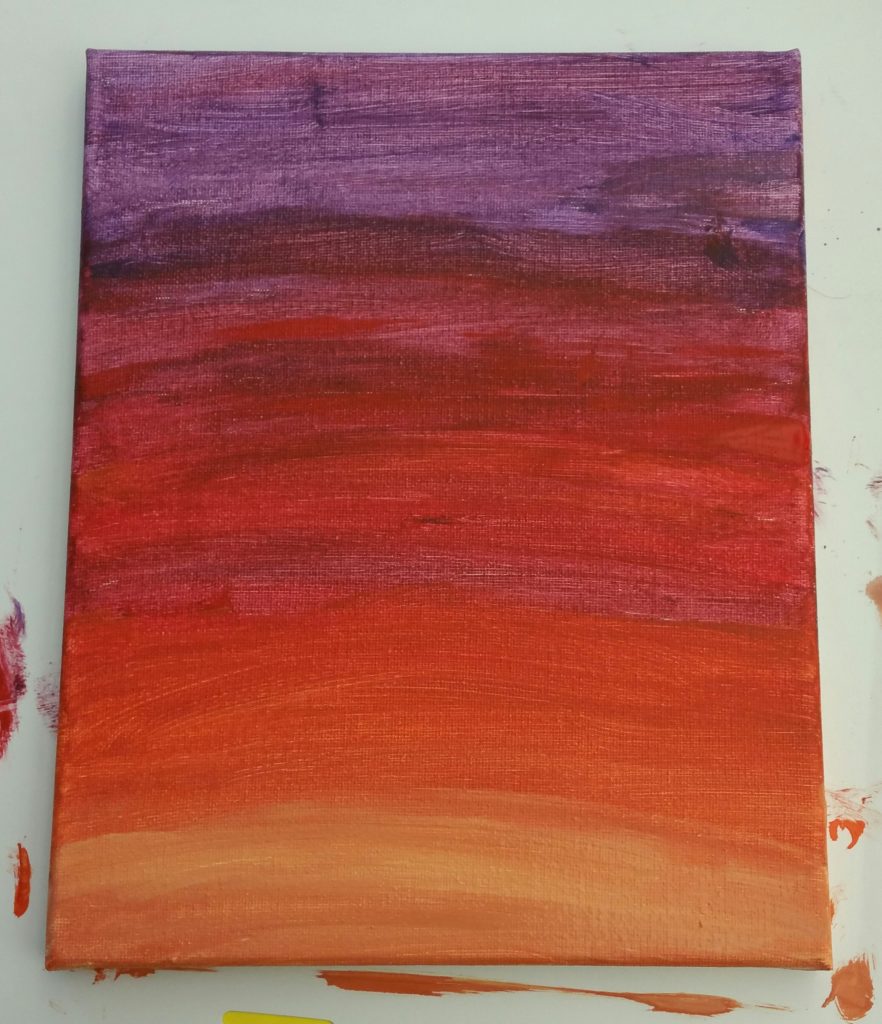
I started with a blank canvas.
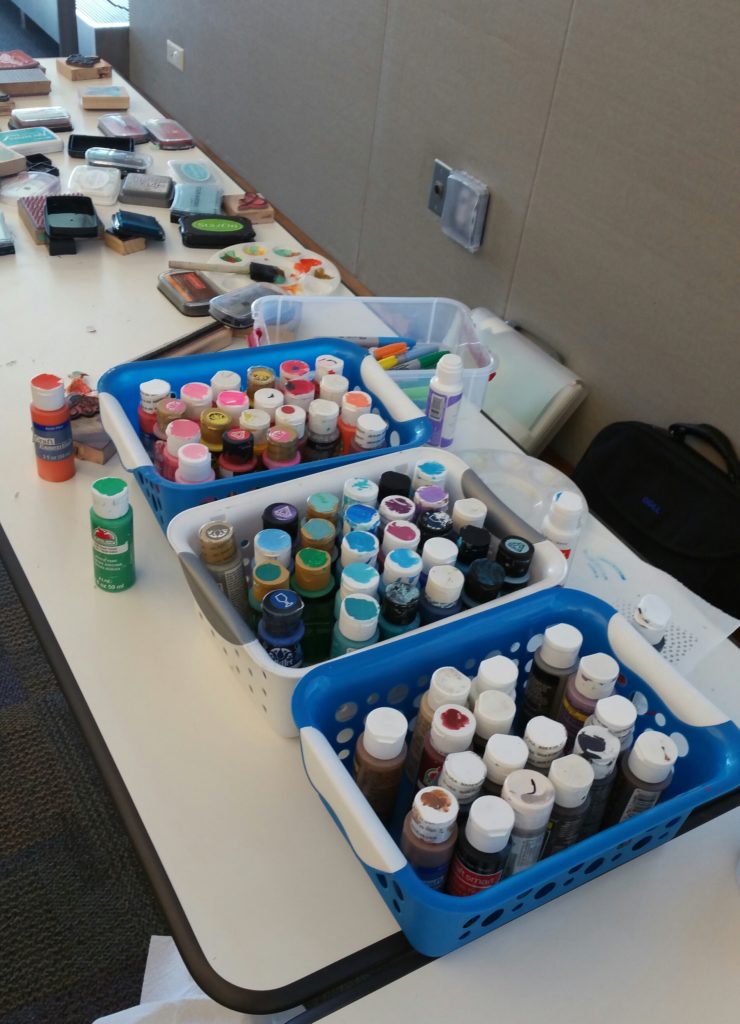
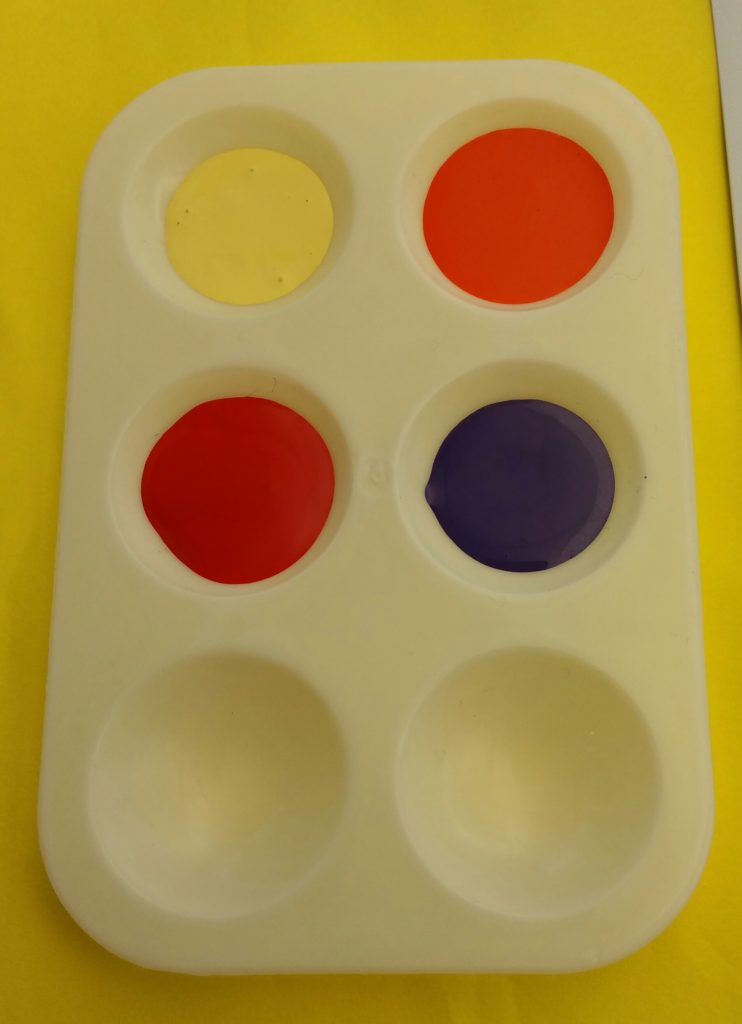
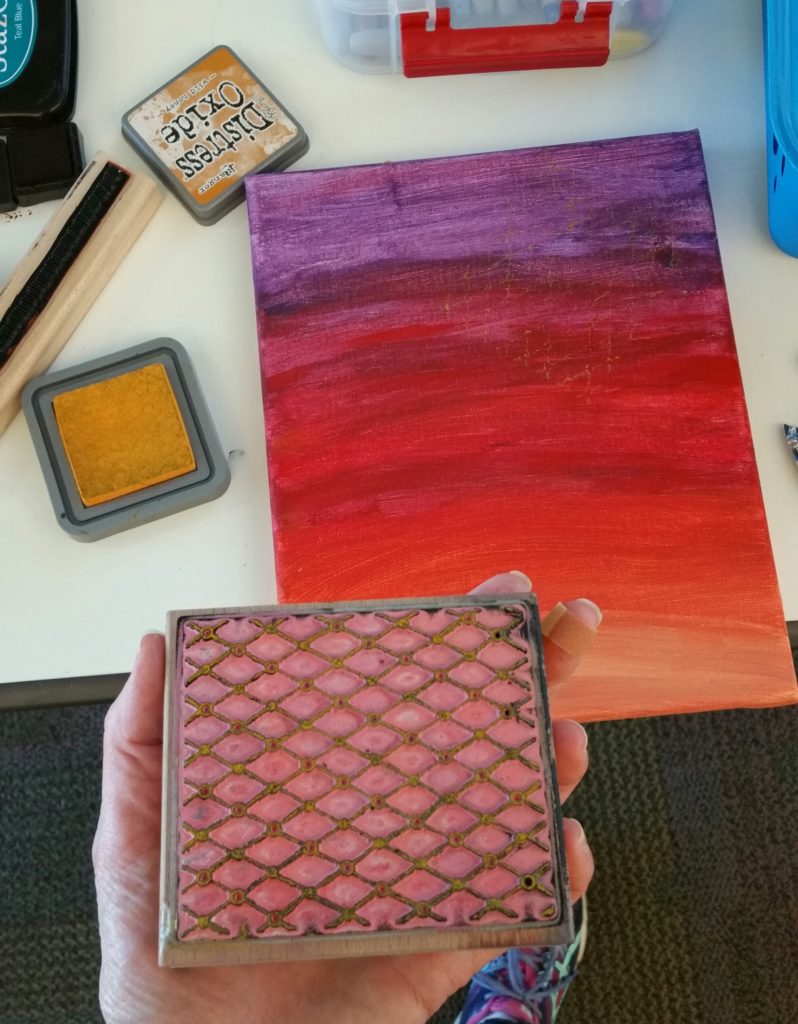
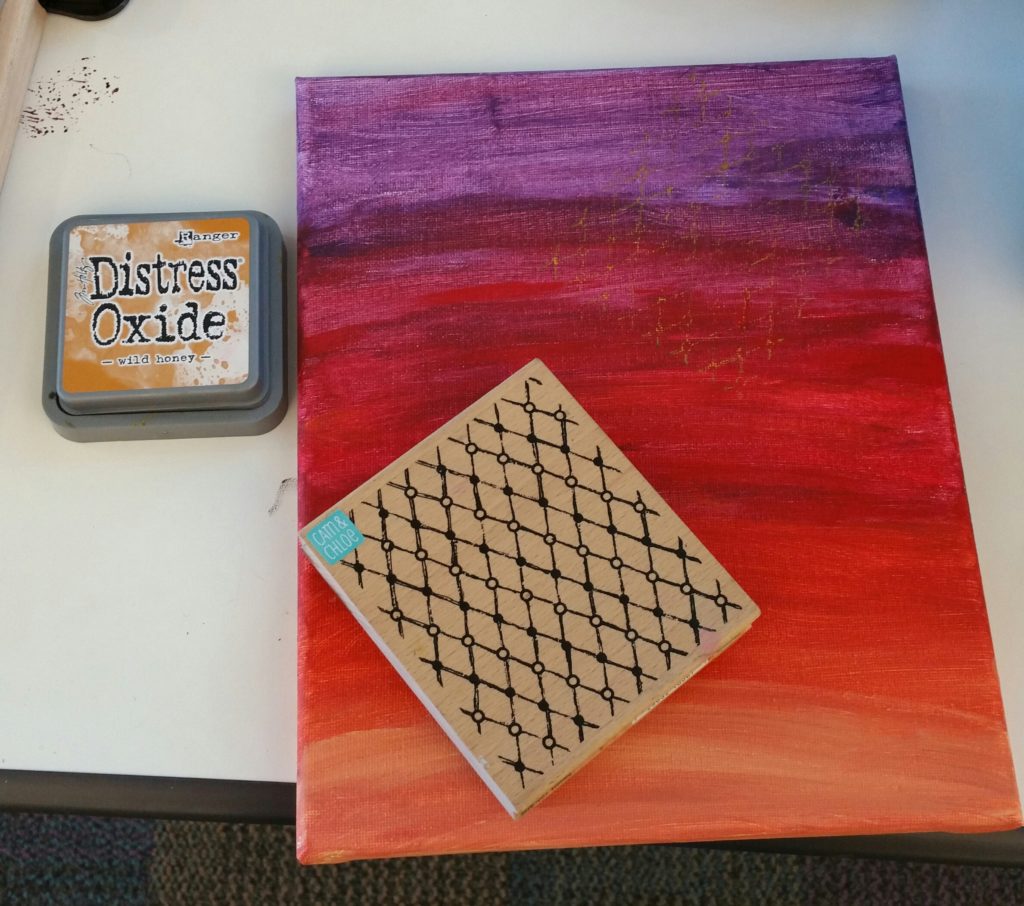
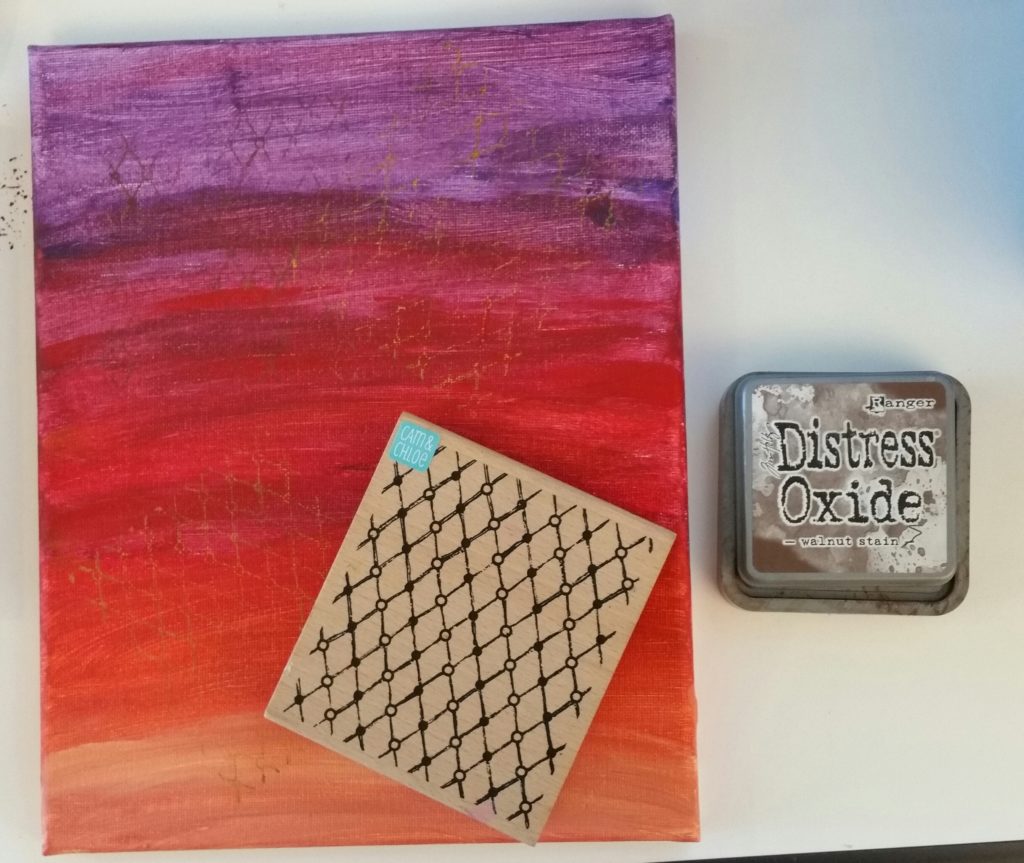
The first step was to paint the canvas. There were multiple color options available. The instructor suggested using just a few. I chose four colors which I thought would evoke feelings of autumn.
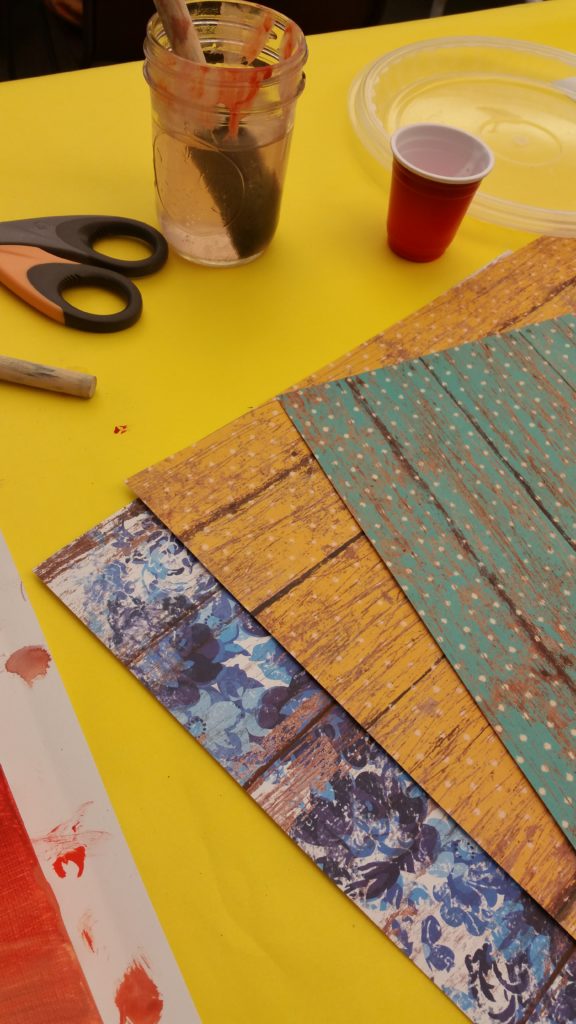
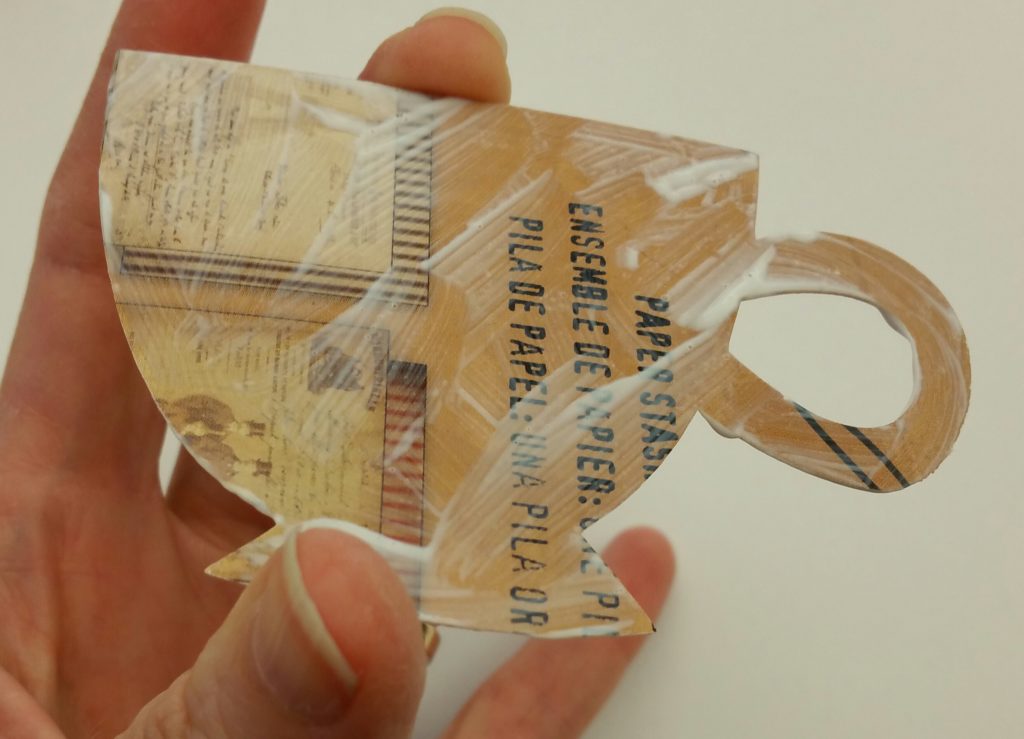
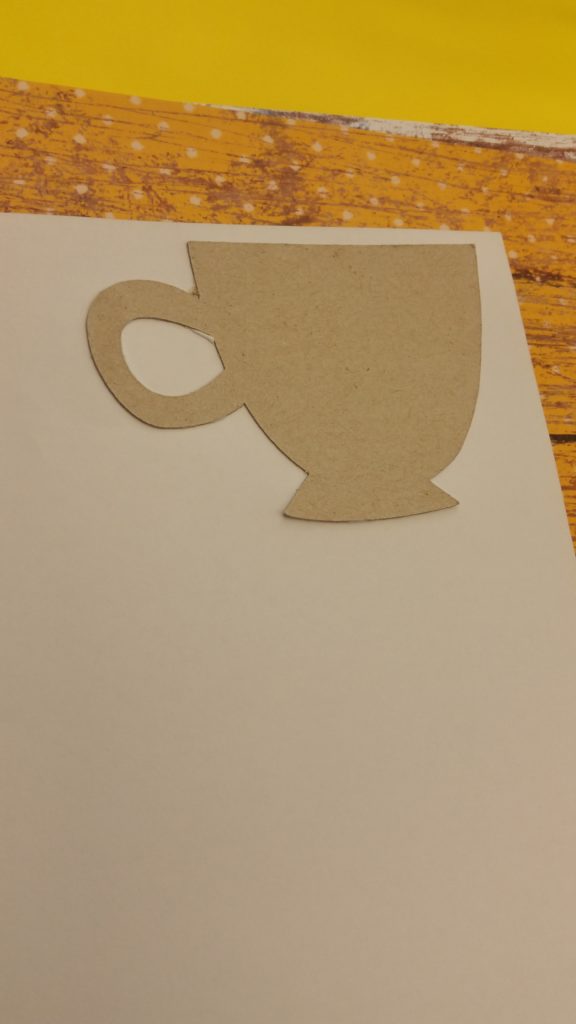
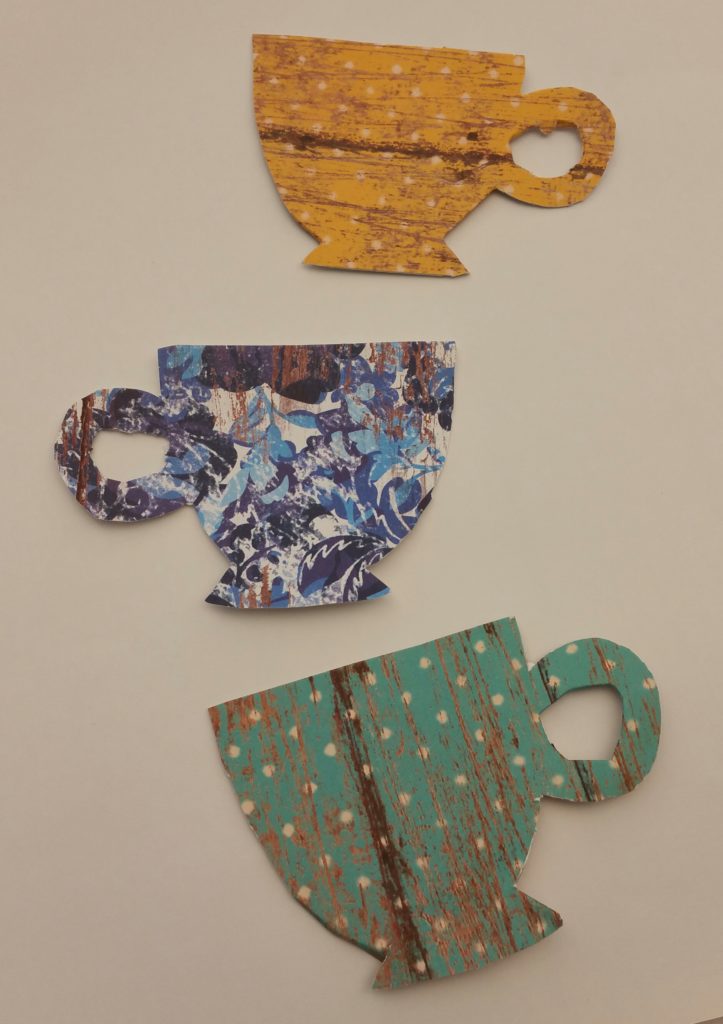
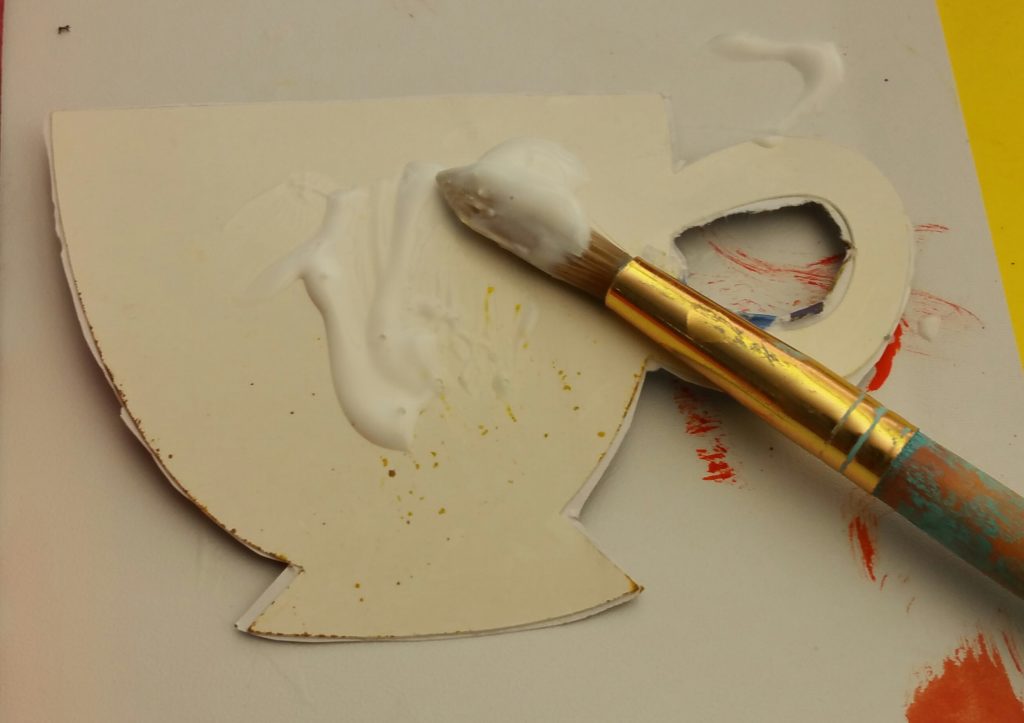
While the paint was drying, craft/scrapbook paper was applied to pre-cut cup shapes. There was a table full of paper choices. The challenge was deciding which colors and patterns would work well with the color palette I chose for painting. Each participant in the program was given some cup cut-outs, and I decided that they would all look different.
Once the paint on the canvas was dry, I opted to add some more dimension to it by using some rubber stamps. I chose one pattern and applied it using two different colors of ink.

After the ink was dry, it was time to glue the decorated cups onto the canvas.
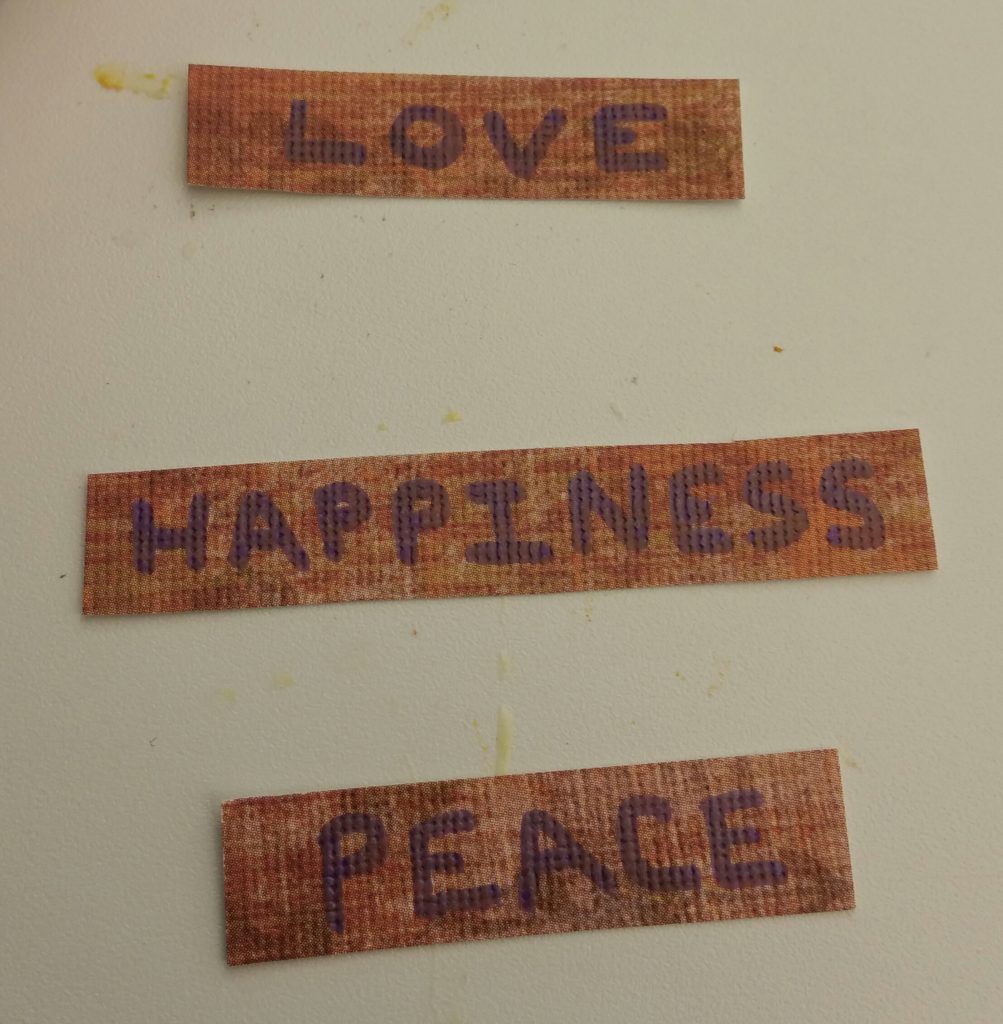
For the final steps, cut-outs of the words “Pour Me a Cup Of” could be glued onto the canvas. I didn’t really have the space for them, nor did I have time to paint them. (I did not like how they looked in the original color.) I opted to write the words on the canvas. They did not show up as well as I had hoped. Let’s just call it “subtle.” Additionally, additional paper cut-outs with the words “HAPPINESS,” “LOVE,” and “PEACE” were glued onto the decorated cups. In the end, I felt as though I had created a piece of art which was also meaningful to me.

After having used multiple techniques (painting, stamping, decoupage) to create the final piece, I am more inspired to continue to create new types of art! Feel free to share some of your creative projects with me as well!


You May Also Like

Making Natural Body Products
Making Beeswax Candles–A Perfect Simple College Spring Break Project