
Reverse Tie-Dye–Family Fun Creating Coordinated Sweats!
Each year for Hanukkah, I try to plan family activities on some of the eight nights. When the activity involves making something, you get an added bonus at the end! This year, I decided that my family would do a reverse tie-dye project. Instead of having Christmas jammies, we would create Hanukkah sweats! Between winter in Chicagoland and the fact that we are all spending more time at home, sweats seemed like a perfect option.
After looking at multiple posts, I honestly just decided to pick the parts that seemed easiest and most doable and went from there. I could watch videos and find posts about using bleach for reverse tie-dye probably until the end of time, but I realized that I just needed to stop researching the project and go ahead.
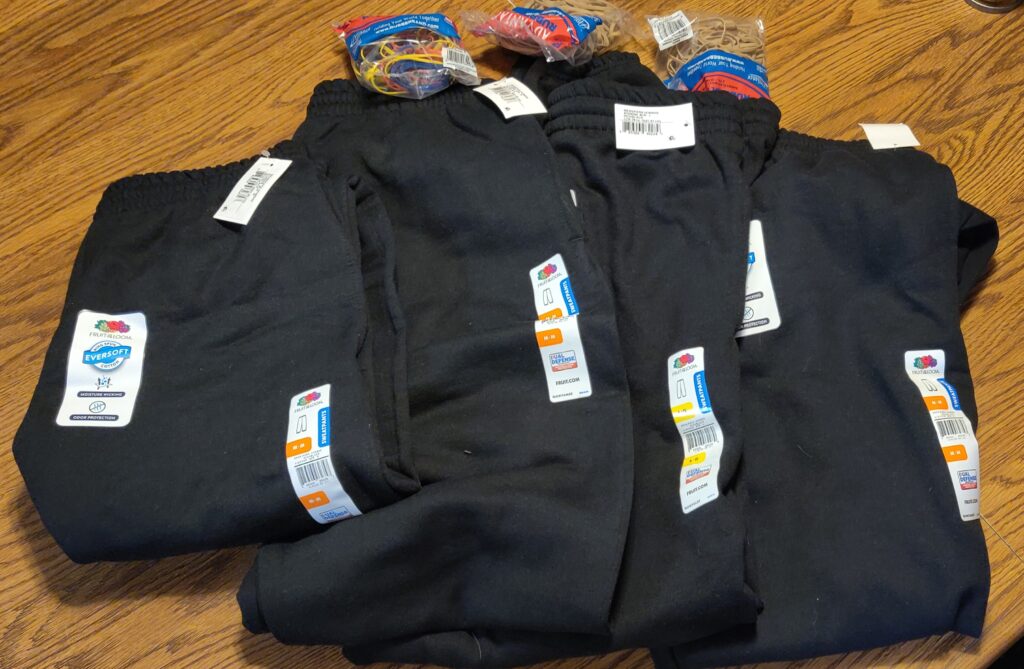
I purchased four pairs of sweatpants at my local Walmart. Since we had never done this before and the outcome was unknown, I did not want to spend a fortune on sweats. For approximately $8 a pair, we each had a pair of black sweats (these were Fruit of the Loom, 60% cotton/40% polyester) on which to create some magic!
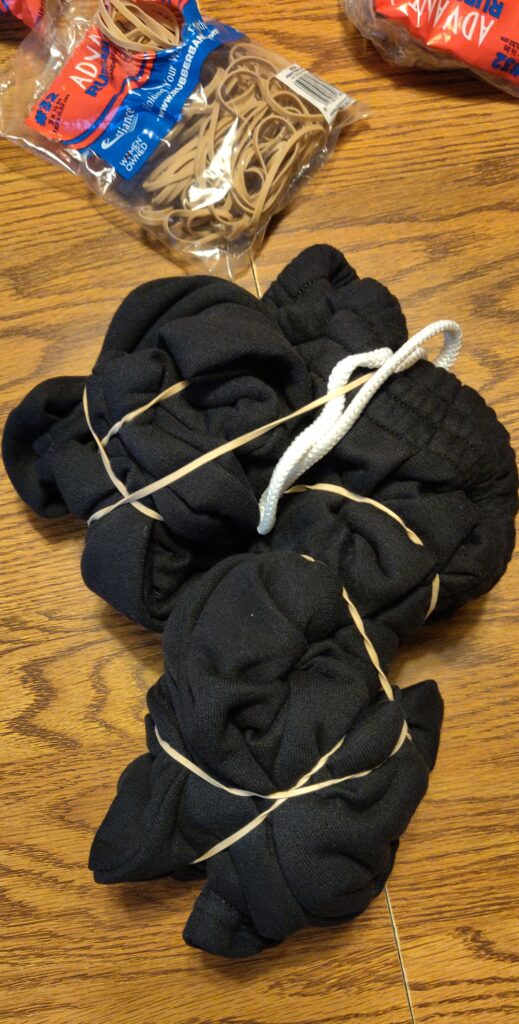
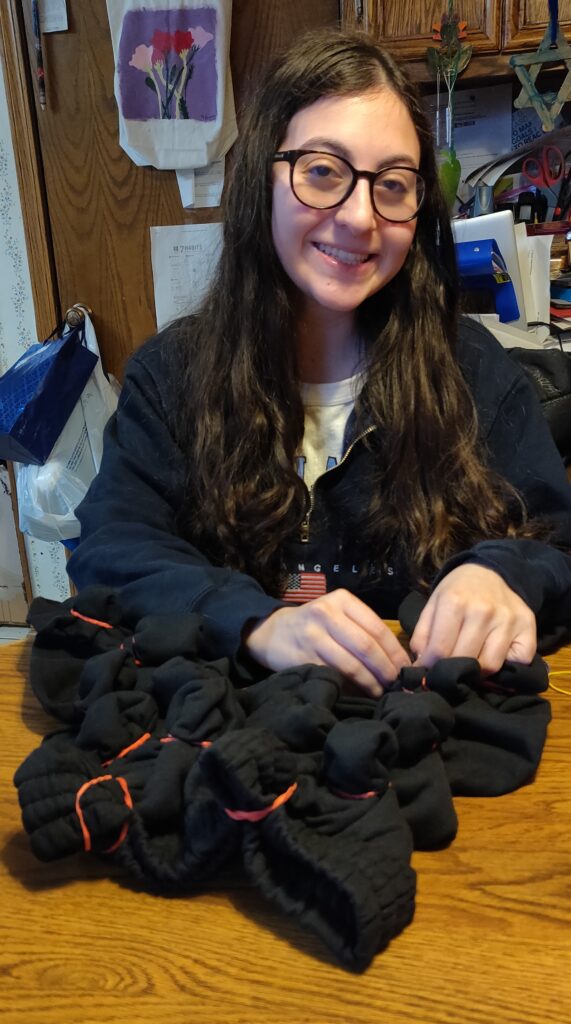
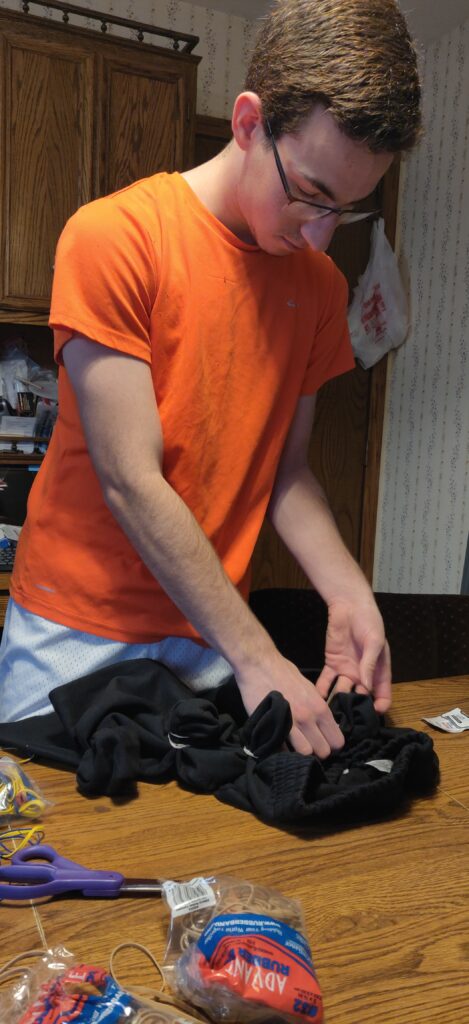
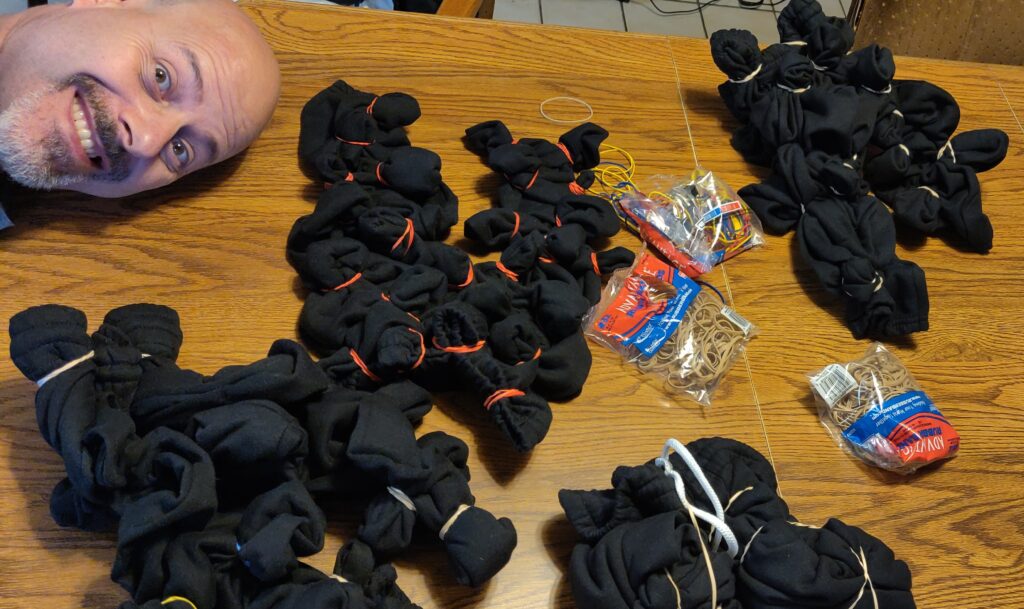
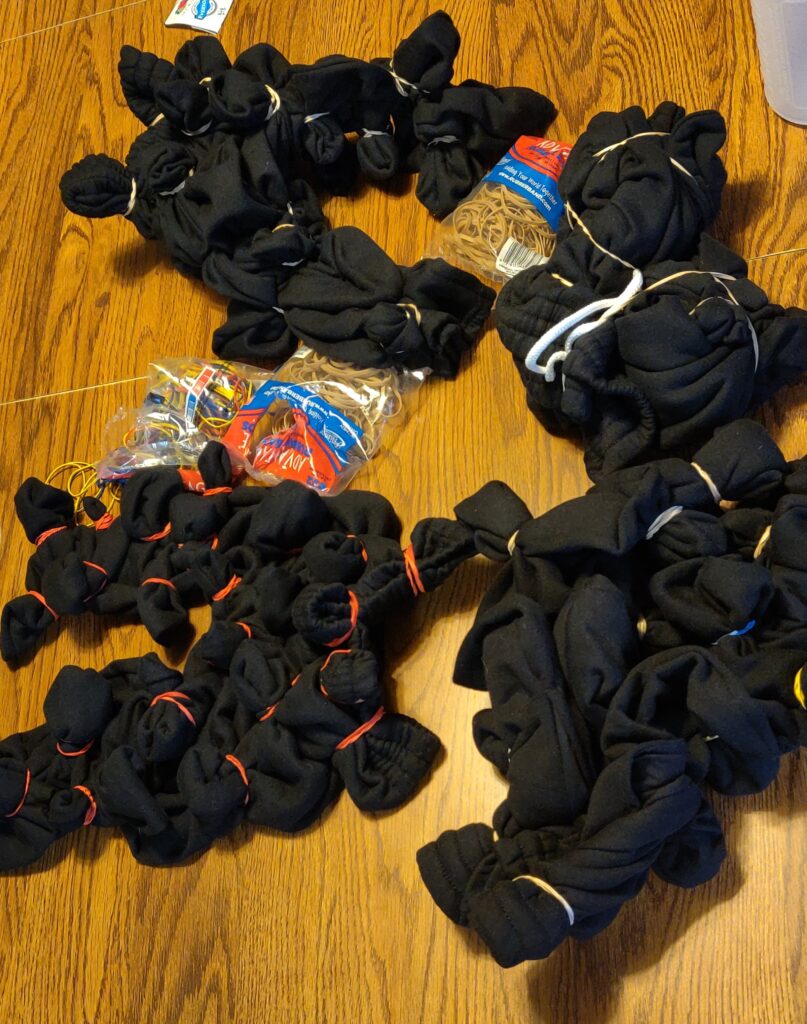
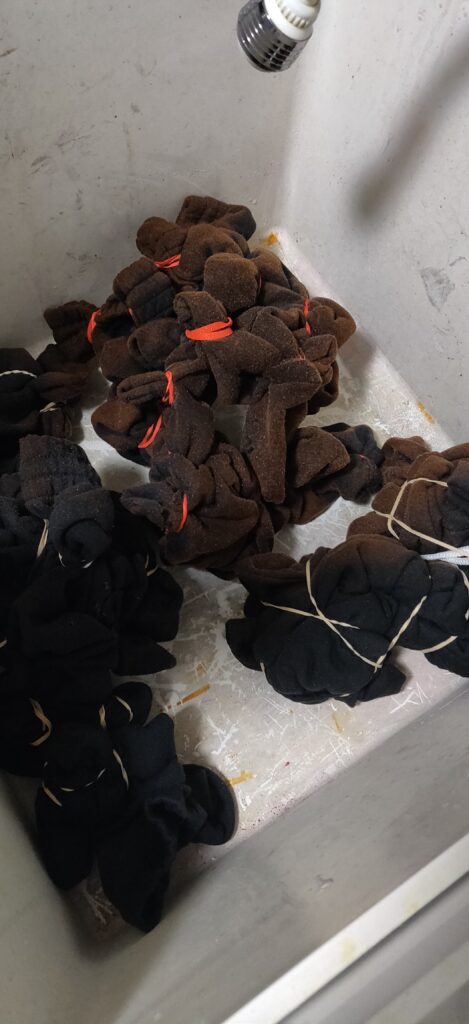
Armed with bags of rubber bands, we gathered up and banded pieces of the fabric. I grabbed a piece of the material and then just scrunched in a bunch before putting on the band. The rest of my family did it a bit differently. They made what looked like little “fingers” of material. (I preferred the results of their method. More on that later.)
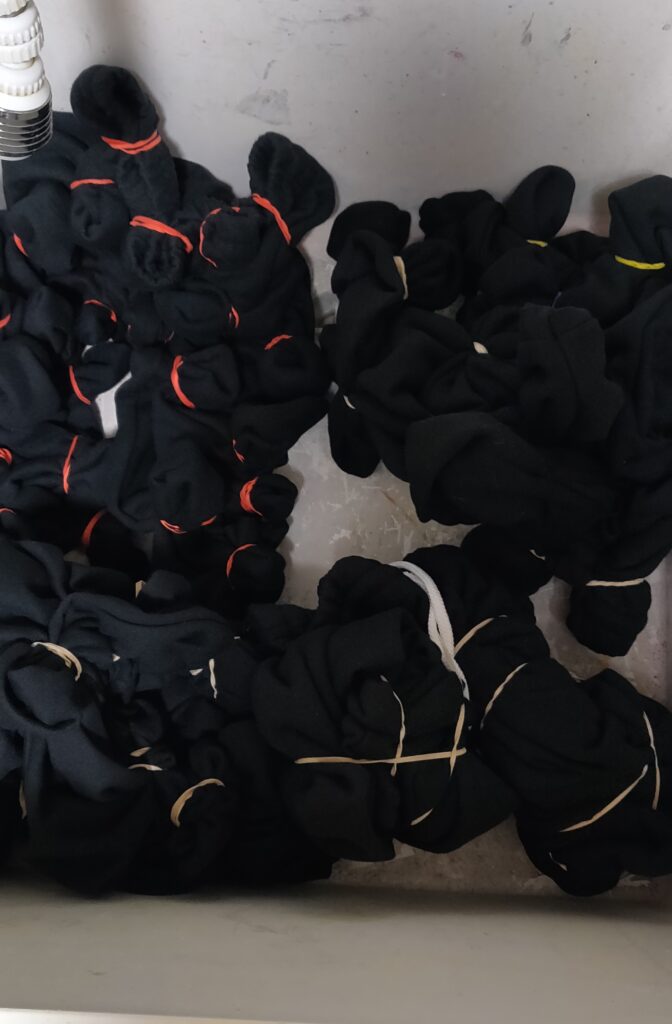
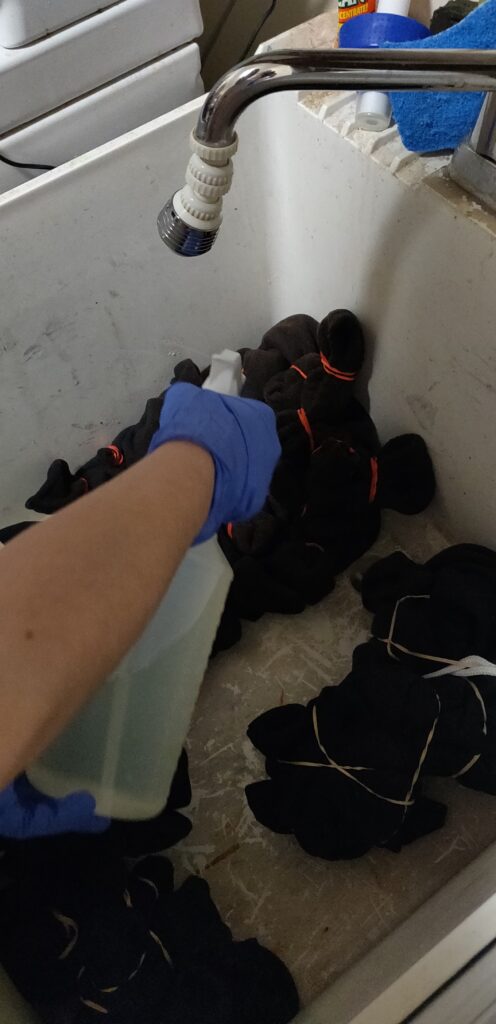
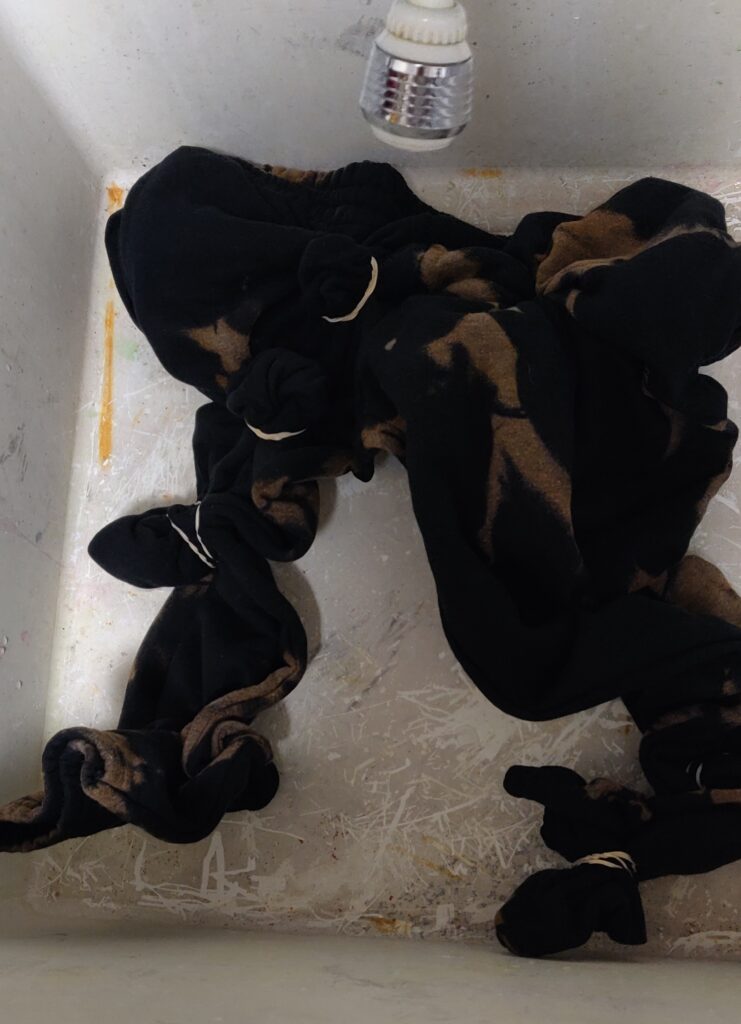
Once we had our banded bundles, into the laundry room utility sink they went. These were sprayed with a 50/50 combination of warm water and bleach. At the same time that I bought the sweats, I purchased a $1 spray bottle which would be dedicated to this type of project. As we sprayed, we could literally see the color begin to change.
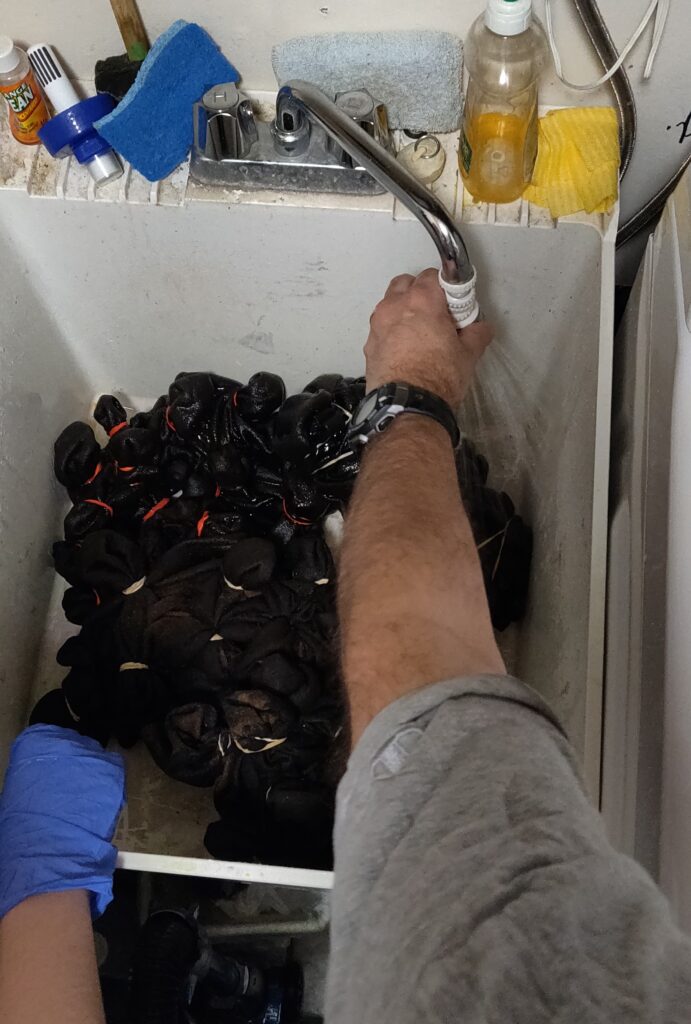
Make sure that you wear gloves when doing this part. You don’t want to handle the bleach with bare hands. Also, wear clothes that you don’t mind potentially ruining. If any of the bleach accidentally splatters on you, you will end up with a “bonus” long term visible reminder of your project with a nice bleached spot.
Also, try to limit your time on the bleaching process. You don’t want to breathe in the fumes longer than necessary. If you do this when the weather is nice, this is a step best done outdoors. If you are inside, you should try to be in a room with some good ventilation.
After approximately 10 minutes, we began to rinse with cold water and unband the sweat pants. This was not as much of a hassle as I had expected—pleasant surprise! Once unbanded, they were tossed into the washing machine and washed on a regular cycle.
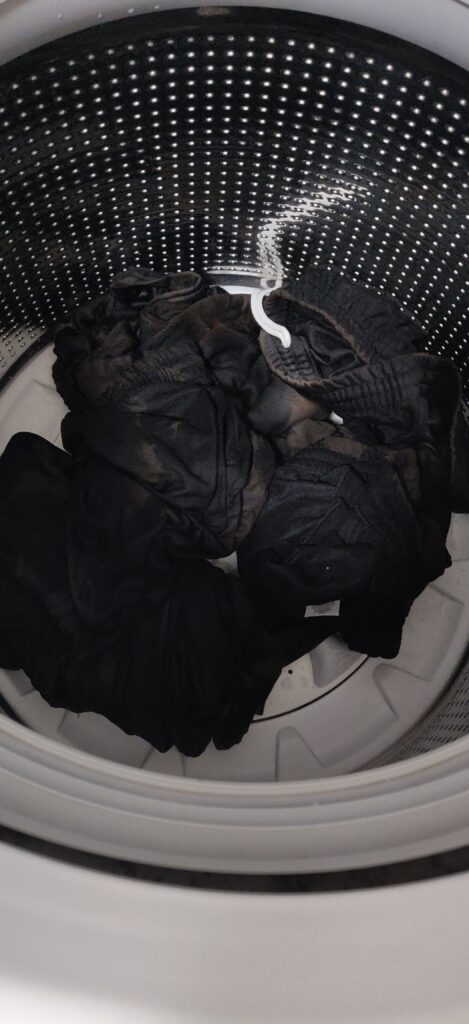
We did look at the four pairs prior to putting them in the dryer. (We initialled the labels so we would know who did which pair.) My husband and I were not as pleased with how our pants were looking; we really thought that the kids’ pairs looked a lot better. The parents’ pairs still had too much black and not enough reverse tie-dye. “What did we do?” you may wonder. We chose to re-band some areas. I started making some of the little fabric fingers which I had so lovingly watched my kids do earlier. My husband did more banding as well. We simply repeated the process on our sweats while our kids’ sweats just had to wait patiently in the clothes dryer.
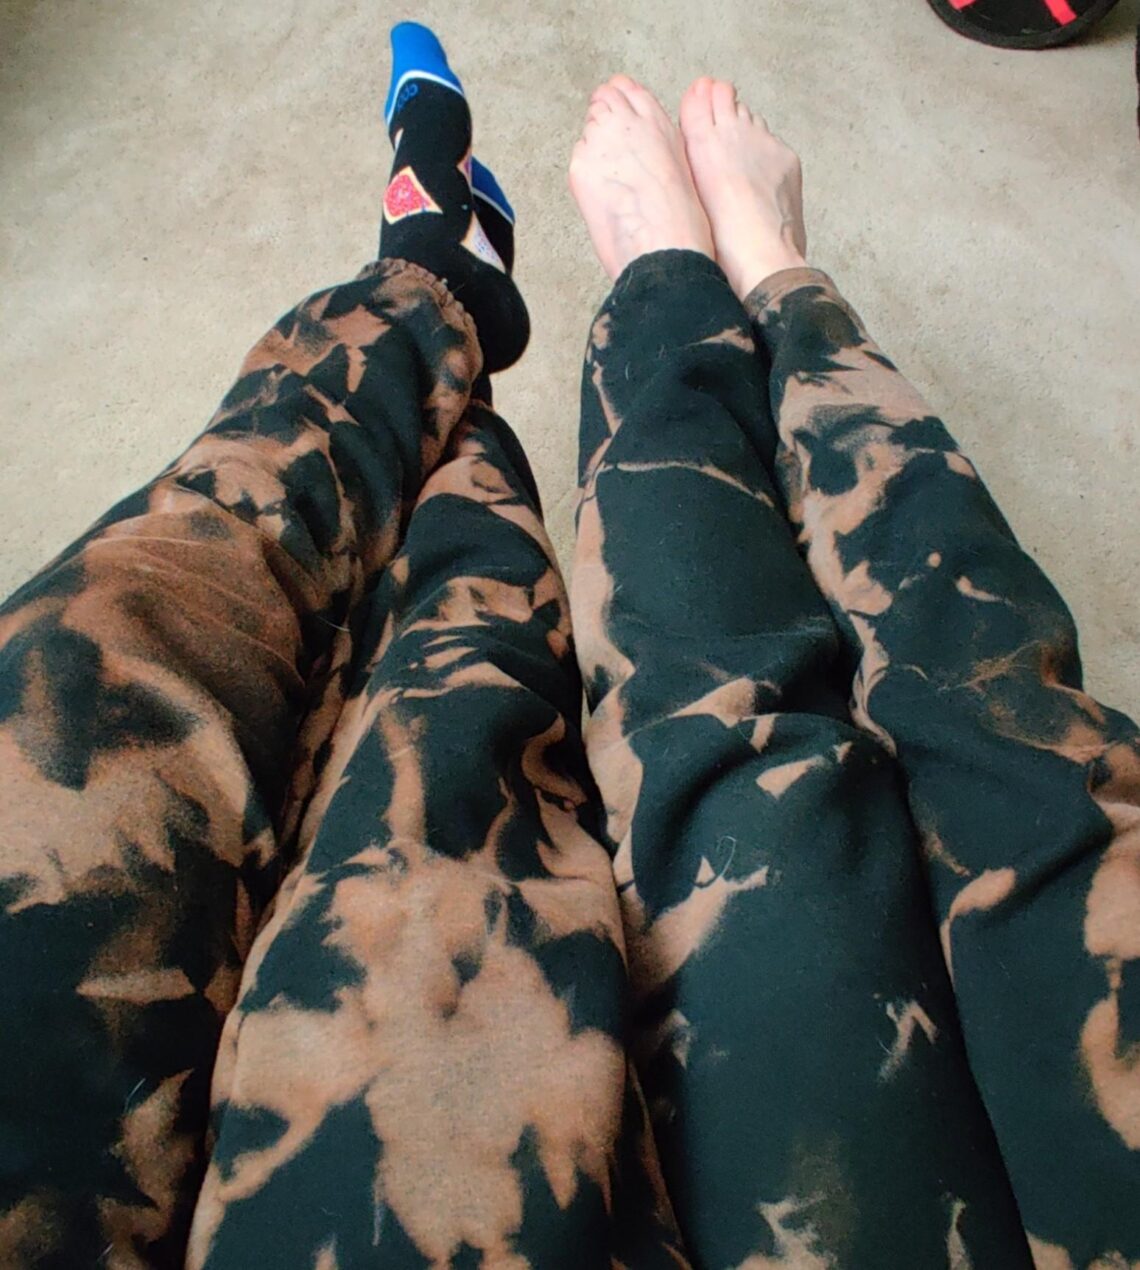
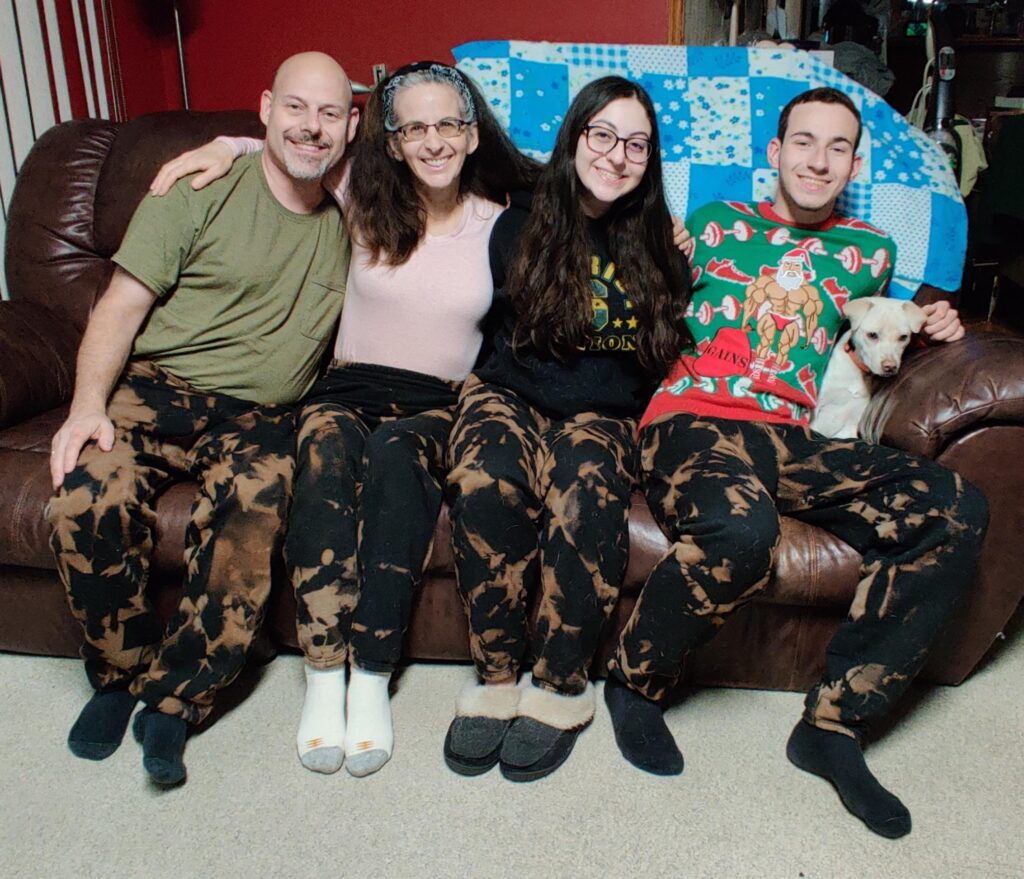
After the second set of banding/bleaching/rinsing/unbanding/washing on two of the four pairs, we were much happier with the outcome and finally dried all of the reverse tie-dyed sweats. I was thrilled with the final results!
This is definitely a project that I want to repeat! The materials were inexpensive (plus I still have my dedicated spray bottle, lots of rubber bands, and plenty of bleach). The process was easy. It did not involve a huge chunk of time. I hope to try this out with sweatshirts as well as with different colors. The results of this process on different colors of materials can vary. I don’t know how much of a difference there is with 100% cotton vs a cotton blend item.
If you try this project or have already done so, let me know what you think!
Happy New Year!
P.S. These sweats are SO COMFY, and I LOVE how they look!
P.P.S. If you are looking for some other completely different type of family activities that are a lot of fun, check out our experiences at Extreme Flight Simulation and Axeplosion!


12 Comments
Rachel Hannon
They look great! I think your pair is my favorite! 🤩
Beckie
Thanks! It took two rounds of rubber bands, but it was worth it!
Nishtha
This is such a cute project! I am sure all of you had fun as family doing it, the pics say it all!
Beckie
It turned out to be a great family project and one that I want to do again!
Lindsey
This is so fun! I love how they all turned out differently too. Thank you for this project idea 🤗
Beckie
Have fun! Once you make something, you will smile each time you wear it!
Beckie
Have fun! You will smile each time you wear what you create!
Breanna
I have wanting to try this so badly! You have definetly given me the inspiration to do it!!
Beckie
Go for it! Let me know how it turns out!
Julie Ann from Free2LiveFree2Roam
I love the results! They remind me of camo + I always liked tie-dye. This would be fun to do for a family trip as well.
Beckie
I hope that you give it a try! Let me know how it turns out!
Pingback: